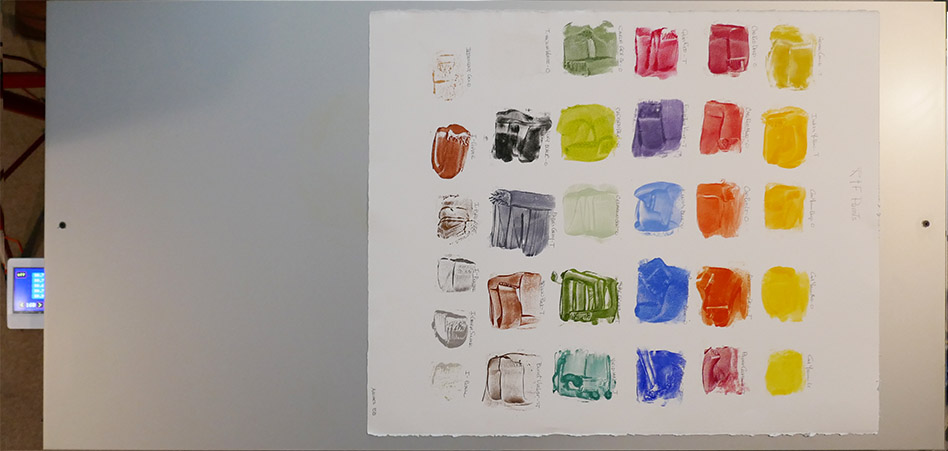
When I was in Tucson a few months ago, I stopped at Miles Conrad’s Encaustic store where I purchased Paula Roland’s Encaustic Monotypes DVD. I love Paula’s monotypes. Her works are inspirational. Ideally, I wanted a heated printing surface, something large enough to take a full sheet of Arches 88 or somethng around that size. Paula had perfected the HOTBox for making monotypes and I had seen other similar models (the heat is created with lightbulbs controlled by a dimmer switch) on YouTube. Of course, my go-to person is my husband Roy. When I explained what I wanted (and he even watched the DVD with me), he said let me think about it. What you see in the picture above is the result, and note the full-sized sheet of Arches 88 on the palette.
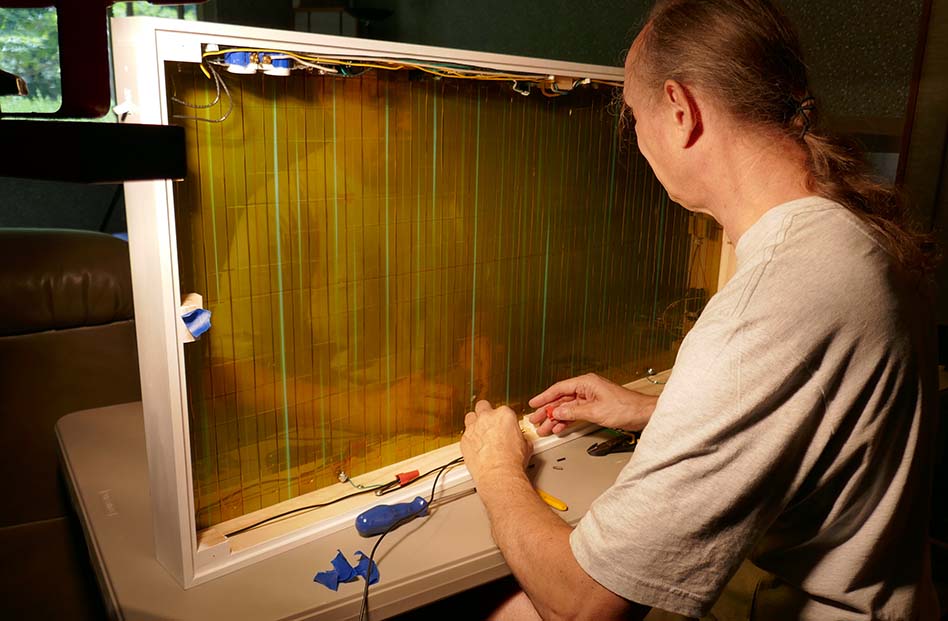
Let me start by saying I was trying to save money or I would have just bought one of Paula’s boxes, probably the two-box setup. Instead I ordered a 2’x4′ sheet of anodized aluminum and presented it to Roy when I asked him to help me make it work. Roy’s goals were to heat such a large base using house current and to control the setup with an Arduino board. Because we were using 120 volt alternating current and the base was a conductive aluminum plate, there is a Ground Fault Isolator (GFI) so I don’t get toasty. The plate is broken into five zones with a separate heating coil and thermoster to measure the temperature. (The picture on the left below shows the back of the board and the insulated wiring.)
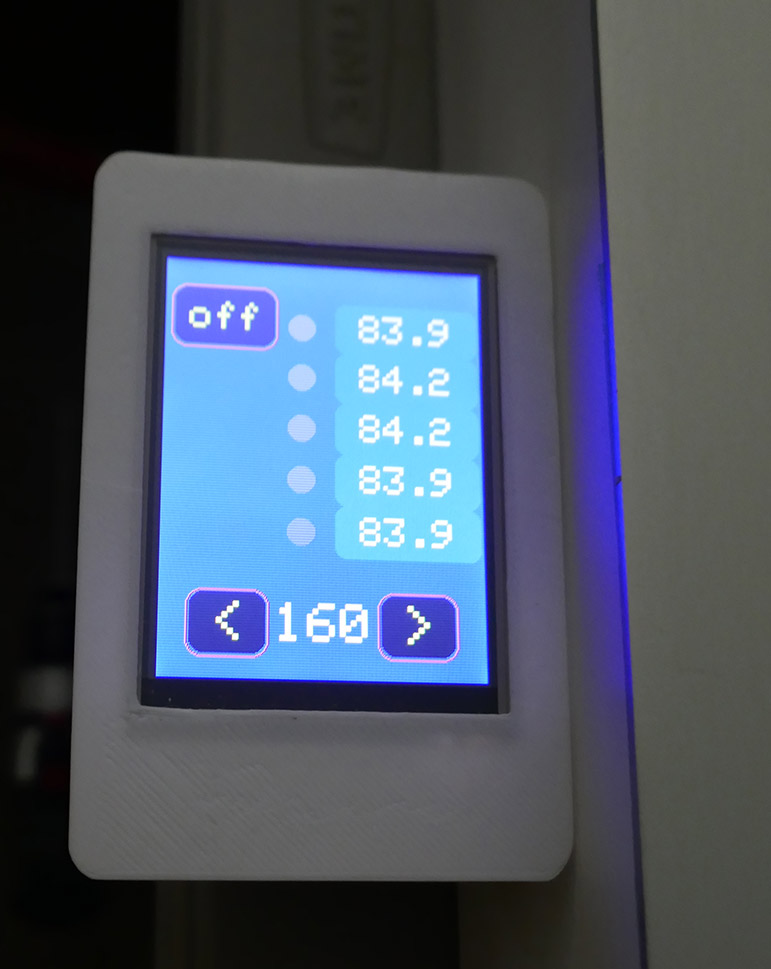
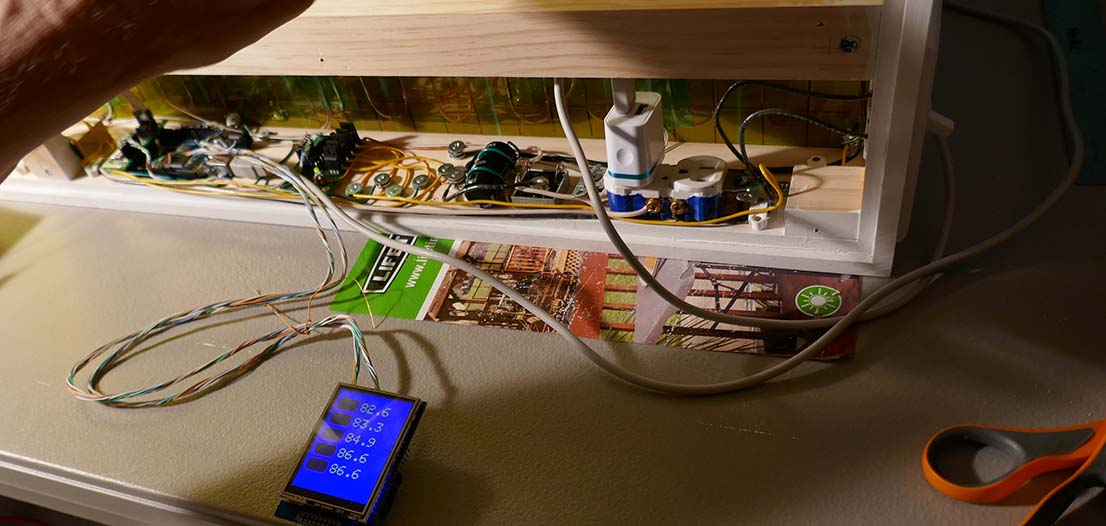
The controller (see the center picture) has a 2.8″ touch screen to let me pick the target temperature. The Arduino board can then switch each coil on and off based on each zone’s temperature reading. (The photo on the right was taken while some testing was going one.) The controller is color coded to indicate whether each zone is heating or at temperature. Should the zone be above temperature, the indicator color is red and there is also a buzzer alarm for those rare instances should a power transistor burn out. If you have read this far and feel like creating one of your own, feel free to contact me with your questions.


Hi Dana, I too was not in favor of spending so much money on one of Paula’s hot boxes. I purchased a large plate of anodized aluminum and am going to build my own. I am looking for something a bit more sophisticated than light bulbs to heat with and your set up looks intriguing. I would be very interested in hearing more about the products you used and how you constructed your hot box. Thanks, Connie Wood
Hi Connie – my husband is an electrical engineer – he designed this box to use wires for heating similar to the way his 3D printer is designed. Of course, it has temperature controls, etc. I guess what I’m trying to say is there are few OTS (off the shelf) elements here (for example, the temperature control sits in a box he printed on his 3D printer) and he wrote the controller code himself. IF you (or you know someone) can use Arduino boards and maybe have a home made 3D printer I’m sure we could set up a call and he can talk about how he built it. IF NOT then the light bulbs are quick and easy. When I took Paula’s course the real difference that I noticed was that my palette heats in just a few minutes while with the light bulbs you’ll have time for a cup of coffee. Thanks for your question, your work is lovely.
Hi Connie,
In case that you haven’t built your hot box yet and still looking for info. I built mine using PTC heating elements or heating cartridges. For temperature control you can use Inkbird ITC-308 Temperature Controller. Both are available from amazon. The heating cartridge or element are much smaller in size than one bulb (let alone 4) and whence not bulky. I hope this helps.