
Introduction:
On April 4th, 2019, I am the guest speaker at the Columbus Cultural Arts Center’s “Conversation and Coffee”, where I will be discussing the Science of Acrylic Pours.
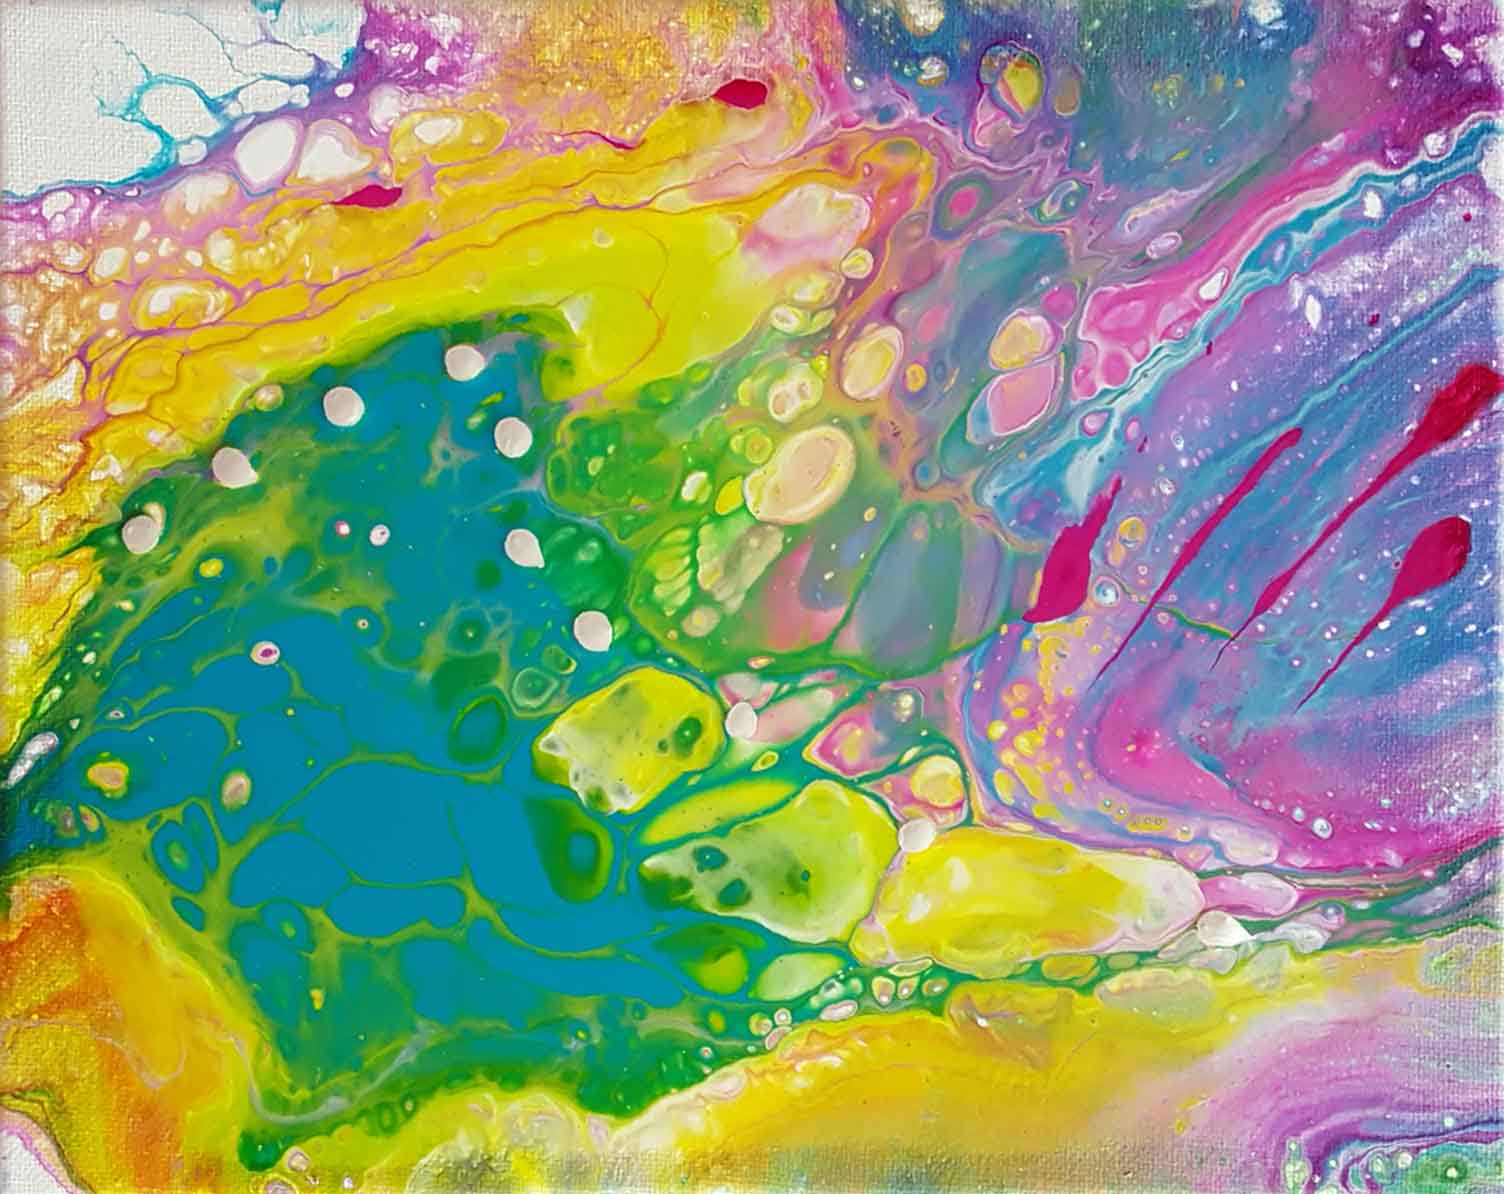
This post is a copy of a 4-page handout I have prepared to accompany my talk. Following the handout are photos designed to add clarity. The picture above is the acrylic pour I made while taking the photos. I added some iridescent pearl drops across the center after the pour was complete.
What you need to get started:
Substrates:
- Stretched canvas panels
- Canvas boards
- Cradled boards (gesso first)
Paints:
Liquitex Basic
- Golden’s Fluid Acrylics, including Golden Iridescent Gold Deep (Fine)
- Michaels Artist’s Loft 32 oz Flow Acrylic White
- Michaels Artist’s Loft Metallic Acrylics
Additives:
- Flood Floetrol – Lowes, Home Depot
- Used by painters as an additive to eliminate brush strokes
- Alternatives: Elmer’s white paste or Golden Pouring Medium
- 3-IN-ONE oil
- Nourishing + Coconut Milk Anti-Breakage Serum (Walmart)
Varnish:
Golden Polymer Varnish with UVLS
Tools:
- Paint Pouring Cups: sizes: 1 oz, 2 oz, 3 oz
- Popsicle Sticks, Paper Cups (Bathroom size), Large Plastic Cup (12 oz), Water Bottle with Tip Nozzle, Plastic sheet, 3” plastic putty knife, Pastry Blade, Gloves, Paper Towels, Trash Bag, Plastic Wrap, Cafeteria Tray or Cookie Sheet
- And maybe…: Pottery Wheel, Level, Isopropyl Alcohol, Mini Torch
Links:
- There are many videos on You Tube showing how to do acrylic pours. My favorite artist is Gina DeLuca https://www.youtube.com/user/gldeluca/videos
- Golden’s Specific Gravity Chart: https://www.goldenpaints.com/admin/image/get_assets/density-of-pigments-used-in-golden-acrylic-colors.pdf
- How much paint for an acrylic pour: https://leftbrainedartist.com/how-much-paint-to-use-for-an-acrylic-pour/
Science:
- What makes Acrylic Pours “work” is that different pigments have different specific gravities; that is, some colors are heavier than others. In the process that follows there are two times when you allow the paint to sit for at least 5 minutes and during that time, in theory, some paints are rising and some paints are falling.
- When your painting is complete, it is still moving until it dries.
Process:
-
Prepare work area
- Level your work table
- Cover with a plastic sheet
- Cover a cafeteria tray or cookie sheet with a garbage bag
-
Prepare substrate
- Consider taping the underside edges to keep them clean
- If using stretched canvas panels, “tighten” them if needed
- Elevate substrate on tray using paper cups at corners
- If painting on stretched canvas panels, be sure the cups are supporting the wood frame, not pressing on the canvas
-
Prepare Paints
(cups can be sealed with plastic wrap and will keep several days, even up to a week)
- Make a 10:1 mix of water to Floetrol in the water bottle.
- Use the ratios shown below: Paint to Floetrol.
- Artist’s Loft White 1:1
- Liquitex 1:4
- Golden heavy body 1:4
- Golden high flow 1:0
- Golden Gold 1:0
- Artist’s Loft Metallic 1:1
- Prepare white and black in larger plastic cups
- Prepare other paints colors in small paper cups
- Stir with popsicle sticks, add a little of the 10:1 mix if needed to make the paints runny.
- Add ~2 drops of the hair serum to each small cup of paint and stir gently (I don’t use it in the white or black paint)
-
Prepare Paint Cup
(chose volume required for your substrate)
- Put a small squirt of 3-IN-ONE in the bottom of the cup
- Begin to add small quantities of color into the cup, always holding the cup at an angle and allowing the color to run down the side
- FIRST color in the cup will be your top color.
- ALTERNATE colors with a small amount of black or white to keep the colors separated so they don’t mix (unless you want that)
- Continue until the cup is really full. Remember that your last color will be the first one down – if you are using two cups you may want the last color to be the same in both so they are unified
- ALLOW THE CUP TO SIT AT LEAST 5 MINUTES
-
Paint Substrate
- Generally, if I used white as the color separator in the paint cup I “paint” my canvas white (otherwise black). [Note: nothing says you can’t choose a different color besides black or white.]
- Pour on the paint and apply with the plastic putty knife, being sure to cover the edges too. Be generous with your paint, you want the surface to be wet enough to allow the paint in the cups to slide around.
-
Flip Paint Cup
- Set the pastry blade across the top of the paint cup and carefully turn up side down and then slide it onto the middle of the substrate without dragging off paint or spilling the contents
- ALLOW THE CUP TO SIT AT LEAST 5 MINUTES
-
Release the Paint
- You might lift the cup slightly to break the suction and let it slide around a little before totally lifting the paint cup up
- Wearing your gloves, grip the bottom support and gently begin to tilt the substrate, allowing the paint to flow across the surface. Tilt it back to level and flow the paint in a different direction. Continue in this manner until the surface is coated. Paint generally flows down the sides and if some sides are not covered (and you want them covered), this is a good time to use your finger and “paint” the edges.
- If you want to add additional colors use the Golden High Flow paints
- If you want to add a rich metallic color use the Golden Iridescent Gold Deep.
-
Return the substrate to the small paper cups
- Once you are happy with your painting place it on a level surface (over plastic) and allow it to dry.
- It will continue to drip for a while. Run a stick around the bottom edge to remove drips
- Drying generally takes 24 hours
- DO NOT BE SURPRISED to find that the painting continues to change for a while.
-
Allow the paint to cure and then Varnish
- Let paintings cure for at least several days or a week
- I use GLOSS varnish; Matte varnish has white in it.
- For brush application, Golden’s Polymer Varnish should be diluted with water: 4 part vanish to 1 part water. Store it in a Tupperware type container with plastic wrap under the lid. Keeps for months..
- I varnish once a day for 3 days (you CAN do a coat every 8-10 hours but I prefer to make sure it is dry).
- The painting should be flat and level when the varnish is applied and while it is drying.
-
Add hardware and hang.
Problem Solving:
-
Saggy Canvases
- Acrylic pours can be heavy. If you are using a canvas that is not ‘drum-tight’, your paint can pool in the center of the canvas and have trouble drying or crack later due to movement.
- Here are three methods for tightening a stretched canvas
- Spray the back of the canvas with water and allow it to dry
- Cut a support piece of foam board or cardboard the size of the back opening and without distorting the front of the canvas place it inside the back opening, removing after the painting is dry
- Use wooden stretching wedges, inserted into the corners to tighten the canvas
-
Lumps in Floetrol
- People report that Floetrol will thicken and you end up pouring clumps into your paints.
- I haven’t had this problem unless the Floetrol is really old.
- The easiest solution is to use some thin cloth like gauze or cheese cloth attached with a rubber band around the top of the bottle. The cloth catches the lumps and prevents them from going into your paint
-
Bubbles in your paint
- Sometimes as your paint is pouring out or starting to dry you will get bubbles. There are several common solutions.
- I rarely get them and when I do I pop them with a pin
- Some people add alcohol to the top of the paint before they pour it into the paint cups
- Some people add alcohol to the paint cups after they are full
- Some people use a crème brulee torch back and forth over the area with the bubbles and they pop
-
Muddy colors
- Did you use the right size cup for your substrate?
- Did you fill that cup all the way?
- I know from my first experience that if my cup is too big and I am trying to save paint and don’t fill it to the very top, then when I turn it upside down the paint rolls down the side of the cup and makes mud.
-
You need to use more than one cup
- I often use two cups, especially if it is a larger canvas.
- The cups can be different sizes but will have some similar colors.
- I remove the paint cups at the same time and tilt the colors together to create an integrated pattern.
-
Clean Up:
- Never pour acrylics down the drain, use paper towels to remove paint. Clean with soap and water.
- Sometimes as your paint is pouring out or starting to dry you will get bubbles. There are several common solutions.
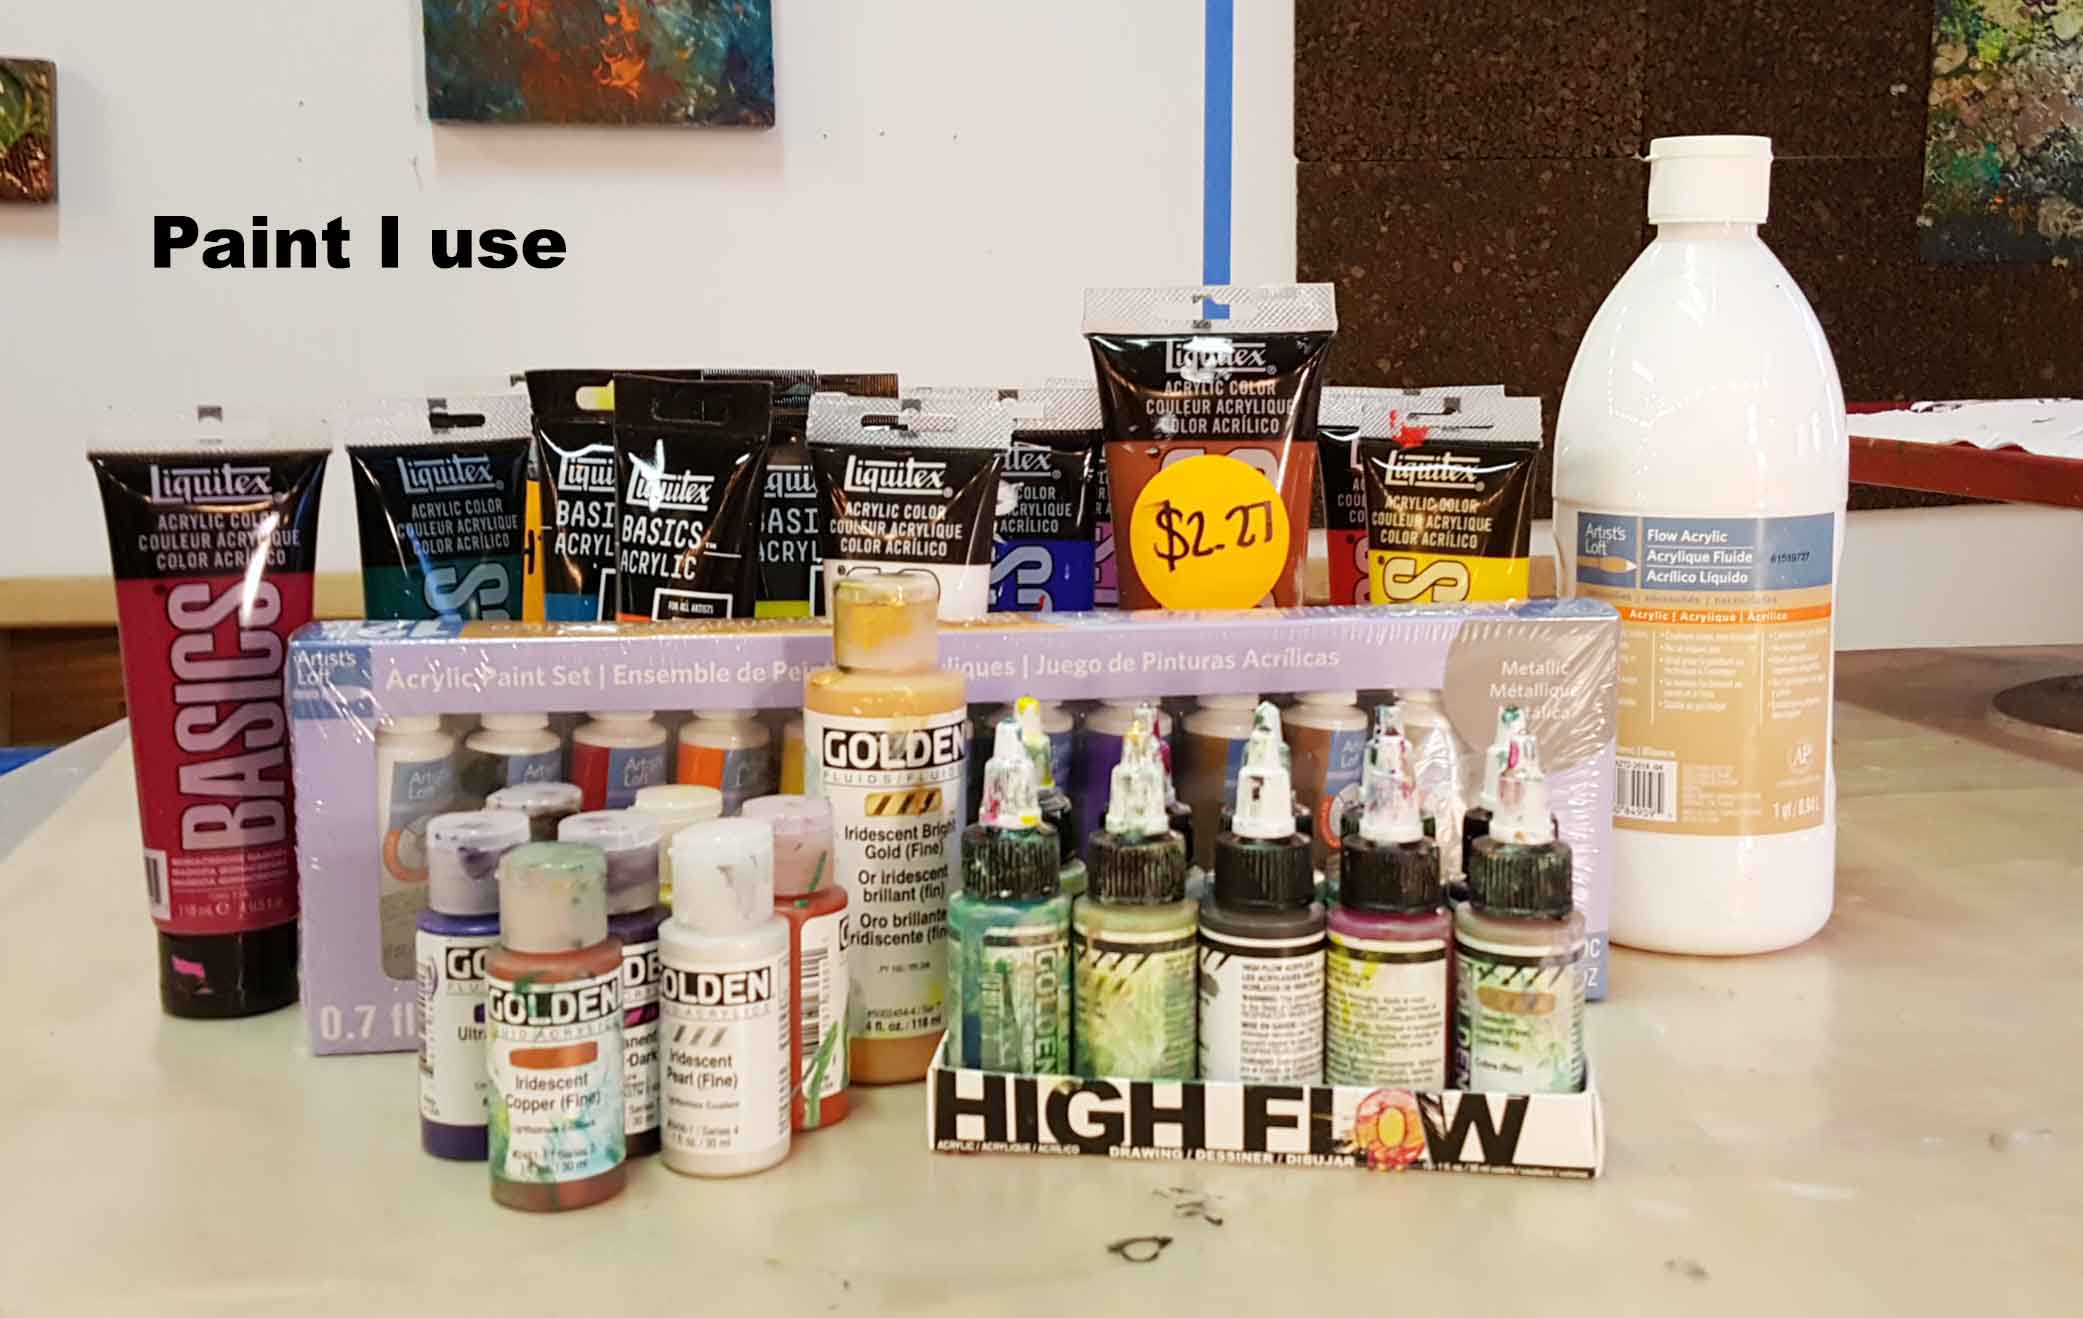
001-Paints
I use the Golden paints for accent and generally don’t mix them with Floetrol.
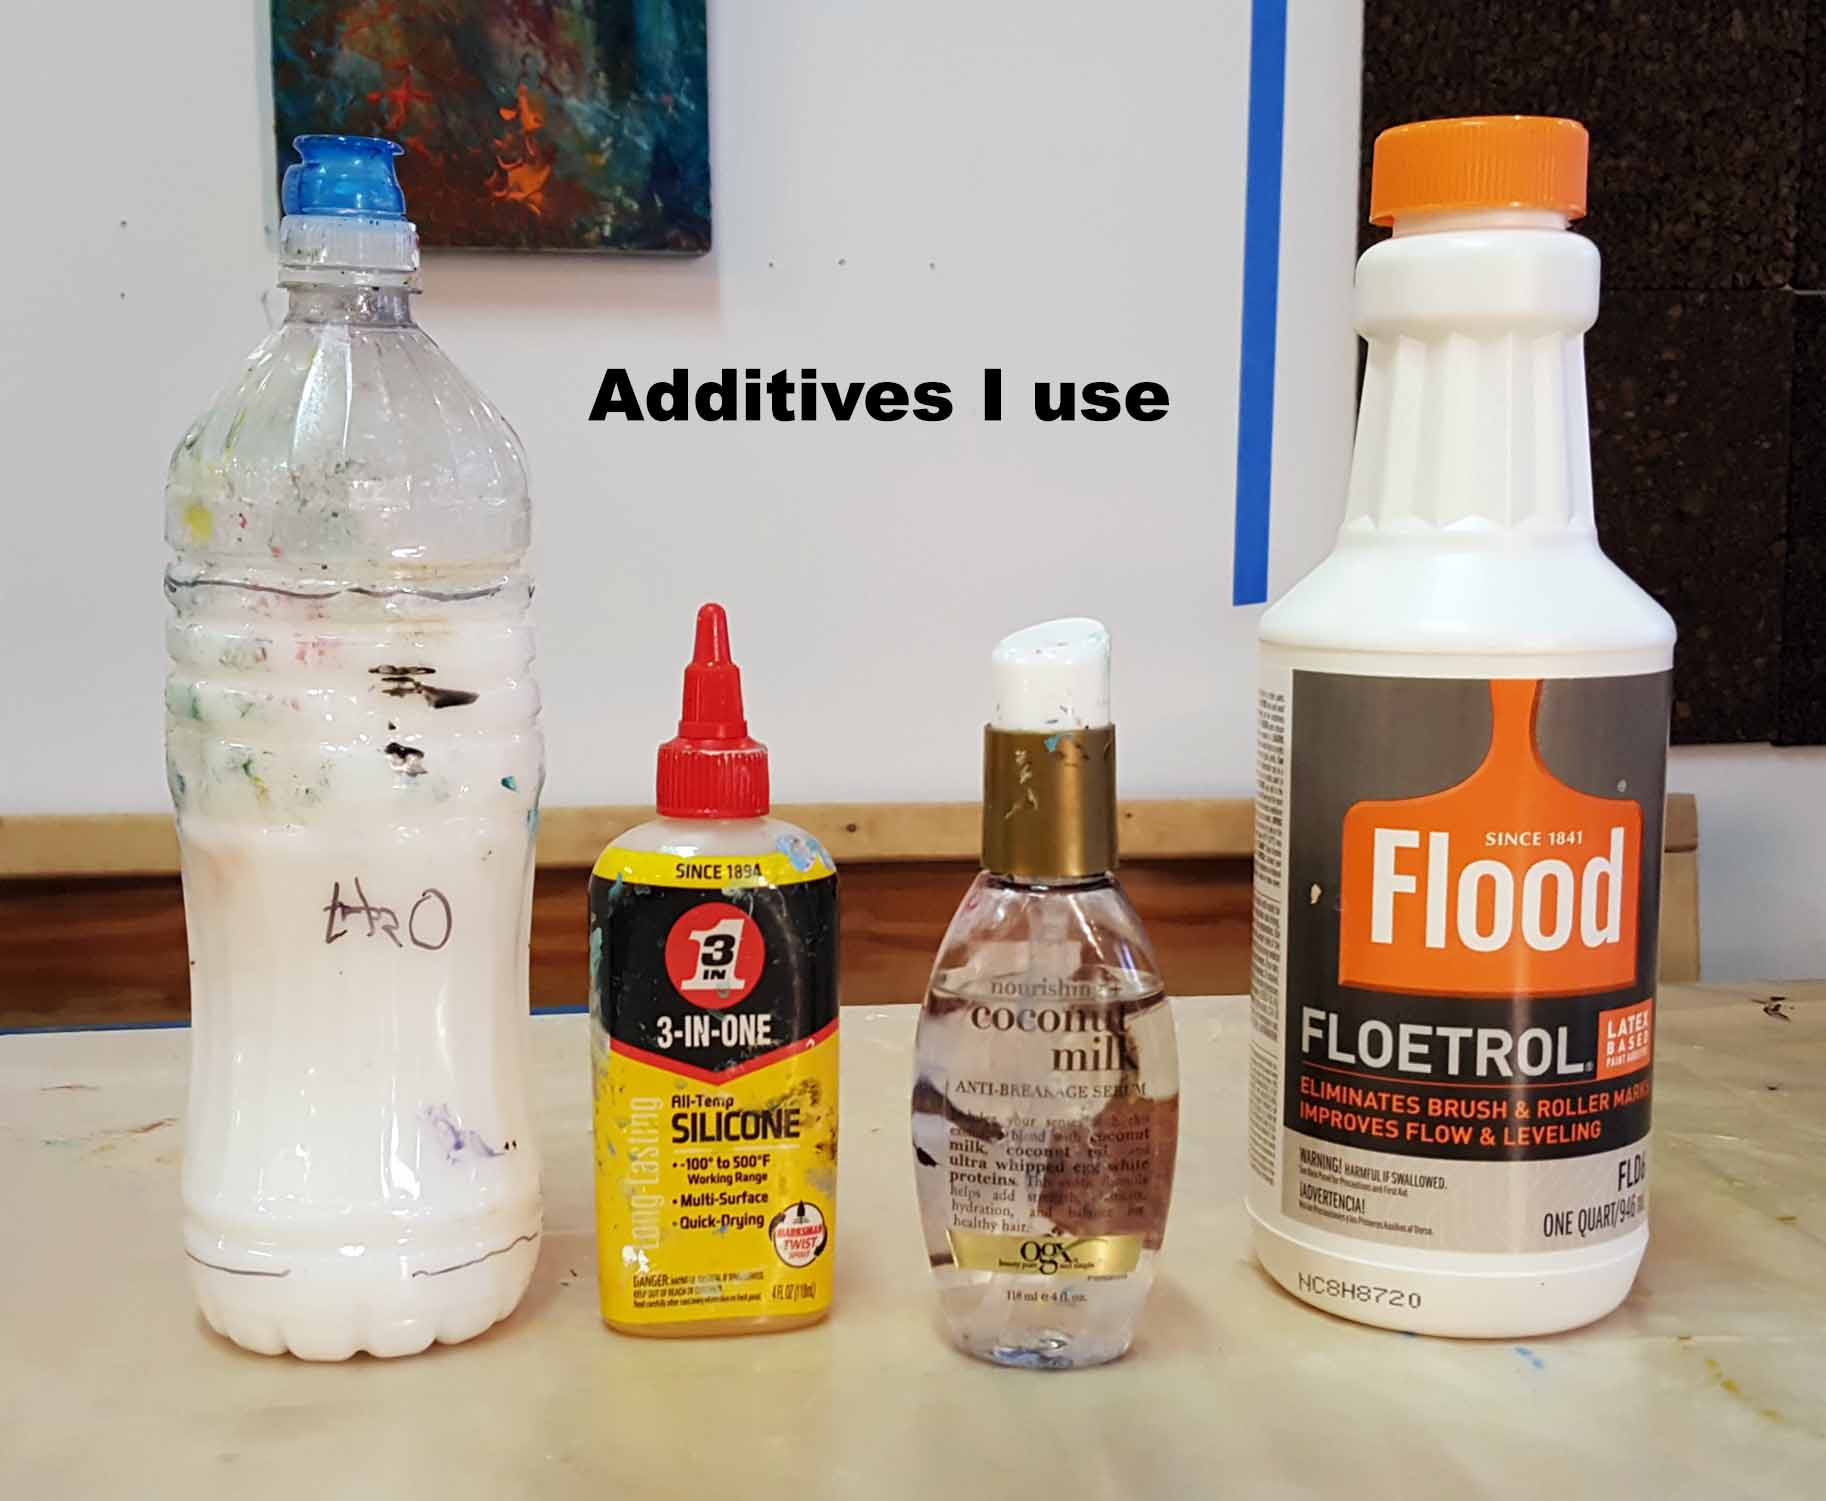
002-Additives
Well used containers. The water bottle is a 1 part Floetrol to 9 parts water mix. I add it to the paint cups if the paint is too thick.

003-Varnish
Mix a small amount (4 parts of varnish to 1 of water). Seal tightly and it will last for months.
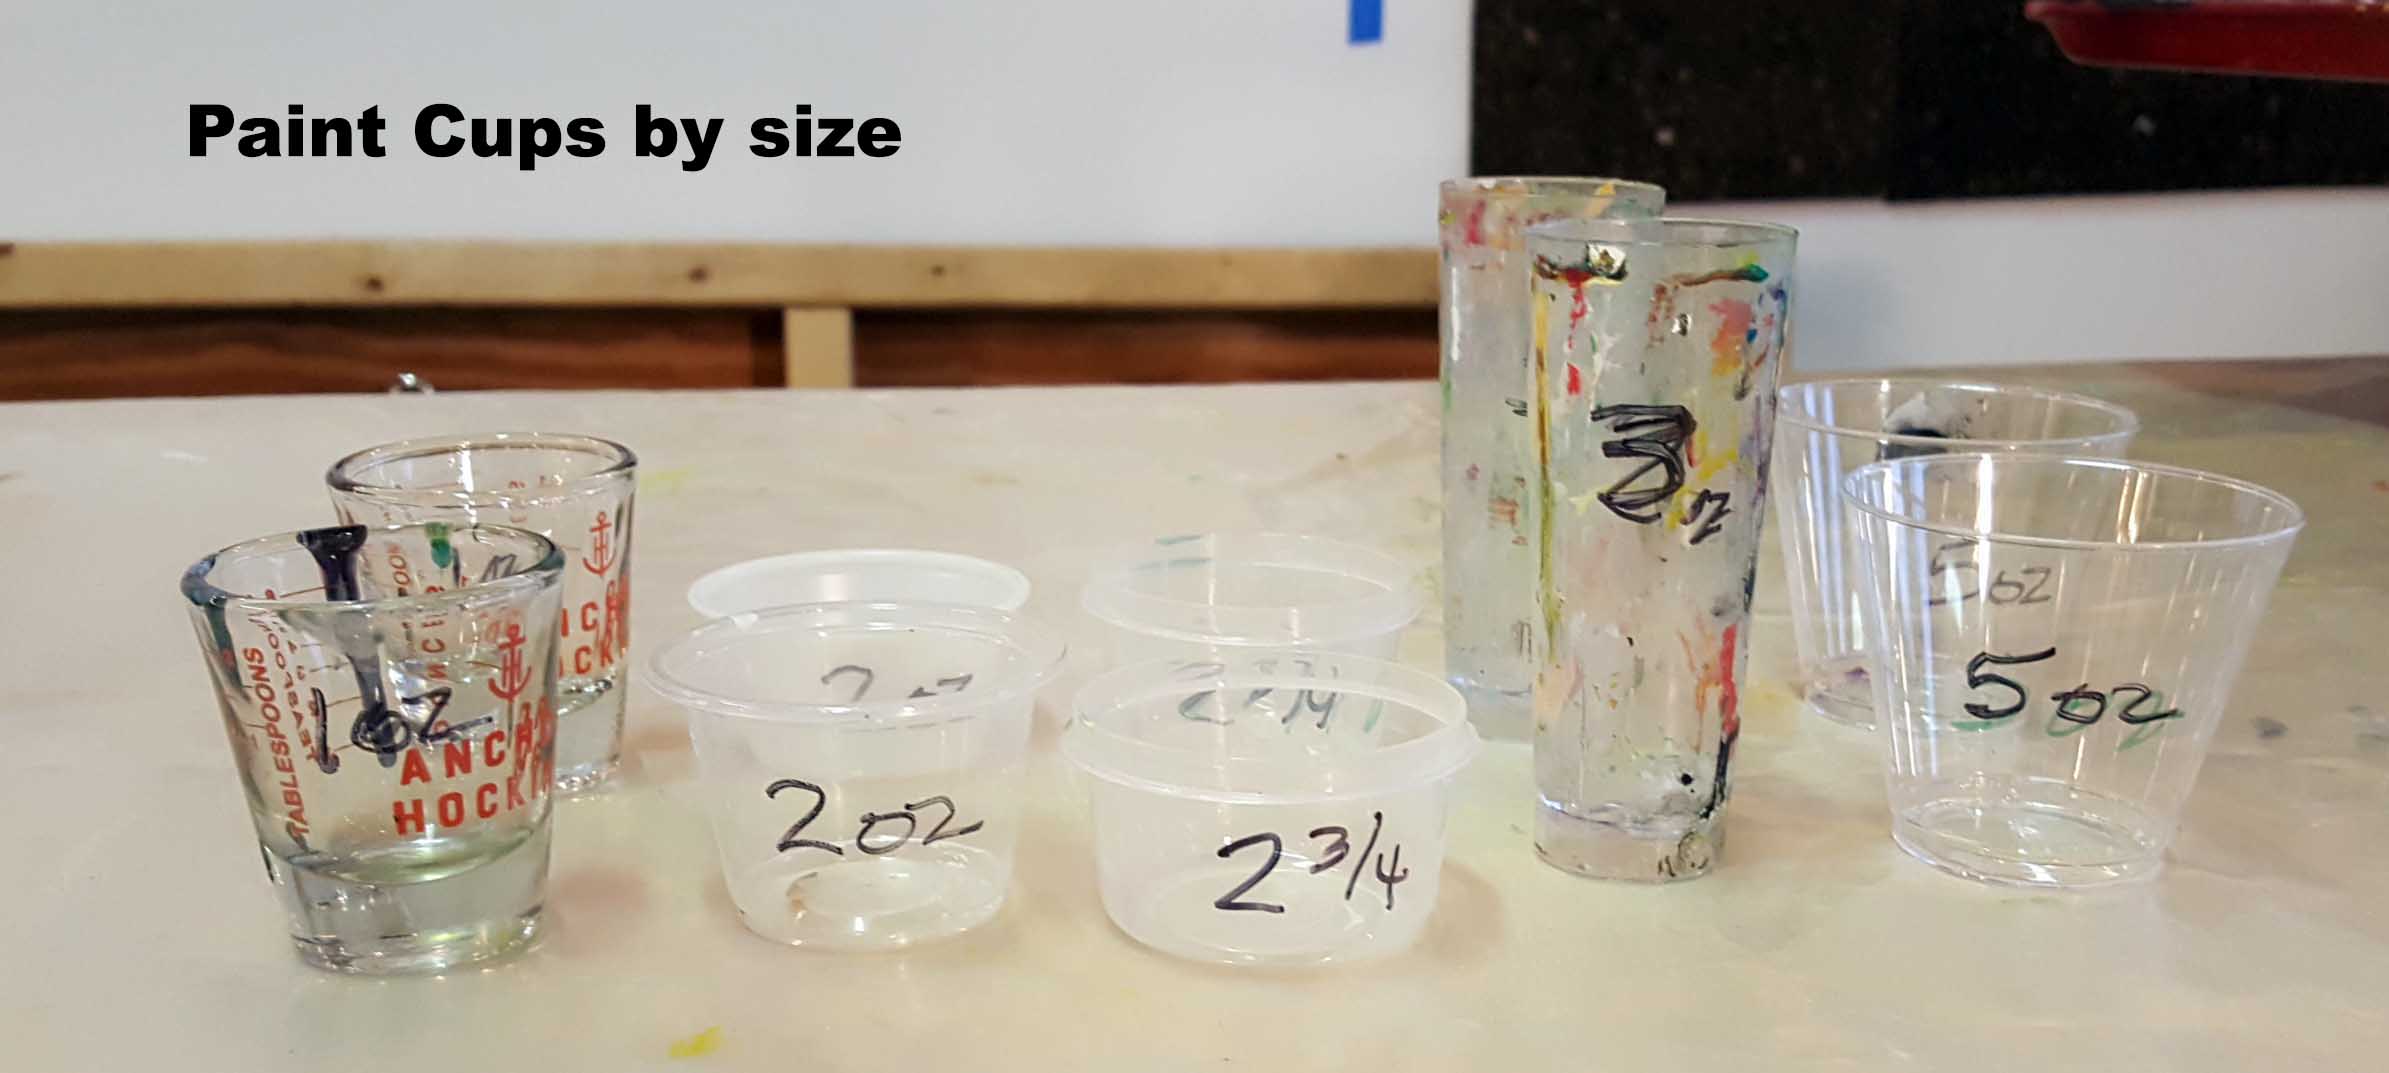
004-Paint Cups
It’s important to have enough and it is important to fill cups to the top. Knowing exact sizes saves paint.
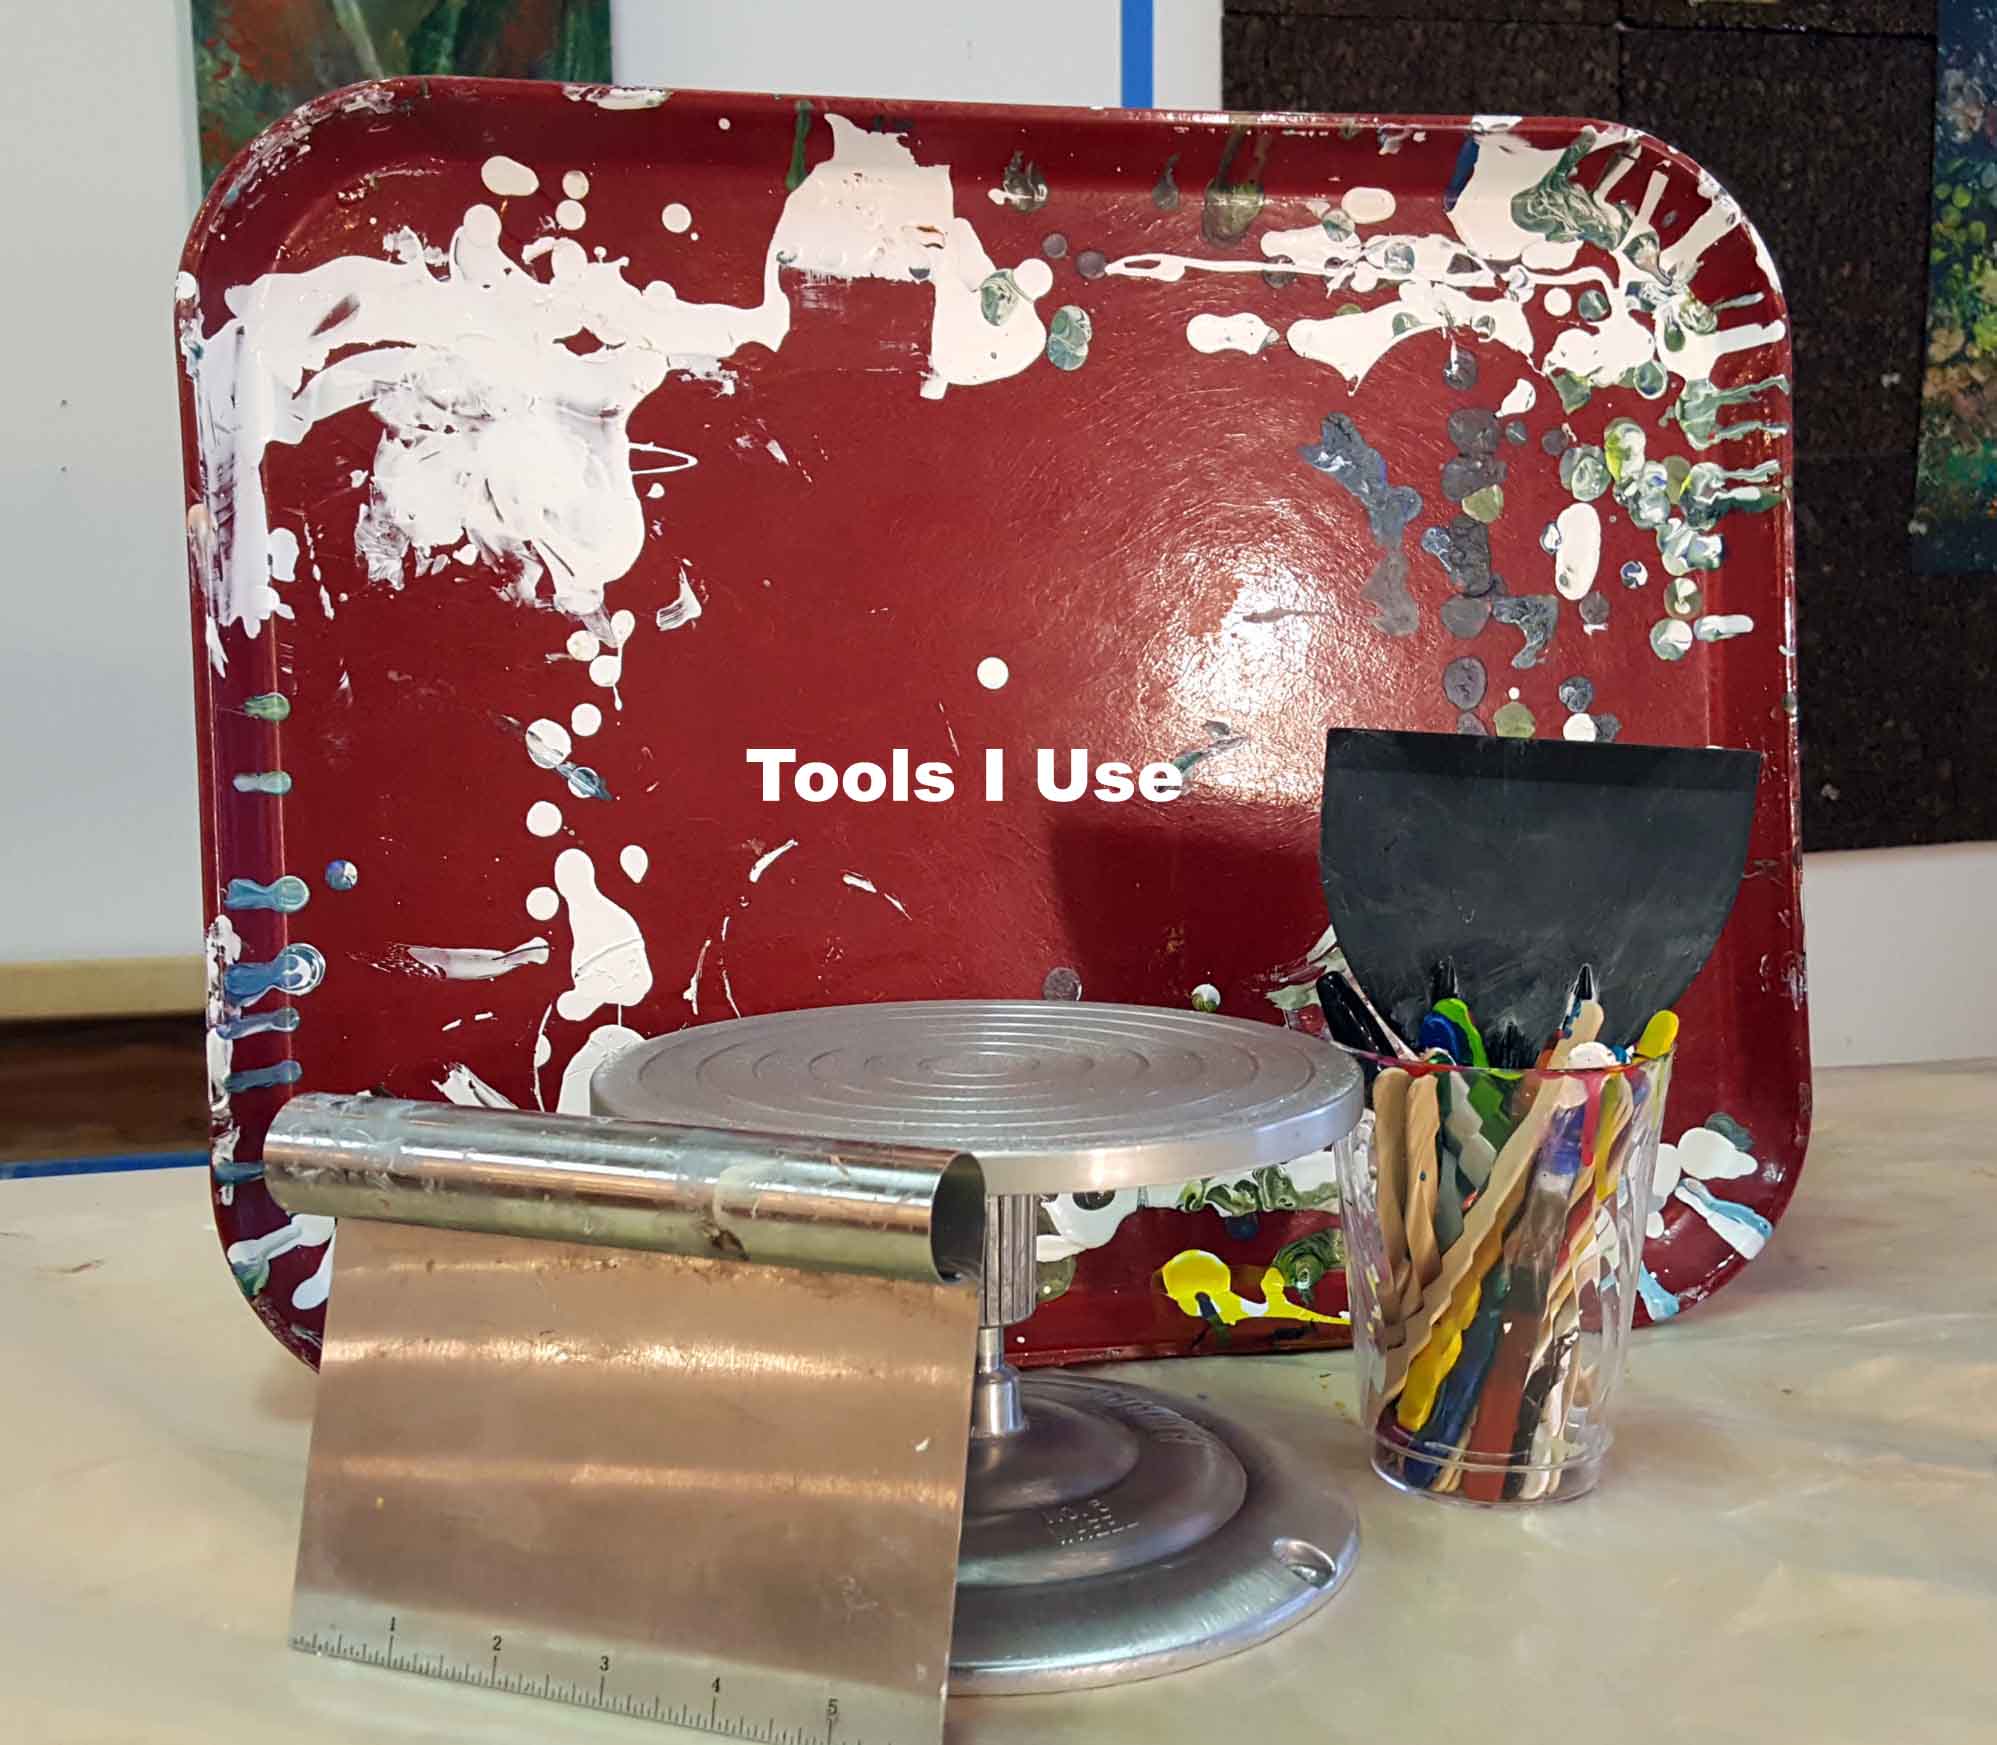
005-Tools
Cafeteria tray, Plastry Blade, plastic putty knife, popsicle sticks, and a pottery/ sculpture wheel
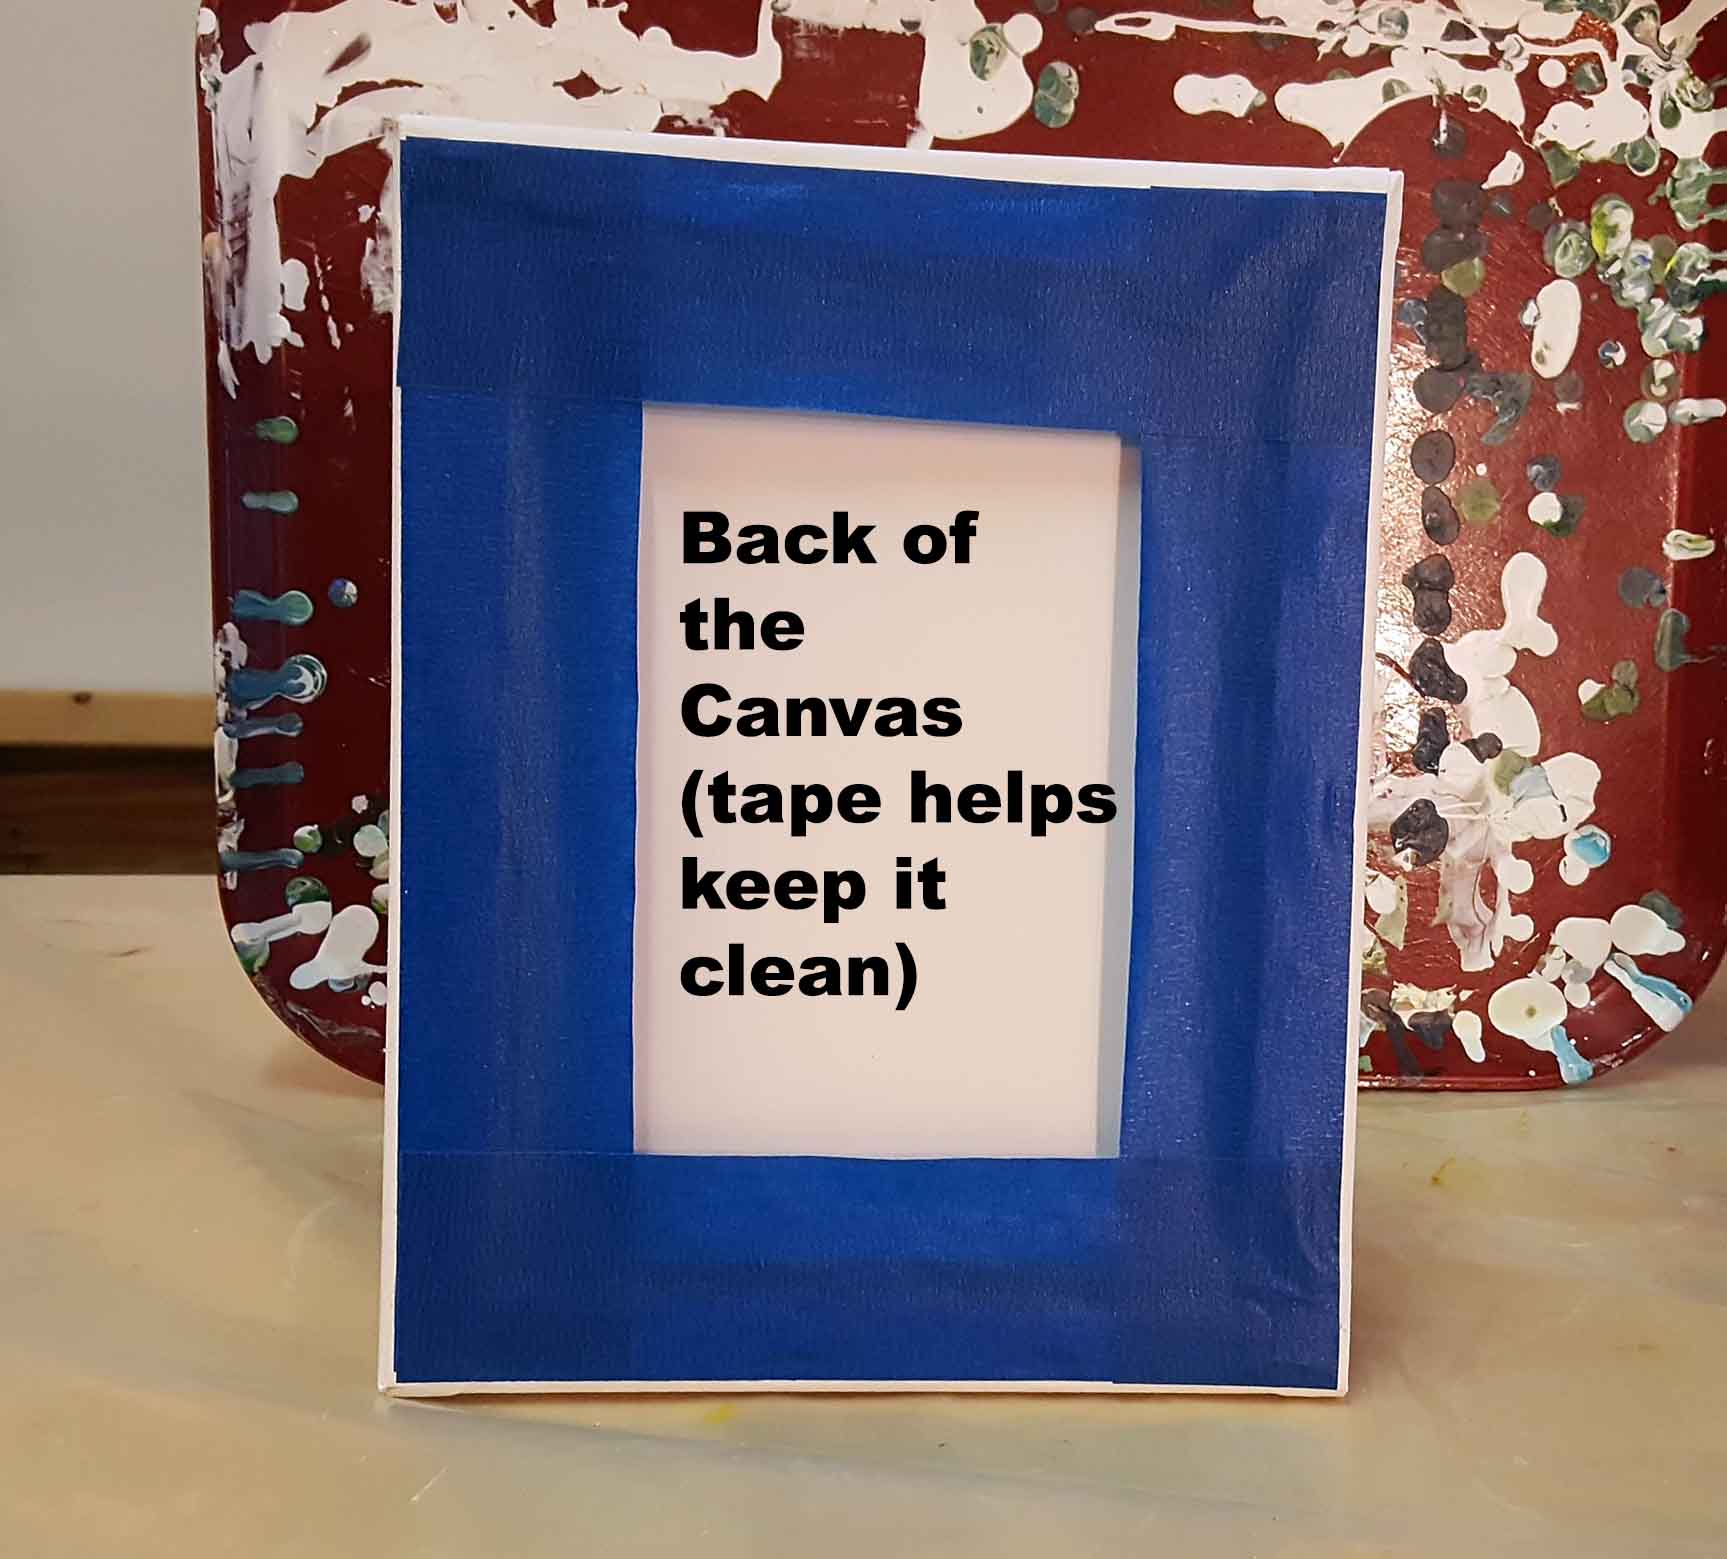
006-Canvas Back
When the piece is complete I will peel the tape and the back should be clean.

007-Ready 2 Paint
I balance the canvas on cups and sit it in a tray to catch the drips
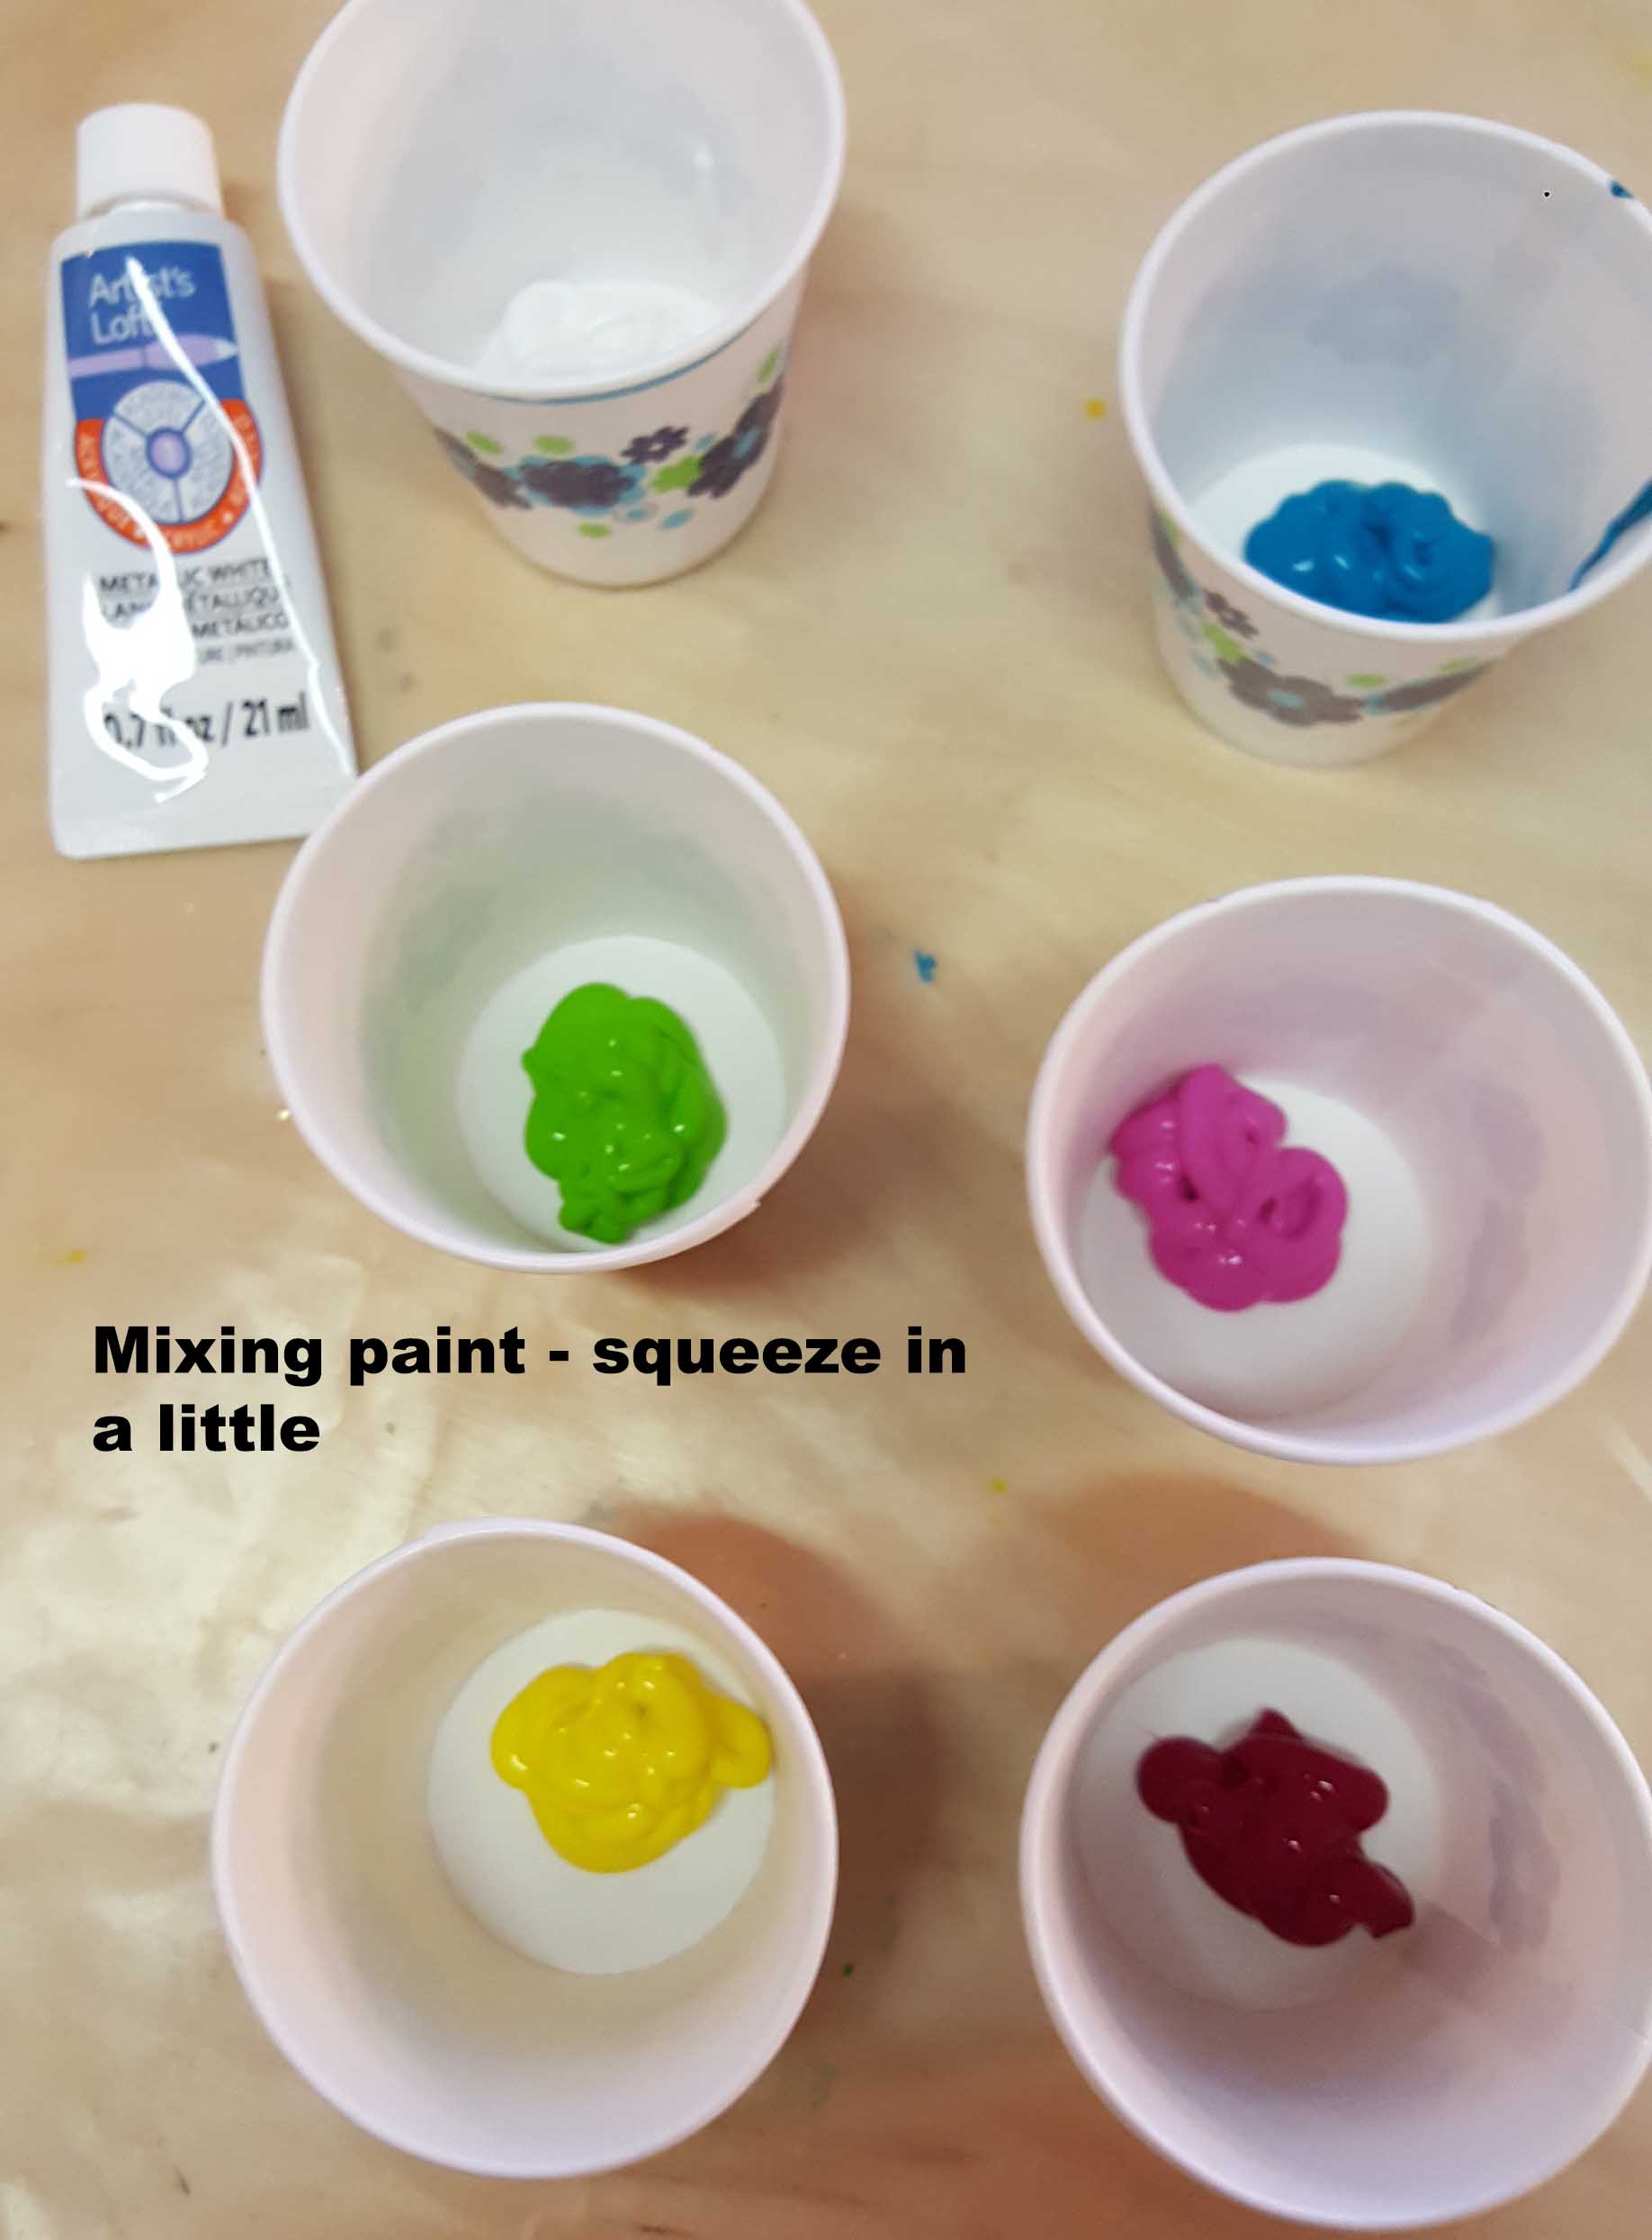
008-Paints In Cups
As you can see, I don’t use a lot of paint.
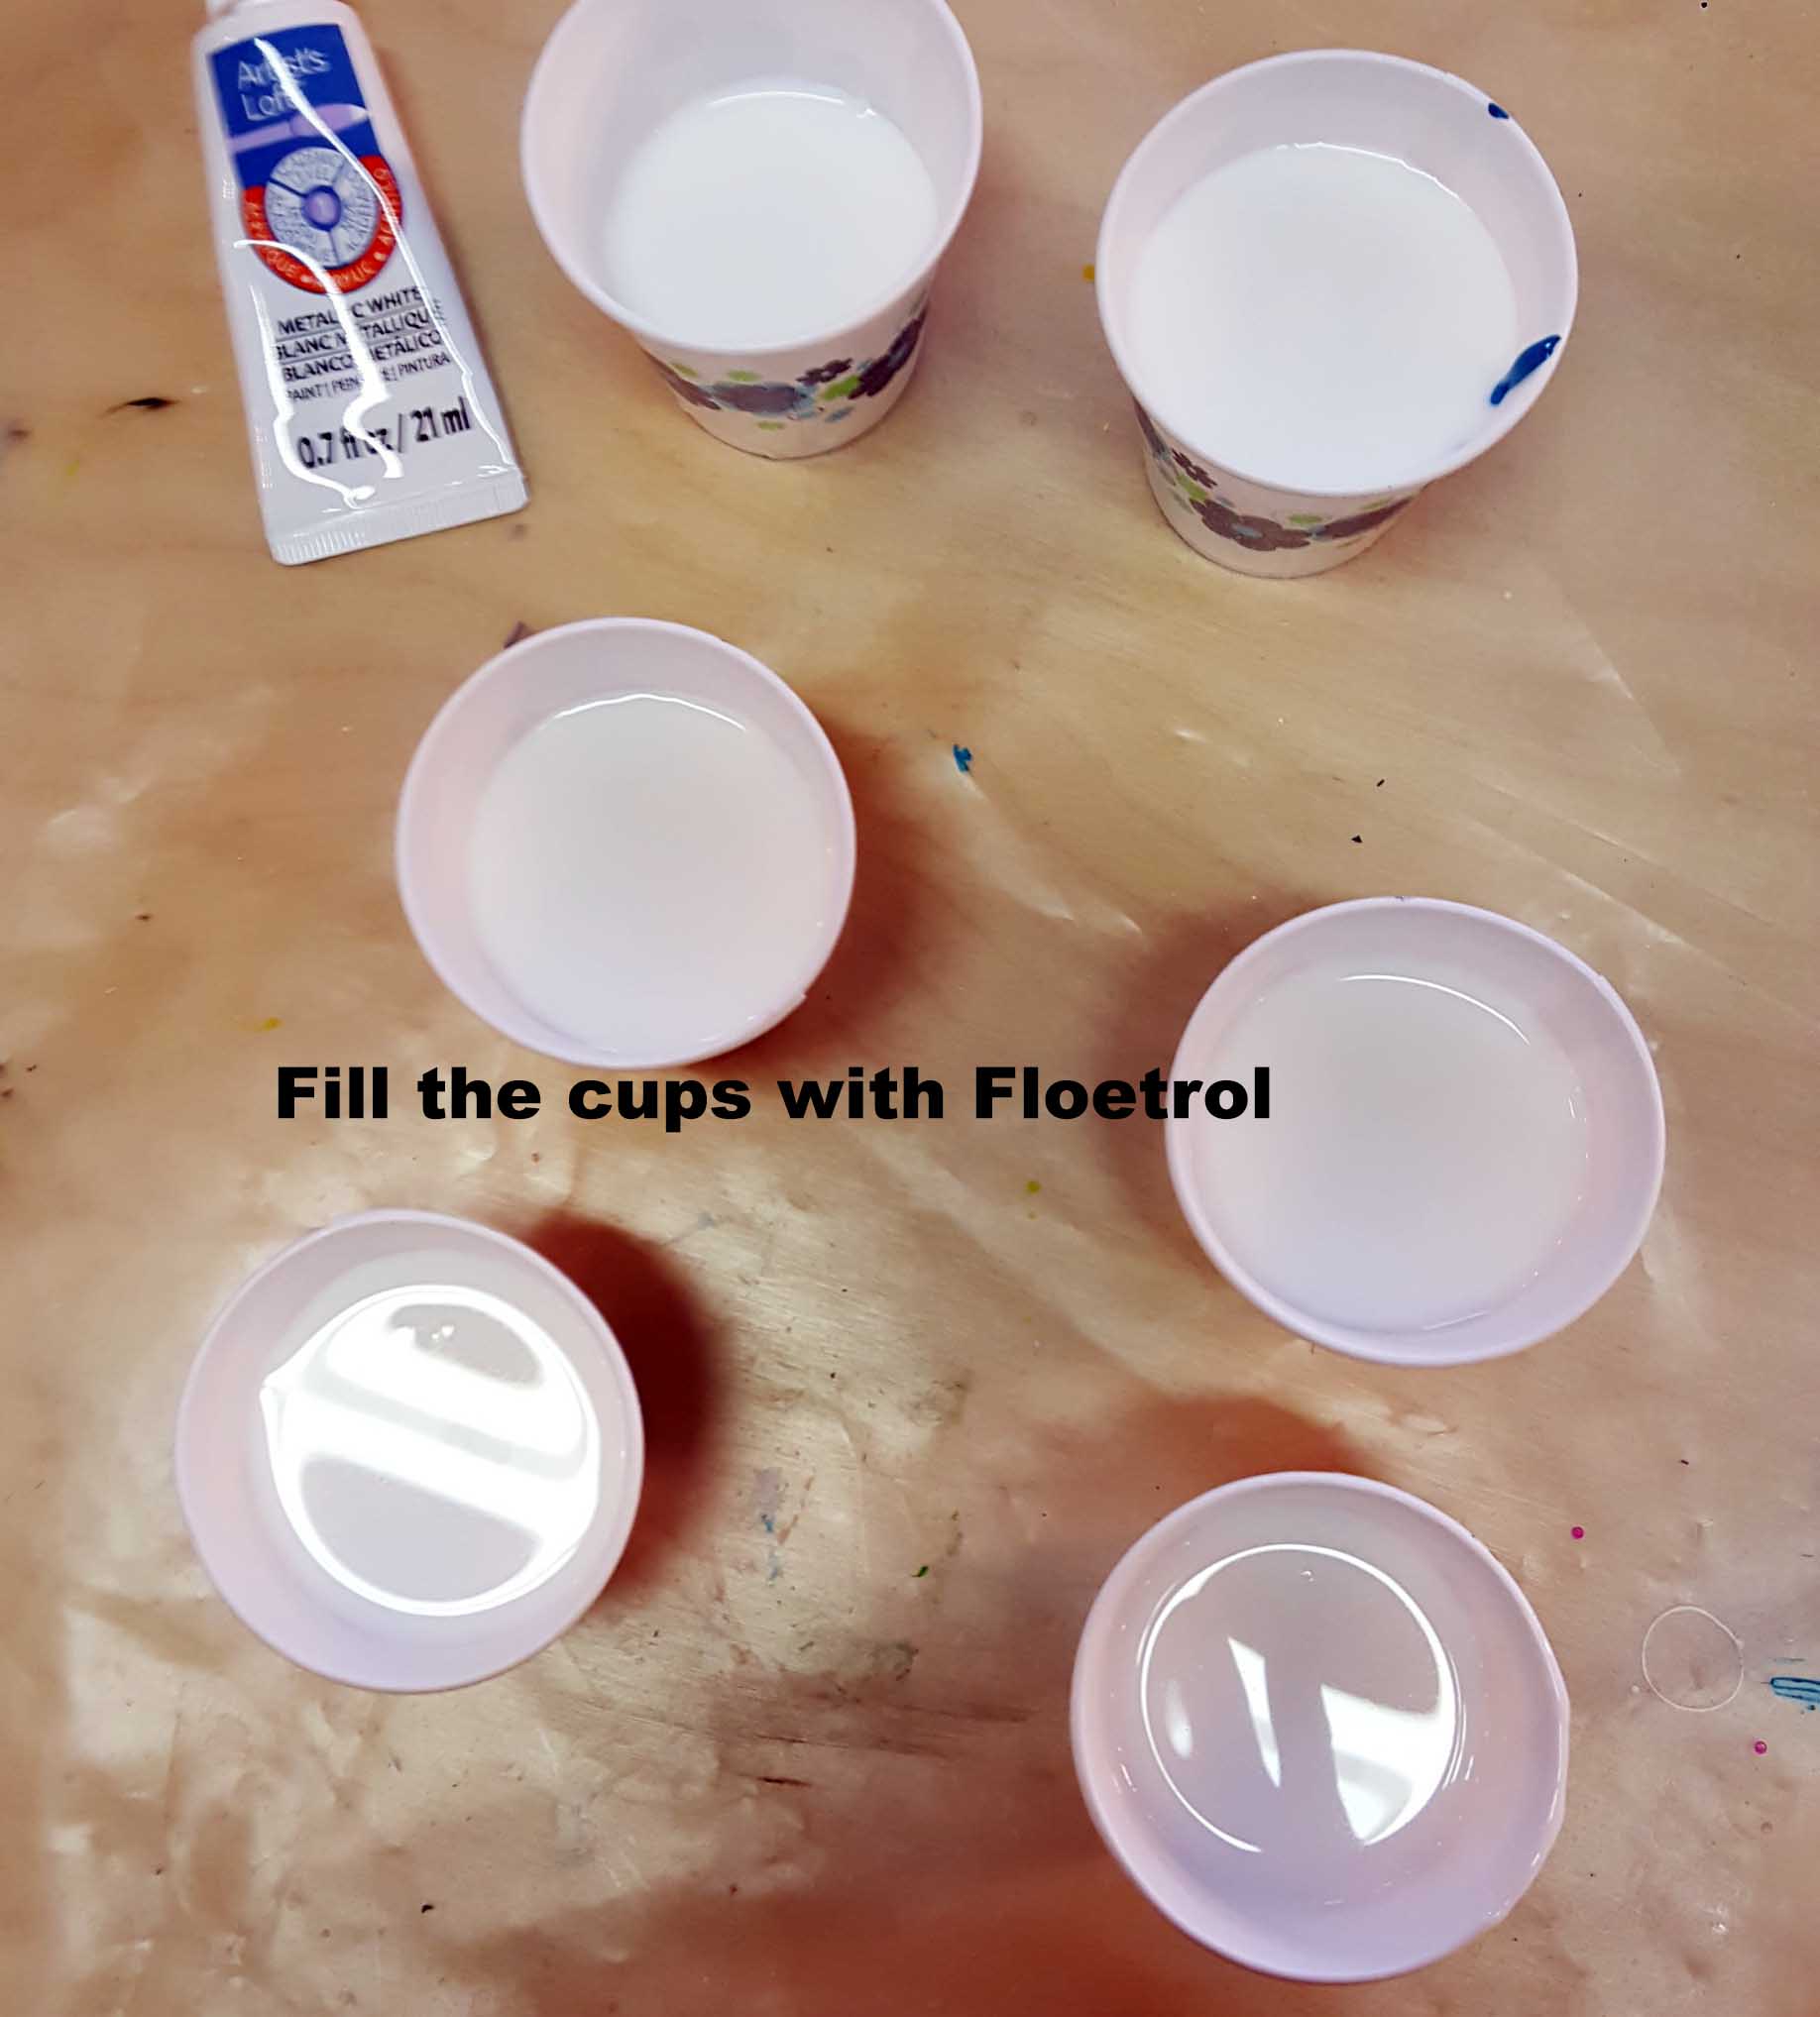
009-Add Floetrol
The ratio I use is 1 part paint to 4 parts Floetrol (except for the metallic white which is 1:1 or 1:2 )
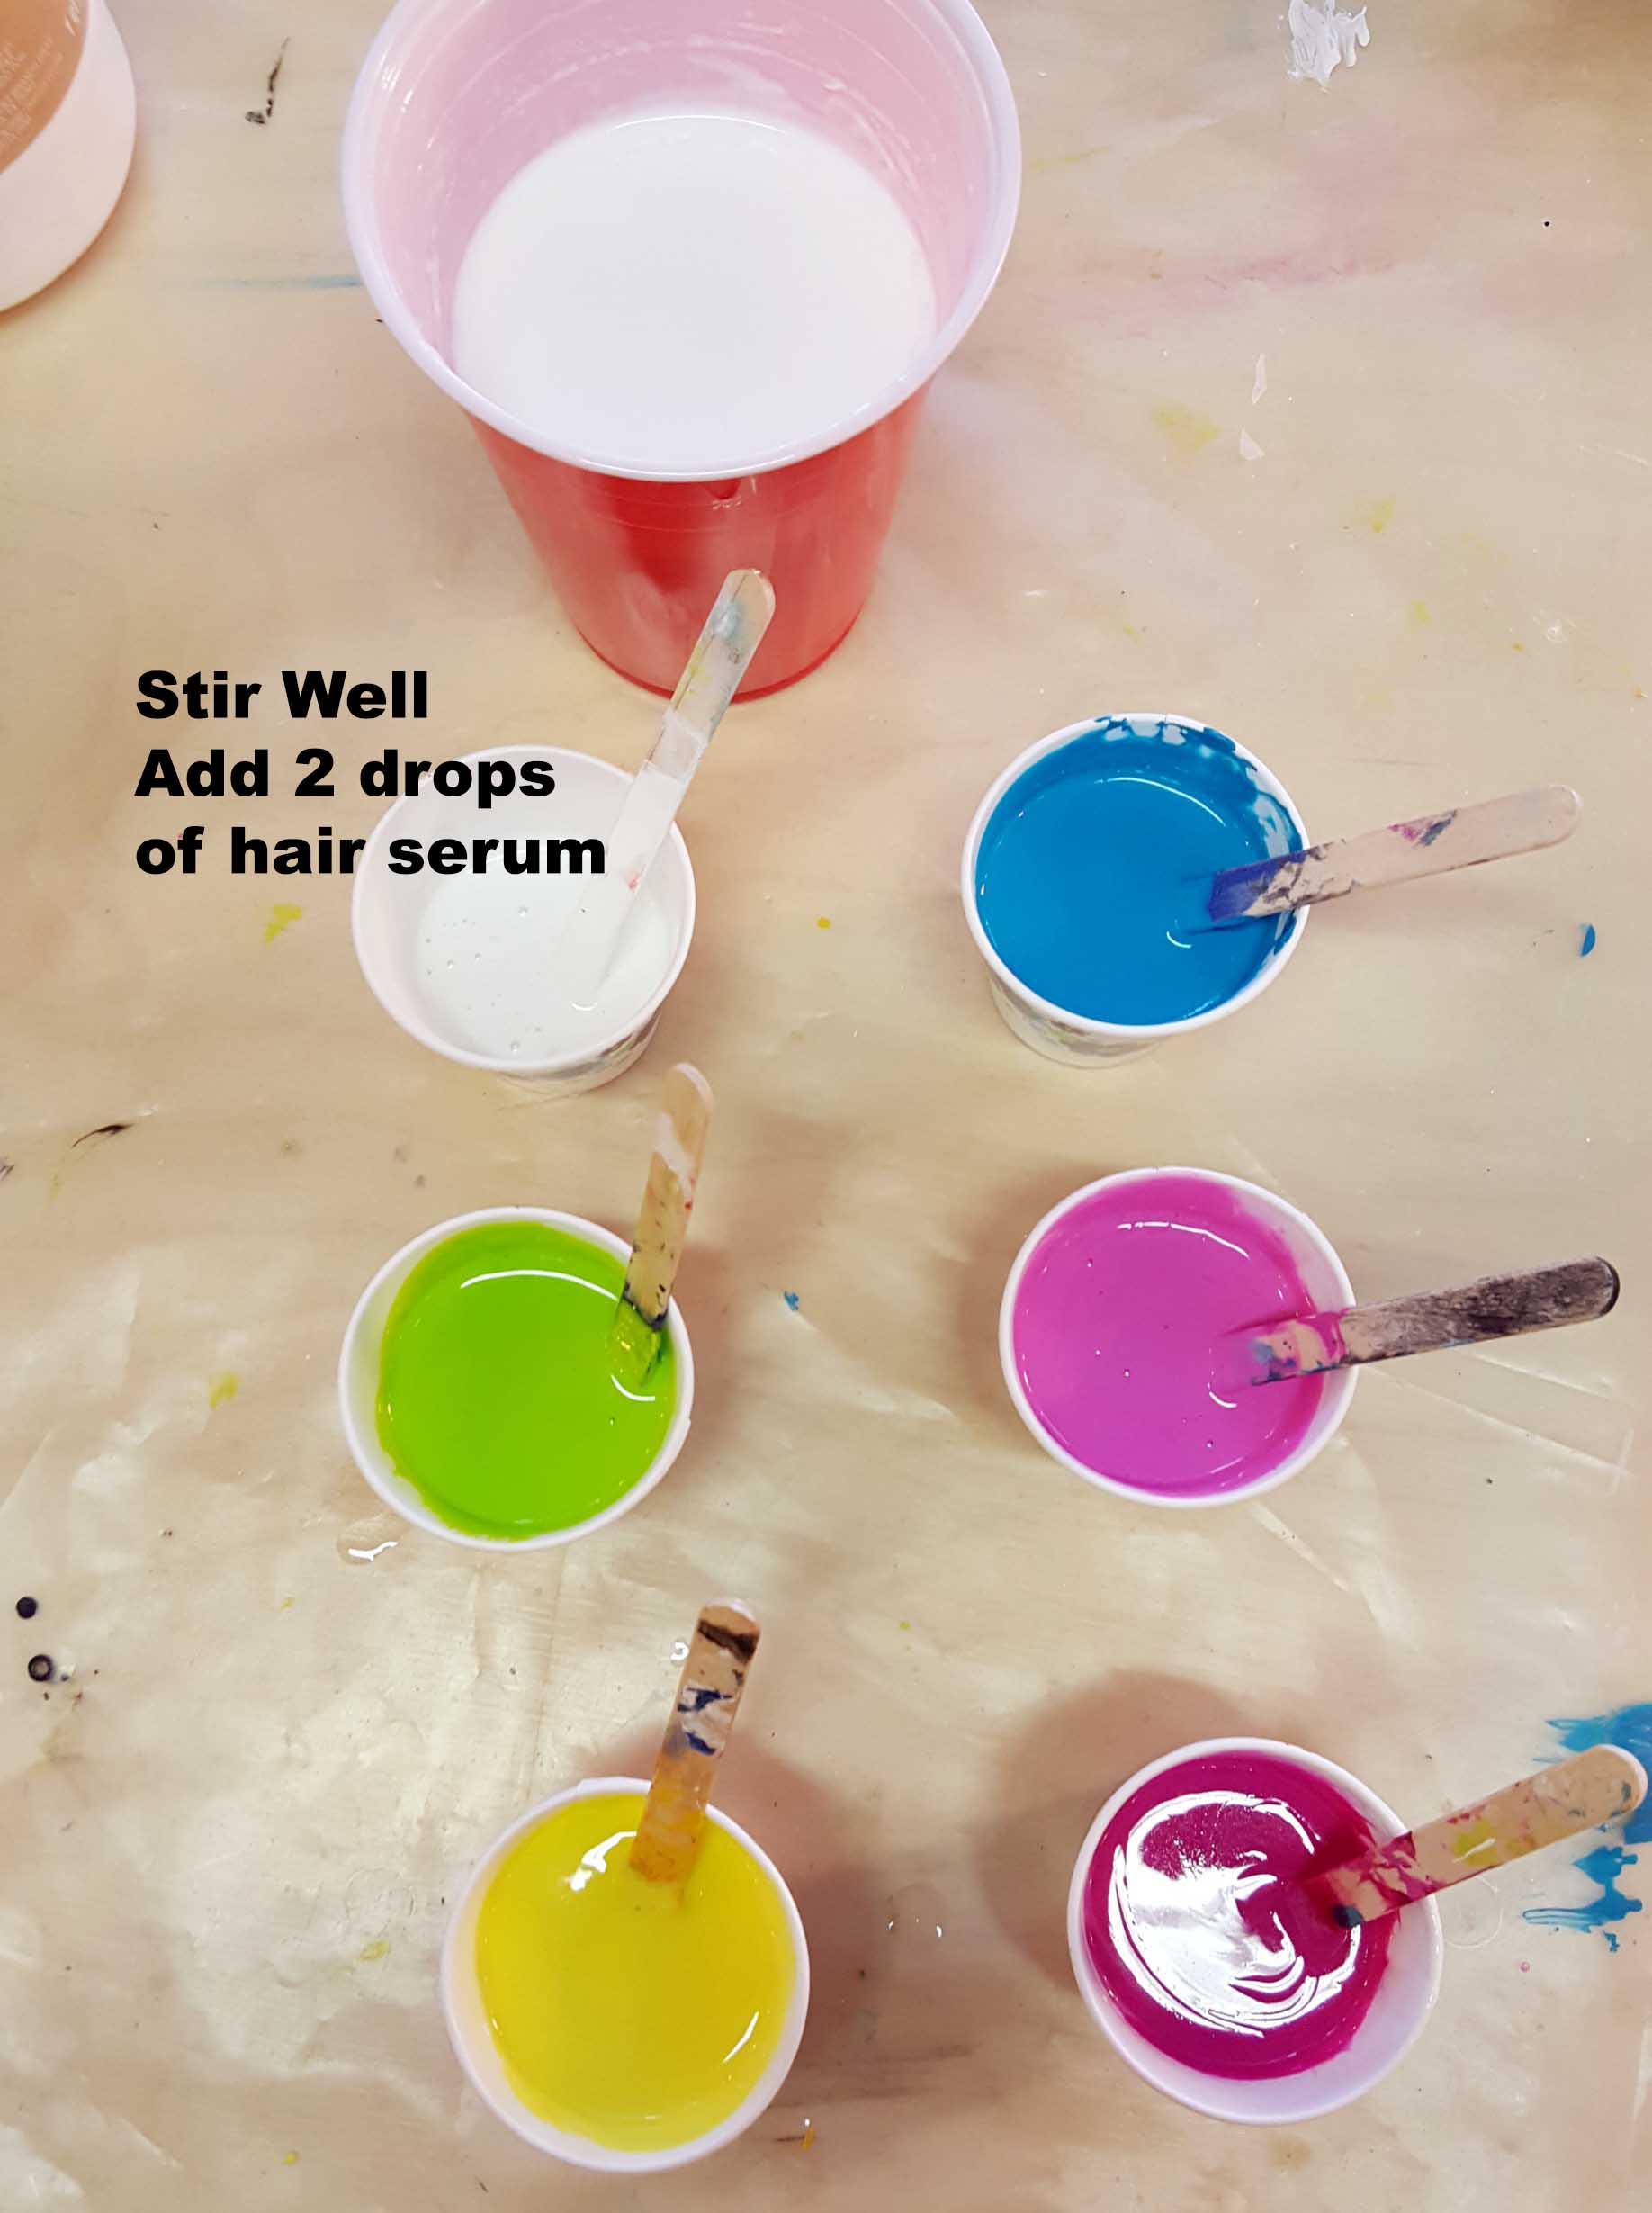
010-Stir Well
Don’t forget to add 1-2 drops of the hair serum.
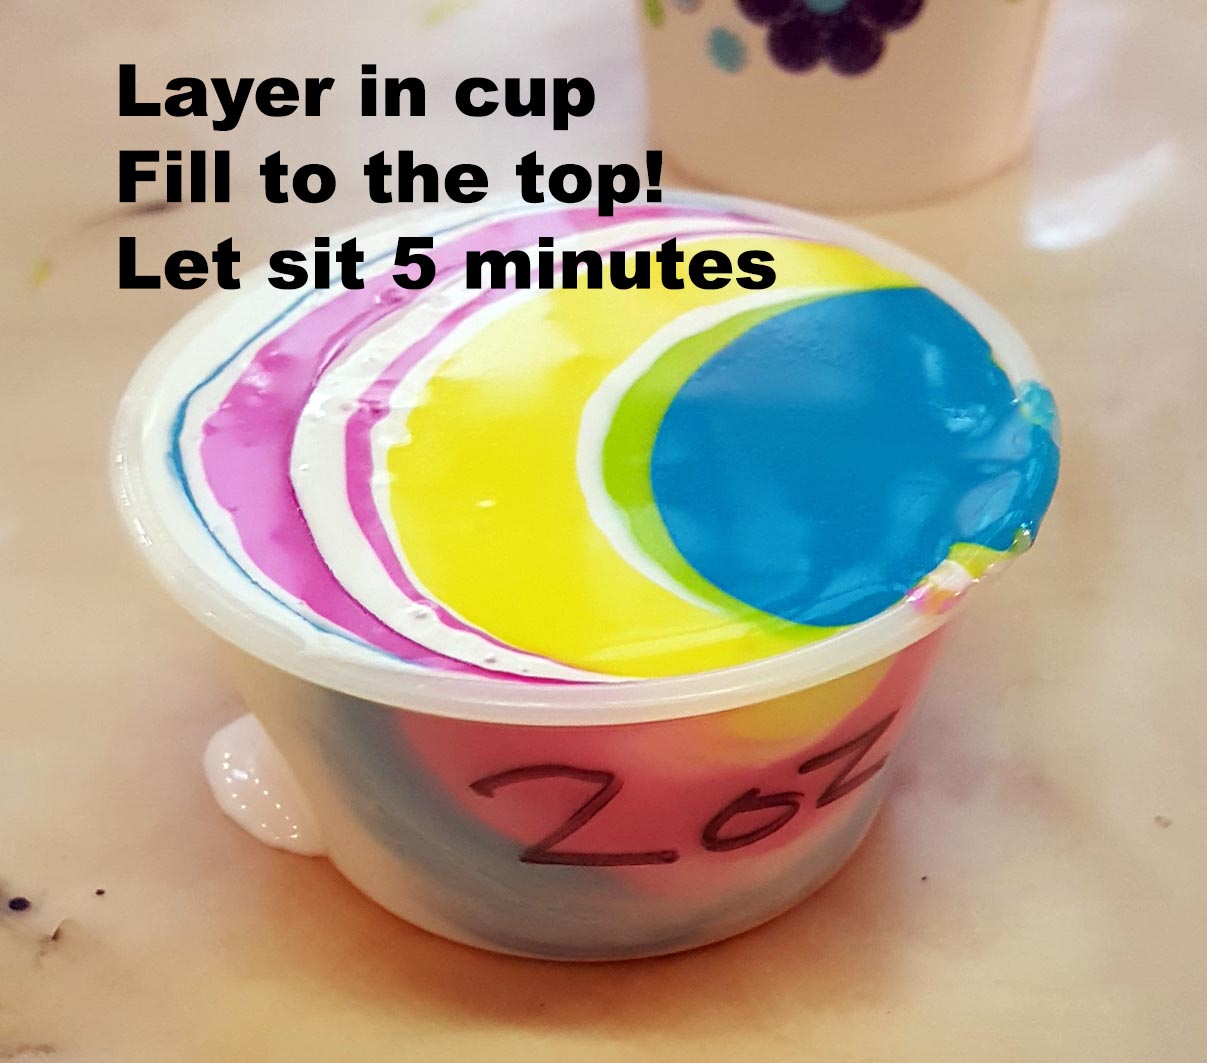
011-Layer In Cup
Tilt the cup sideways and add one color after another (use white or black between colors or another color of your choice)
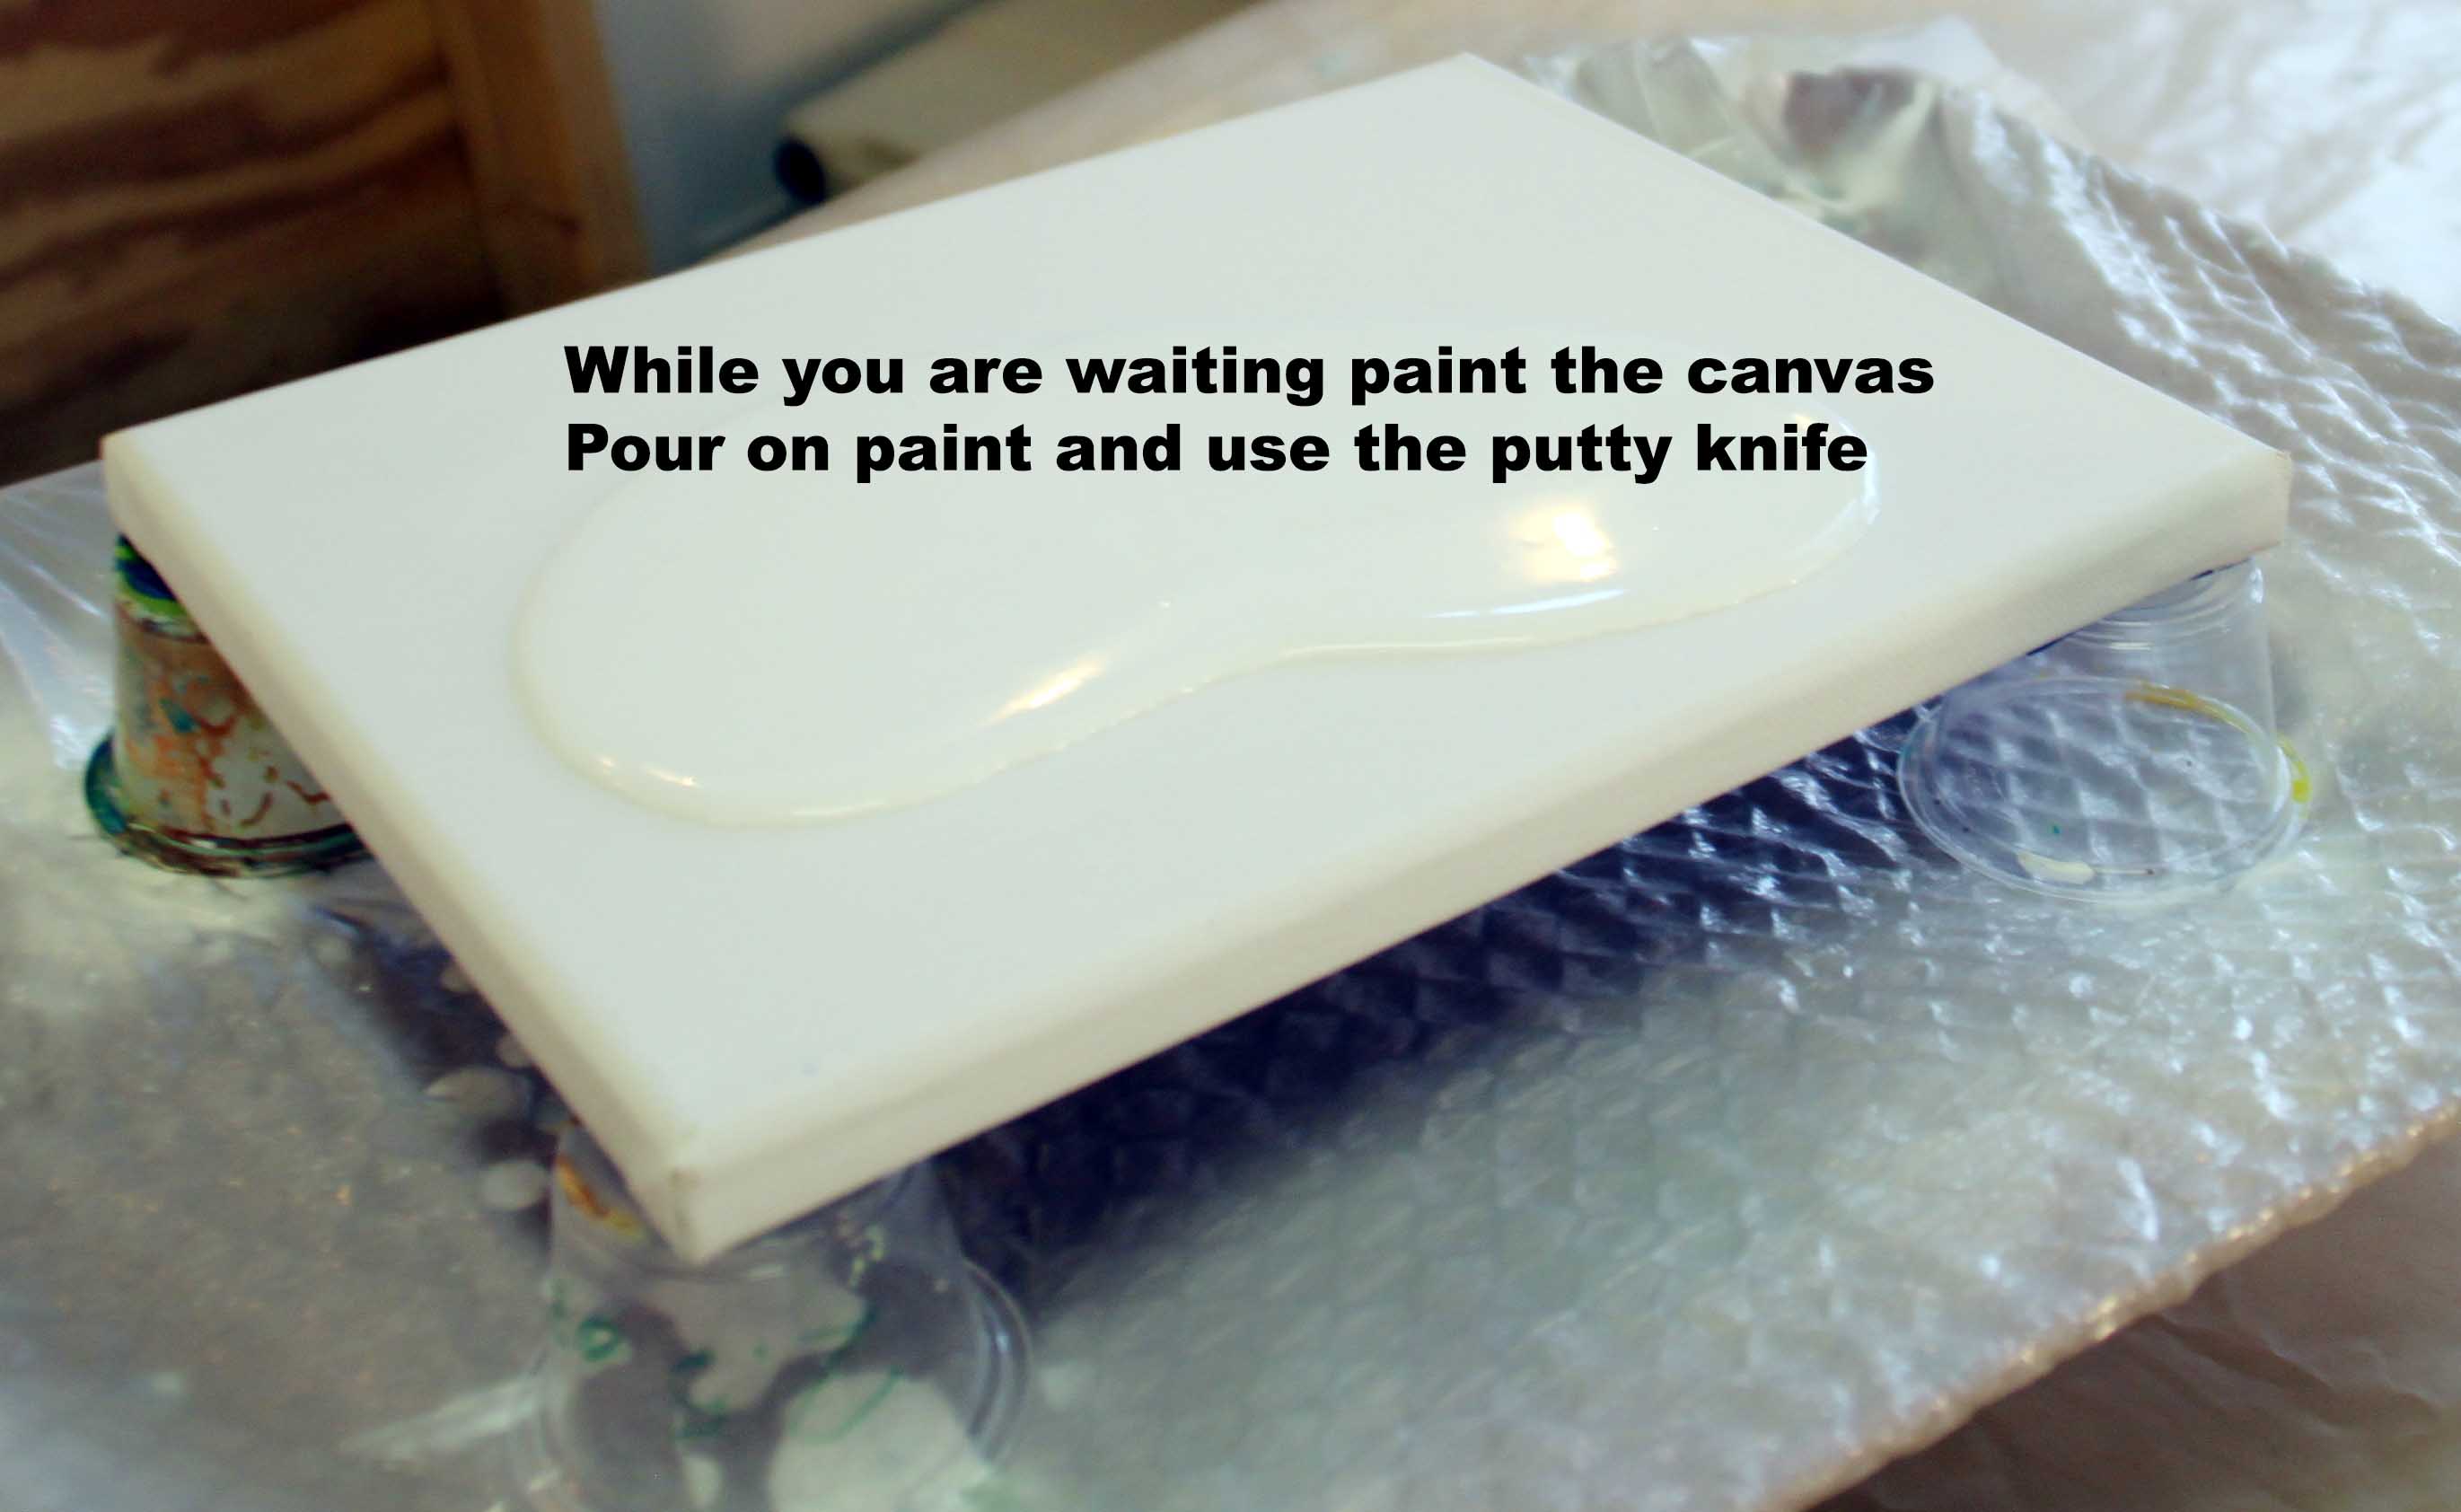
012-White Canvas
Generously pour on paint and spread it around, covering all the canvas including the edges

013-After 5 Mins
Look at the previous picture. See how the green and blue have partially fallen below the surface.
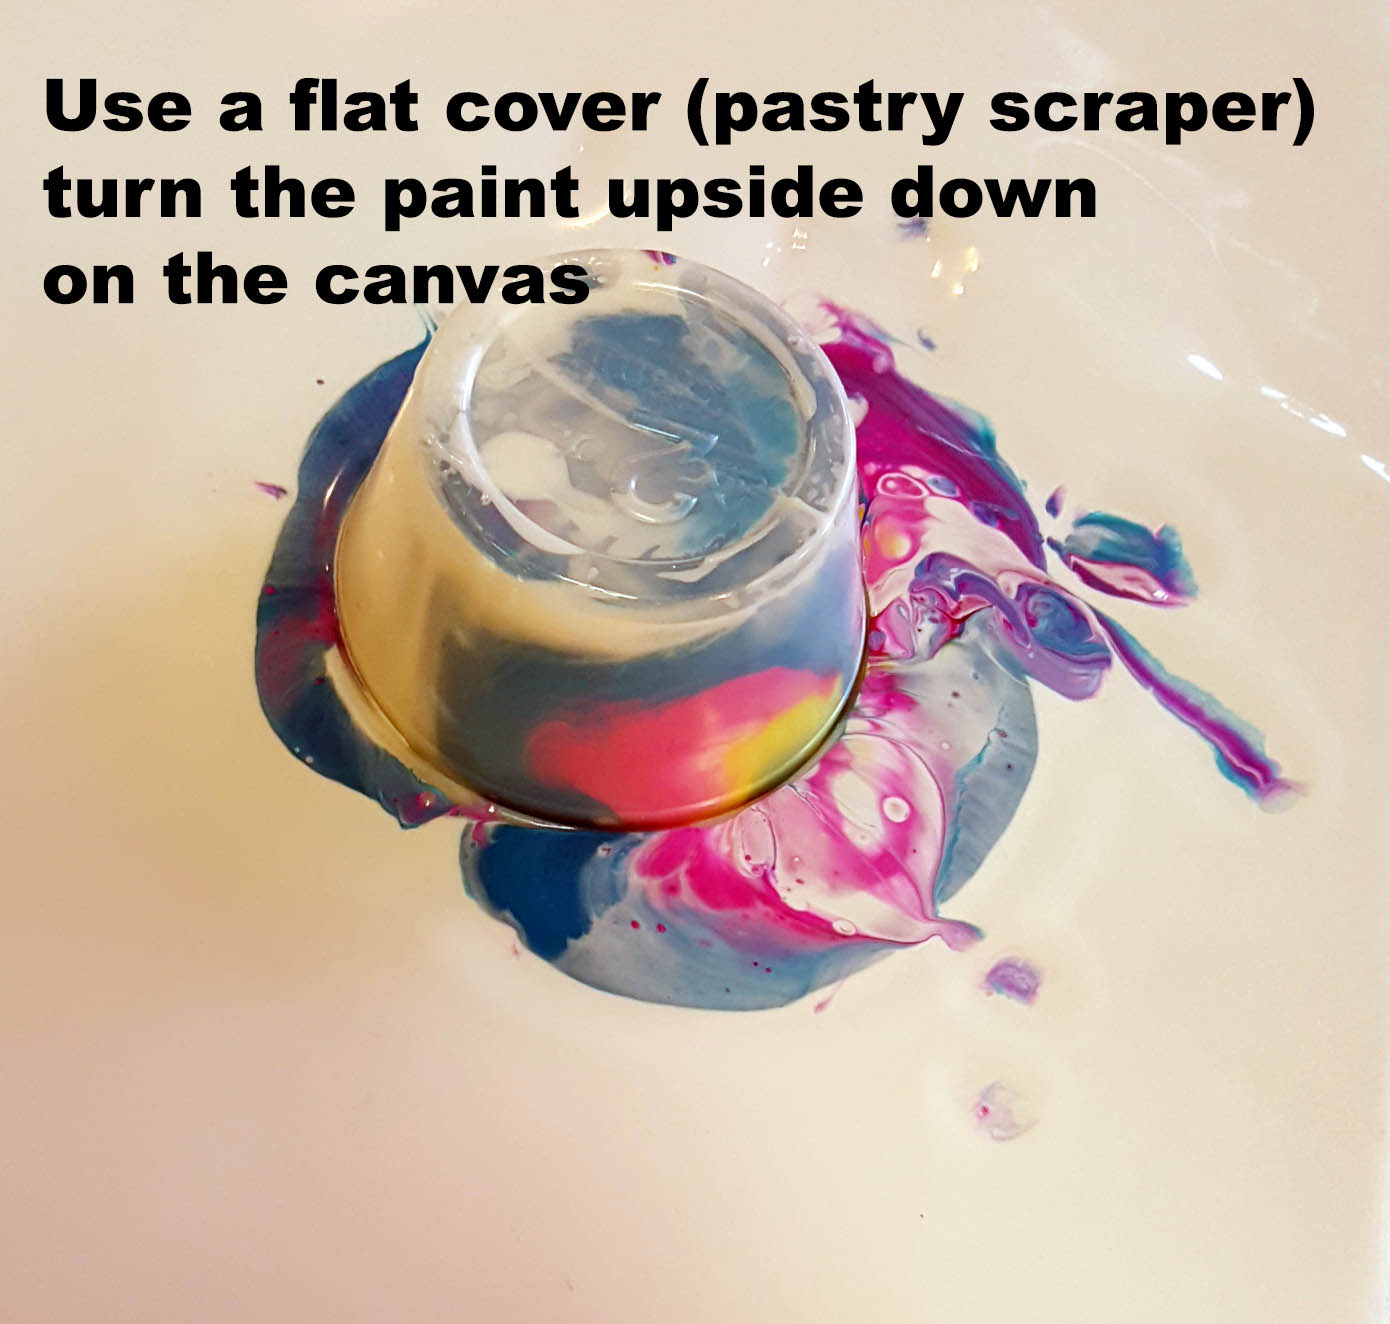
014-On The Canvas
Using the pastry scraper to cover the top of the cup, turn it upside down and slide it onto the canvas
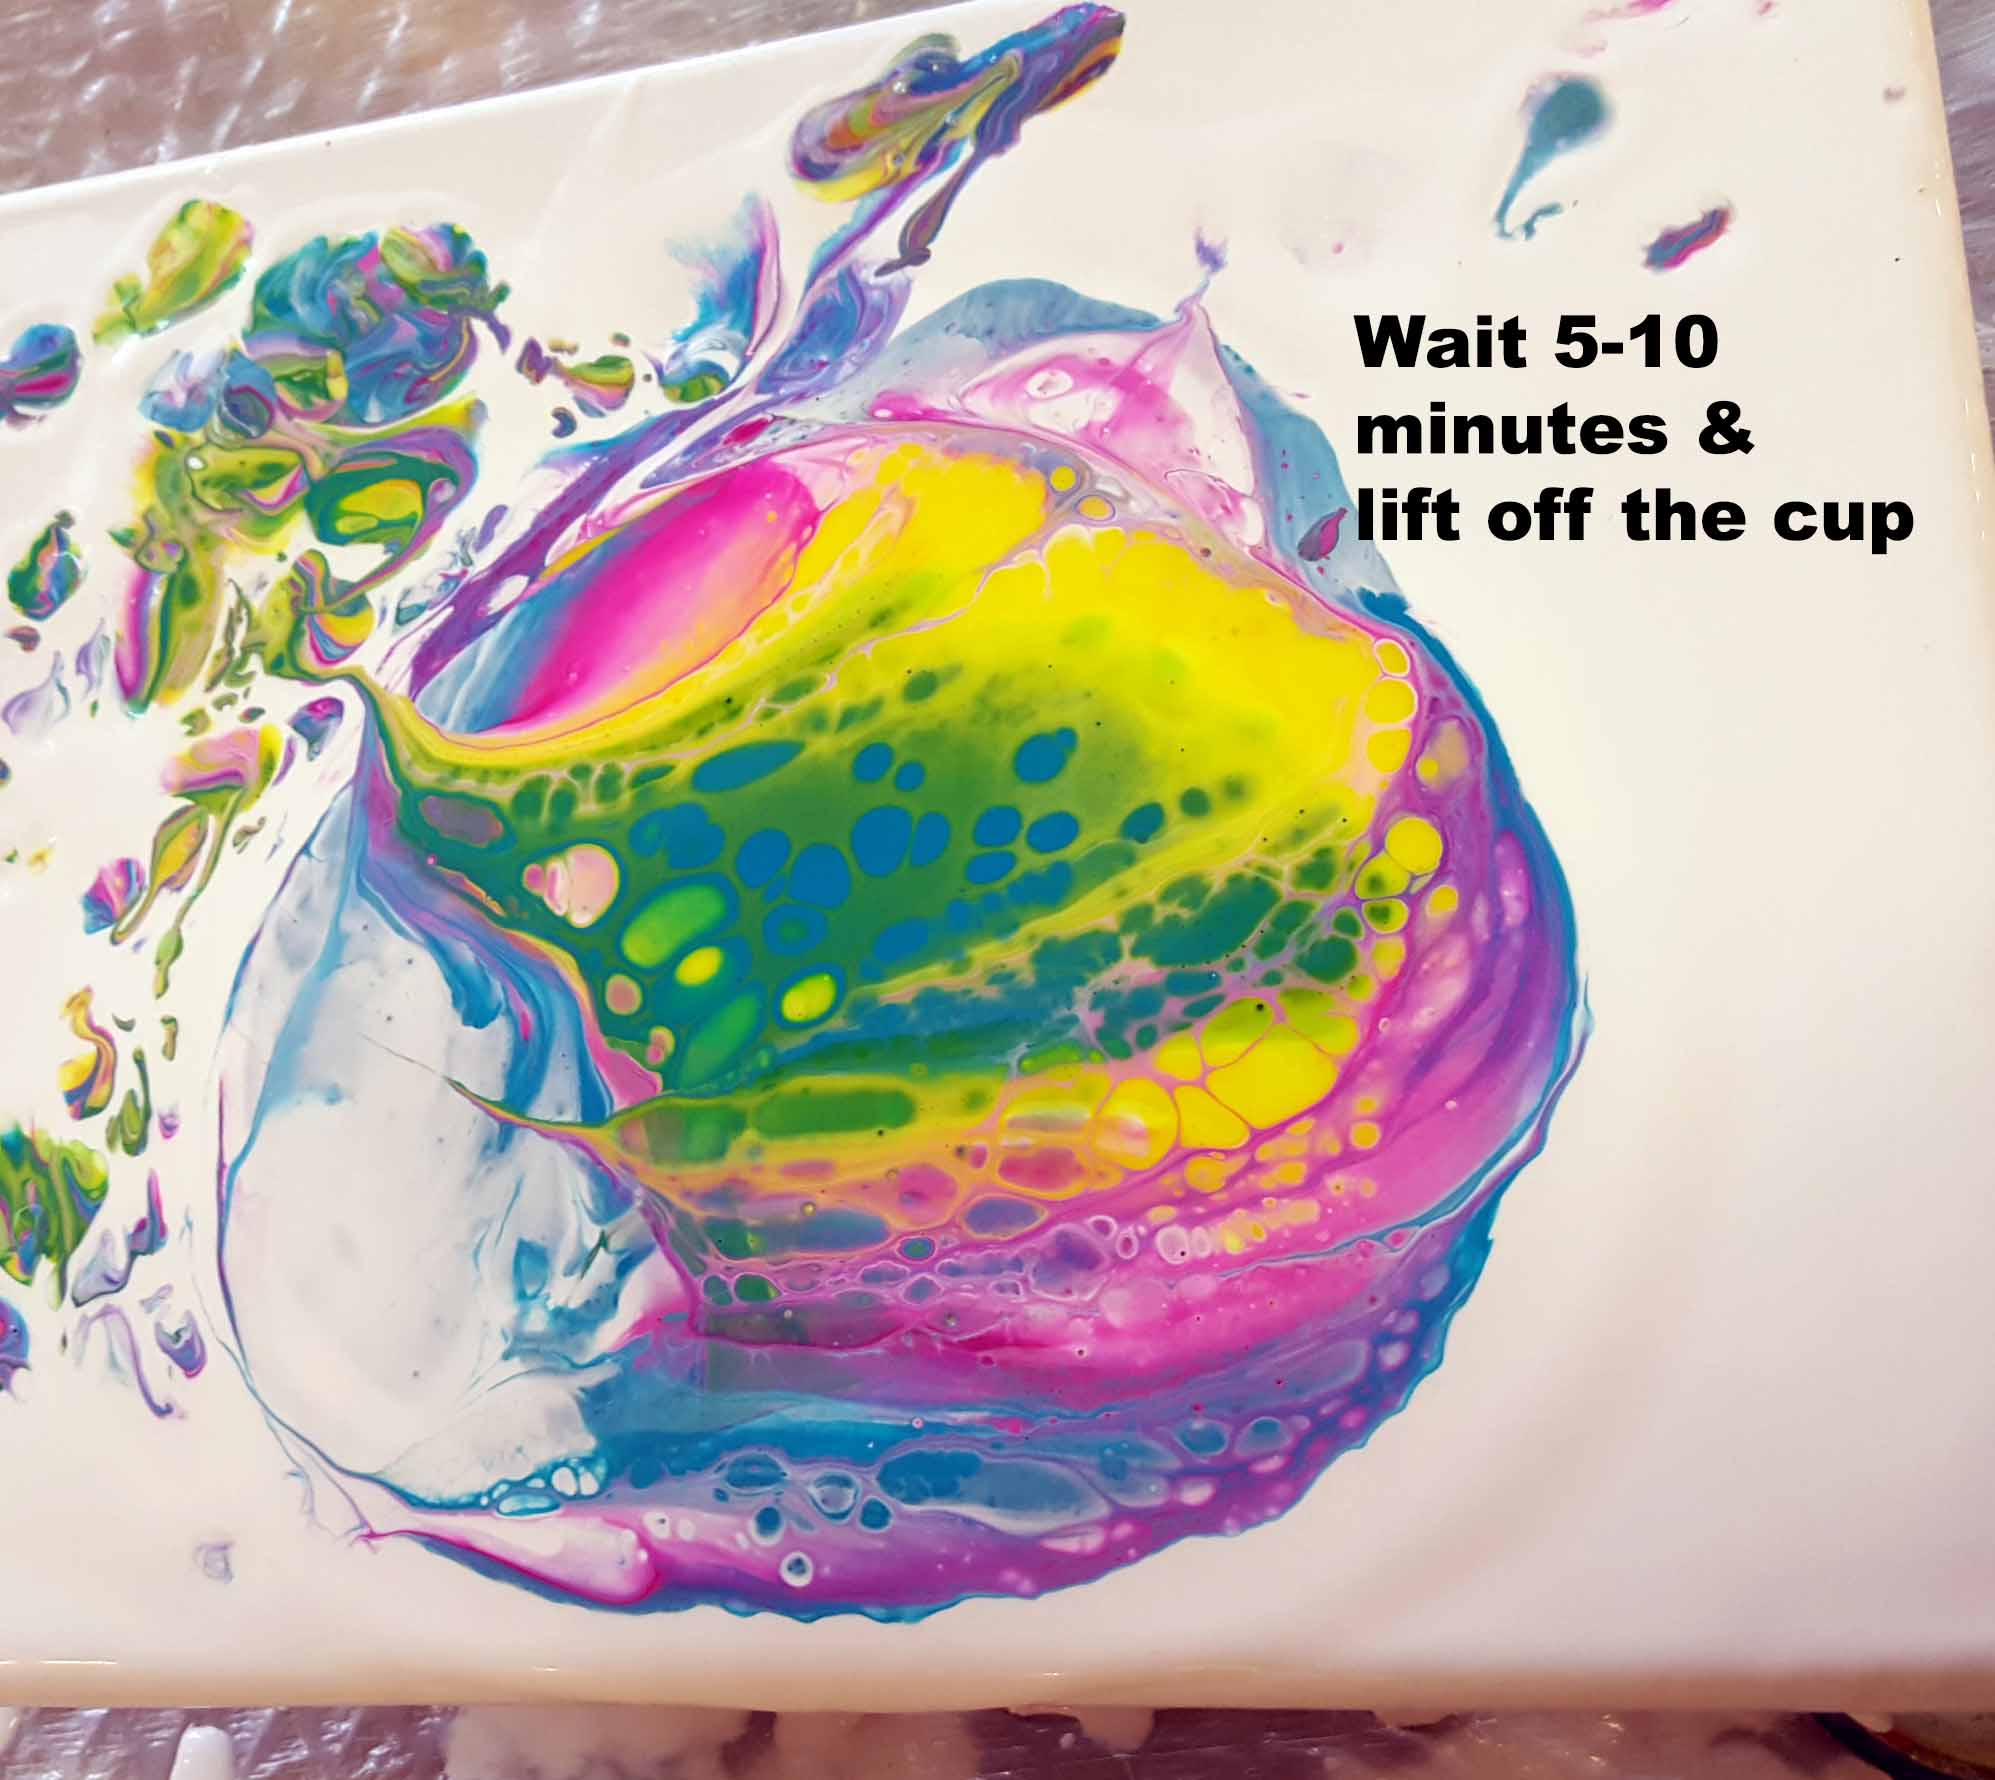
015-Remove the Cup
Gently lift up the cup. The extra drops are from the inside of the cup (shake them out).
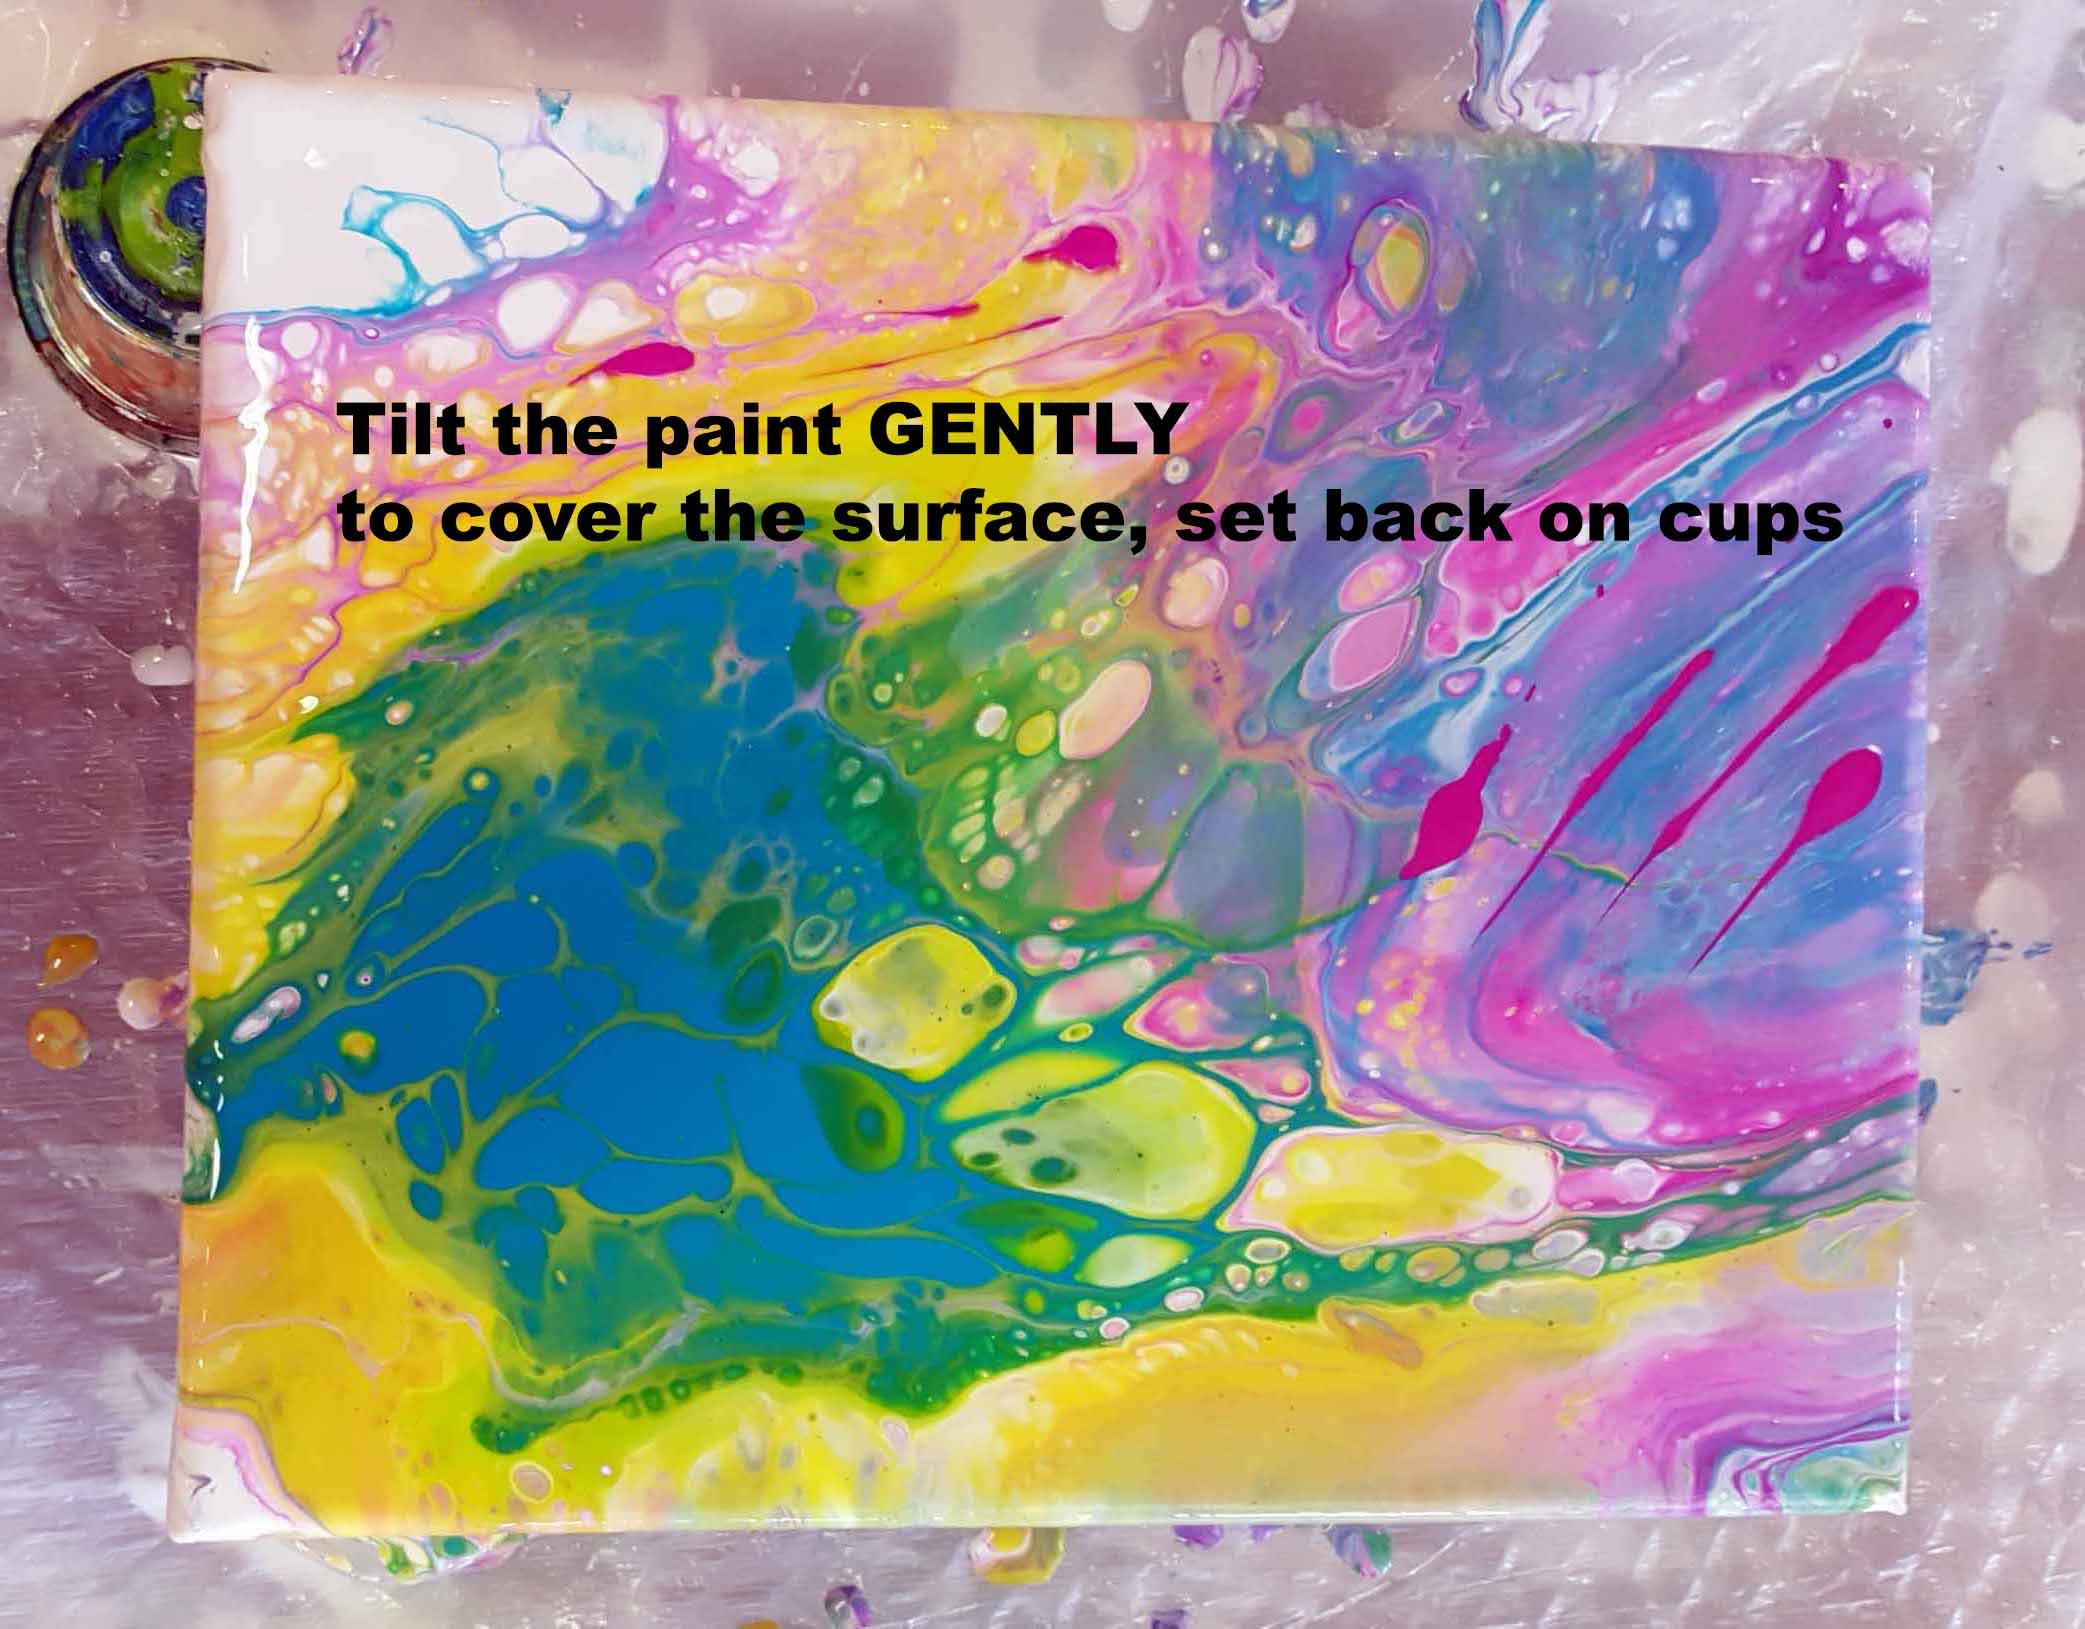
016-After Tilting the canvas
Gently tilt the canvas backwards and forwards at a slight angle to move the paint around.
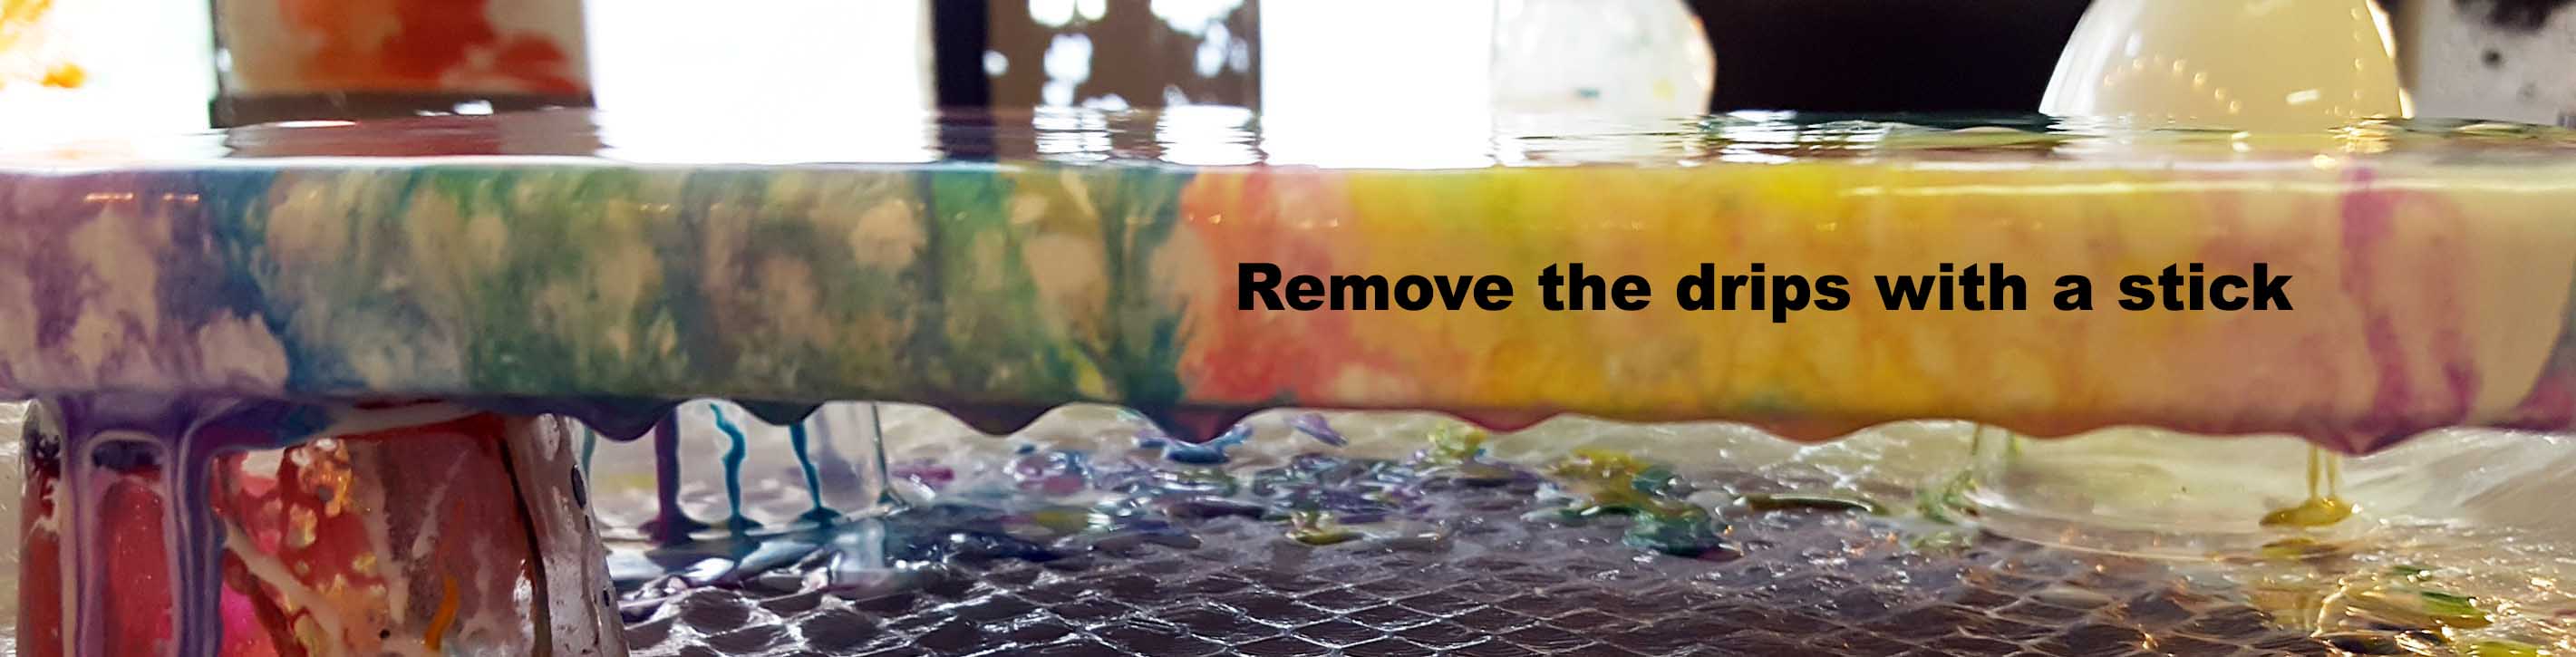
017-Remove Drips
Use a popsicle stick to remove the drips from the bottom.
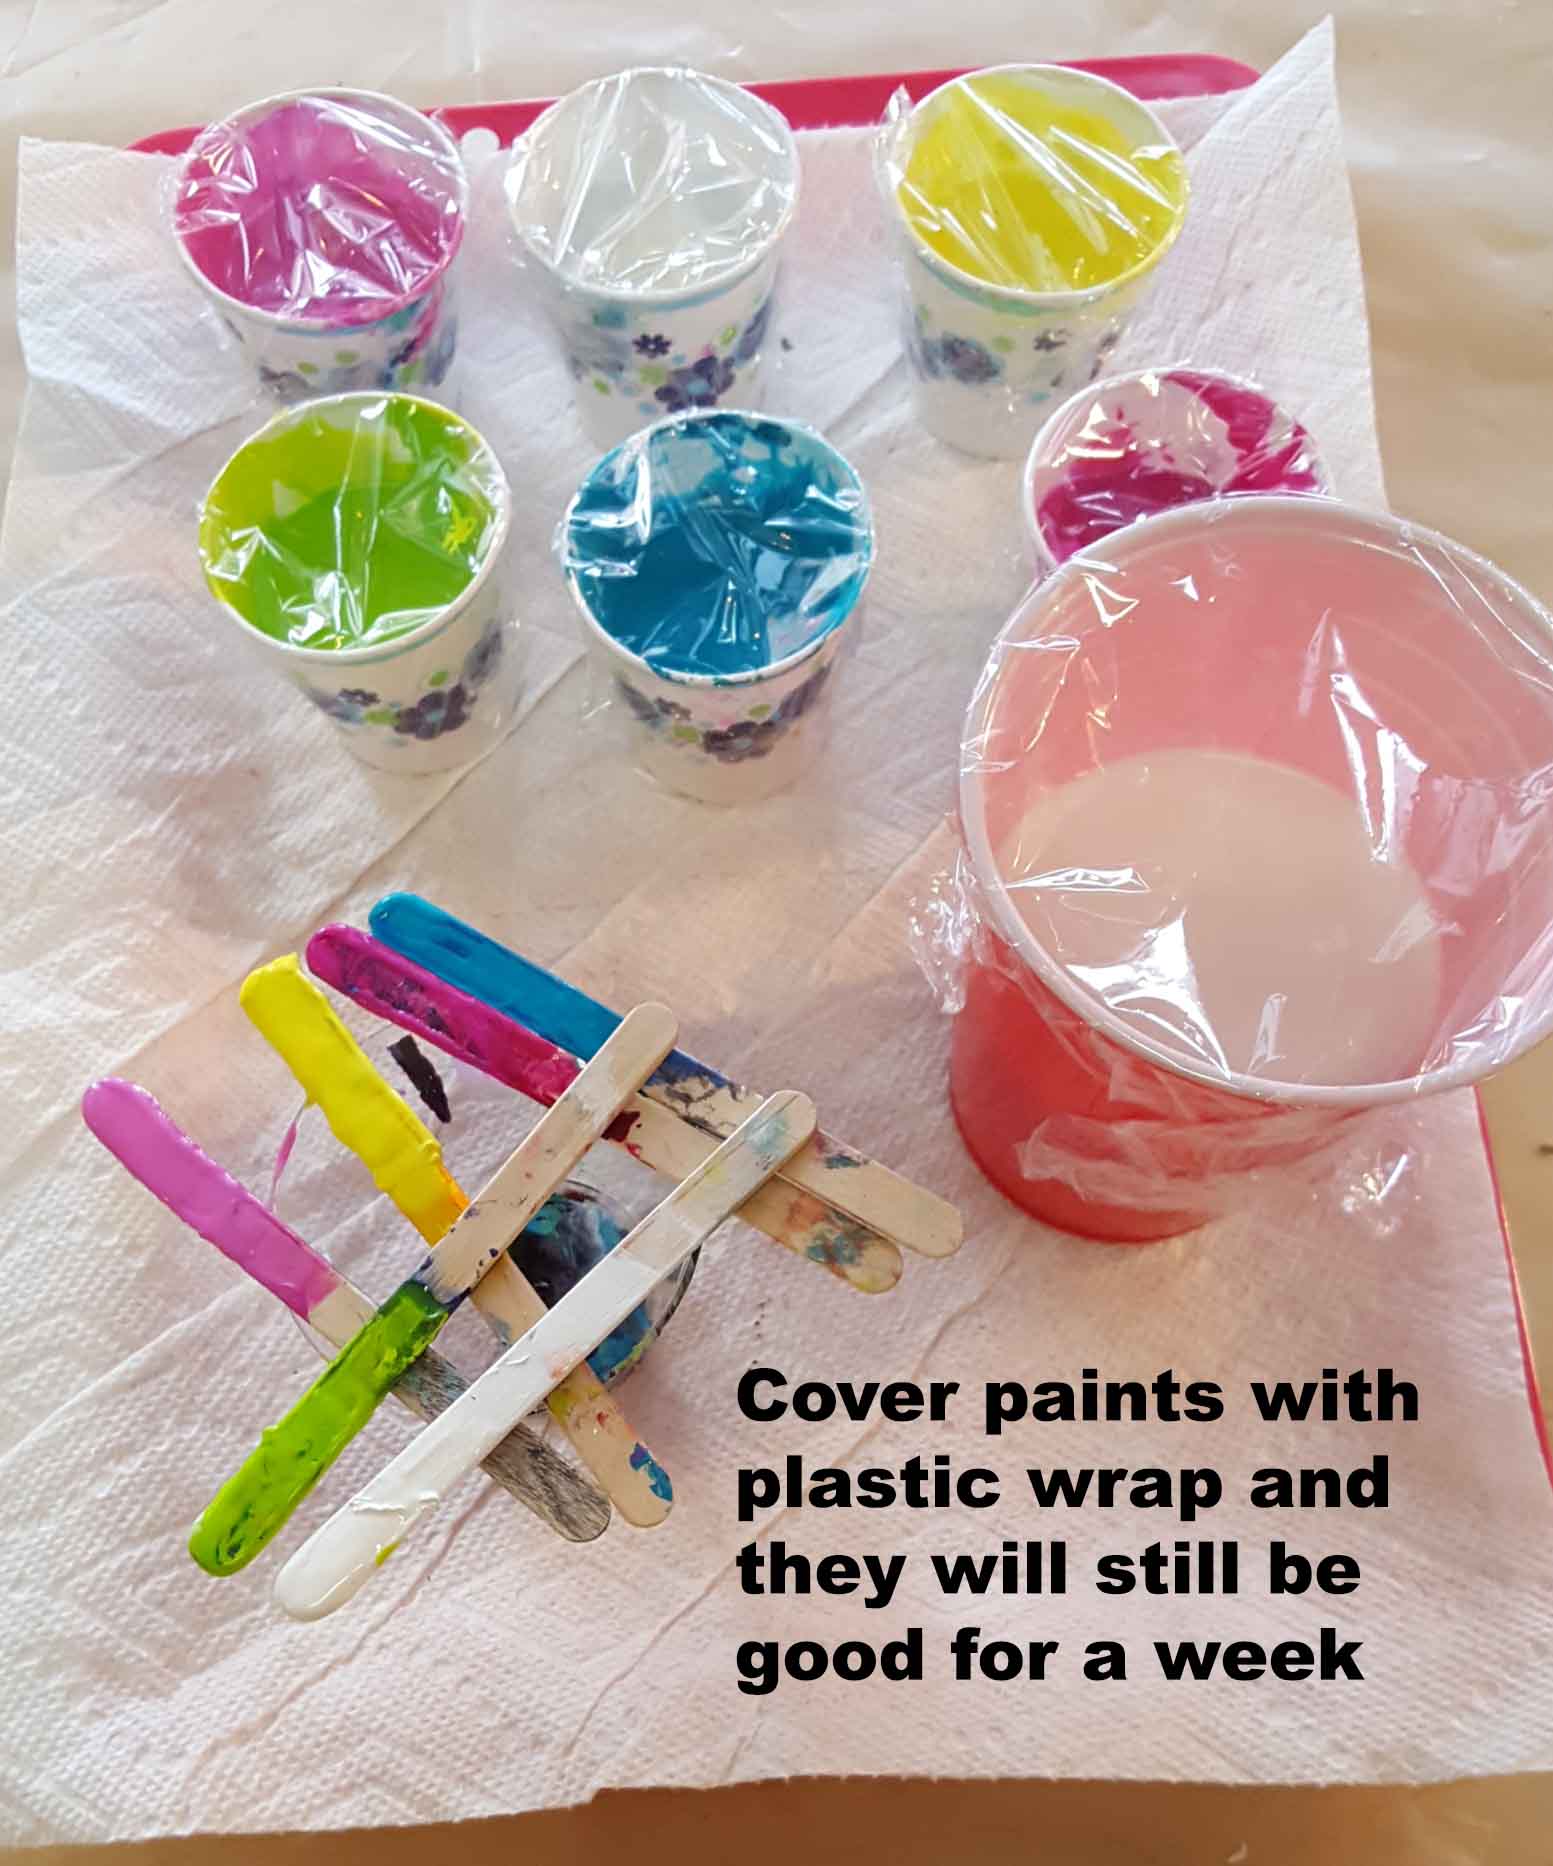
018-Cover Paints
Plastic wrap protects your paints for a week or more
Thank you for the comprehensive instructions; I had a lot of questions after seeing random YouTube videos, and this blog answered them.
That’s great Amy, you’ll have to post your pours somewhere so I can check them out!