What to call it? Today, Bev Goldie taught a workshop on “paper-making.” We weren’t actually making paper but using inks, stencils, wax, and watercolor on Japanese mulberry paper. The goal is to incorporate these papers into our encaustic work. It was a great workshop and I learned several new techniques and rediscovered how beautiful Walnut Ink can be. There are a few things to keep in mind as the work progresses. In general, the order you work in is 1) use wax as a resist, creating patterns, splatters, or using templates; 2) add water colors and be prepared for significant darkening of the colors once they are covered in wax; and 3) after you’ve have the pieces adhered to your board, you use ink, shellac, other waxes, or ink stamps just as you would on a wax surface.
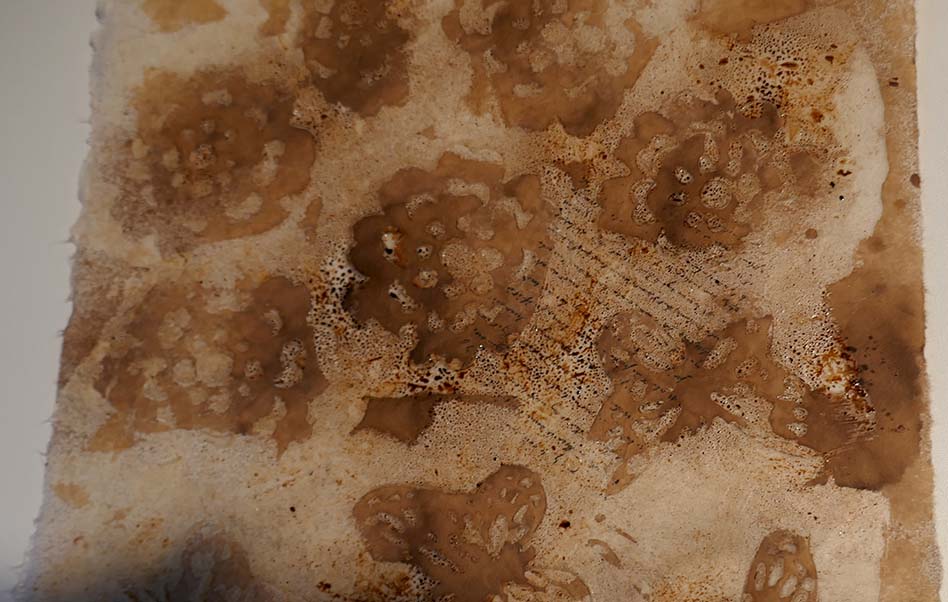
My work: Although we all had the opportunity to make 2 pieces, I was only satisfied with the one pictured above. The lucious brown with the butterflies and writing is one of two papers in this piece. The other, the blue on the far right, now only shows as texture since in the process of creating, I distressed and buried most of the second paper.
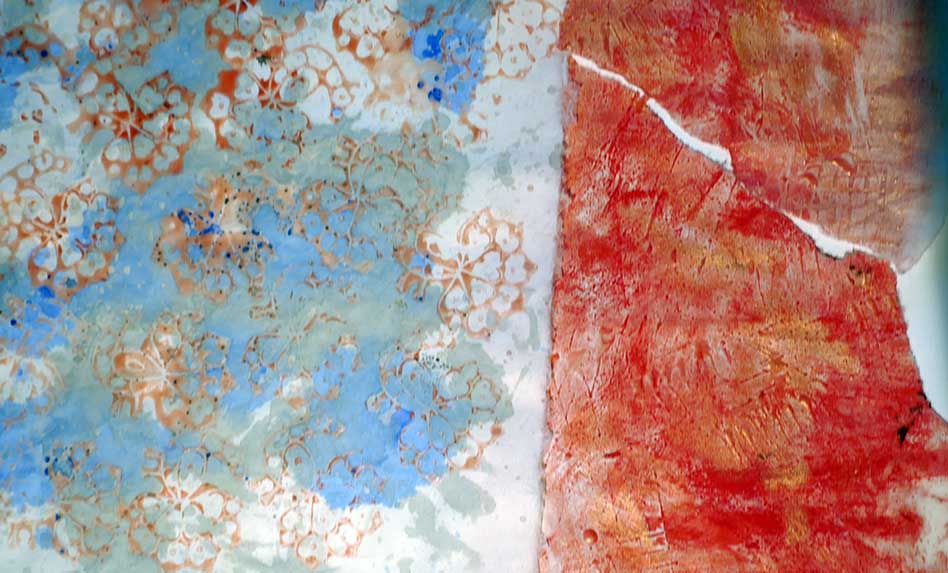
Samples of my papers: I made 4 papers in all. The first photo on the left shows two of them. On the left side of the first photo you can see that I used a textile stamp I got in India, and blue and green watercolor with wax added. On the right of the same photo, you can see an intricate wax pattern that has been supplemented with red and gold pastel, both of which were scrubbed into the paper. Although lovely to look at, neither of these pieces was satisfactory when covered with wax. As expected, the colors got darker but I hadn’t expected that the complexity of the materials would so dimenish the translucent wax effect.
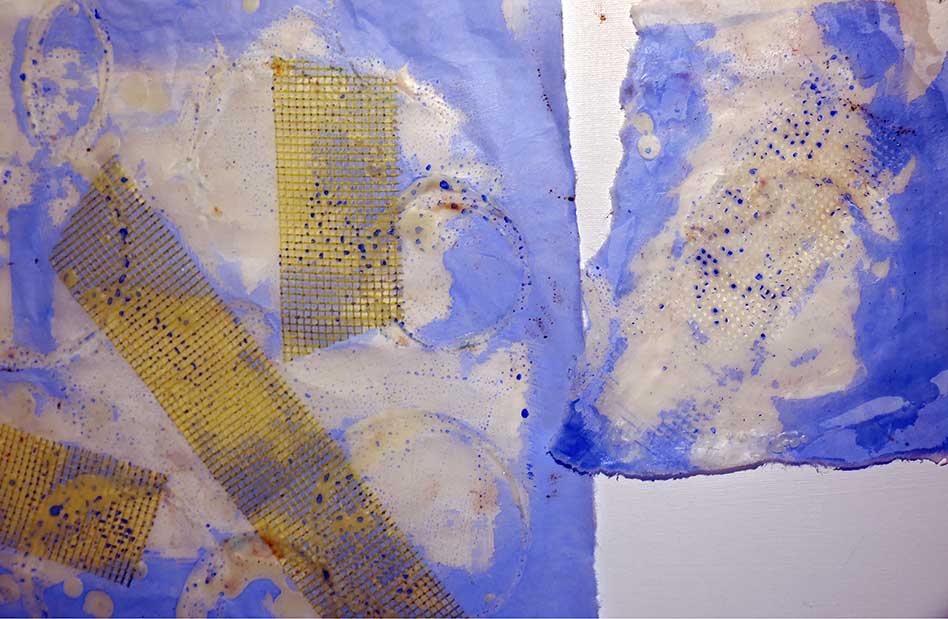
The middle photo is started by using wax on two metal templates (a flower and a butterfly). I then added a yellow ocher watercolor and sprayed using walnut ink (see the photo above too). The last photo shows two parts. I used drywall tape as a patter for my both the wax resist and the watercolor that got added afterwards. Since the wax had cooled I could only remove the tape after the paper was applied to a surface and heated. As you can see on the right side of the photo, the effect of the drywall taped created texture and variety.