How to Make Your Explosion Book:
A Creative Kit by Dana Grubbe
Make a pop-up book that bursts with original art.
Welcome! I’m Dana Grubbe, and I’m excited to share this fun and creative project with you: how to make your own Explosion Book.
I discovered Explosion Books when our daughter—who was teaching art classes at her children’s grade school—gave me one as a gift. It was simple, with blank white pages the kids could draw in after folding. Even 1st graders were making them!
Curious to learn more, I did some digging and found a fantastic resource on YouTube: the Amsler Art Room. I was hooked!
There’s a full video (see the QR code in the next section). There is NO SOUND. Expand my description (more) to see time markers for the different construction steps.
For an alternate perspective, I recommend checking out this helpful tutorial:
Let’s get started on your Explosion Book!
Materials included (see Figure 1):
- 2 pieces of hardboard (approx. 4.5″ x 4.5″) – your book cover support
- 2 pieces of paper (approx. 6″ x 6′) – your book cover ‘covers’
- 1 ribbon and 2 glue-dots (optional)
- 3 sheets of black paper (8″ x 8″) – your book pages
- 1 page of original art pre-cut into squares (3.5″ x 3.5″) and triangles to decorate your book
- 2 Elmer’s glue sticks
- 2 pieces of Baker’s paper – for rubbing on your art work when gluing
- 1 paper towel

Fig.01: Whats in your kit.
QRL-UT-WR
Suggestions:
- Work on a hard surface–plastic or glass is best. If you’re working on a surface you want to protect, cover it with newspaper, wax paper, or freezer paper.
- Cap your glue stick when not in use.
- Dampen the paper towel slightly to clean sticky fingers. Avoid getting water on your project.
- When gluing, align carefully, press down firmly, and rub with Baker’s paper to secure the bond and keep your hands clean.
- When folding a page, align the edges or corners first, then crease the fold with your fingernail or a smooth tool, like the back of a spoon.
- Once your pages are glued and stacked into a square, they may stick together. Gently pry the pages apart where they are joined. Repeat this step after attaching the covers and again after adding the artwork.
- Let glue dry under weight (e.g., heavy books, cutting board or skillet) for 5-15 minutes before unfolding or separating pages.
- After finishing your book, open and close it a few times, then leave it open overnight to prevent pages from sticking.
- Your art work is original and protected with a UV-resistant varnish. Still, avoid placing it in direct sunlight or hanging it near windows.
- Your art paper is unique, and how you arrange it is part of your creative process. You can also add your own markings or color. Be sure to let the book dry open afterward.
- The ribbon is optional. If you’d rather not use it, just skip those steps.
- If you have purchased this kit as a stand-alone project and need help, consider signing up for a workshop. 2025 dates are listed on the calendar above.
Make Your Covers (Figures 2-6):
- Apply the glue stick to one side of a hardboard piece (Figure 2).
- Press the glued side onto the back side of book cover paper, Rub firmly. Turn it over and rub the front to remove any wrinkles.
- Apply glue to two opposite sides (Figure 3).
- Fold one side over and press down (Figure 4). Repeat with the opposite side.
- Apply glue to the corners. Fold in corners as if wrapping a gift (Figure 5), and press down.
- Apply glue and fold the remaining sides down, pressing especially at the corners.
- Place the covers under a heavy object (e.g., big books) for at least 15 minutes.
Fig.02: How much glue to use
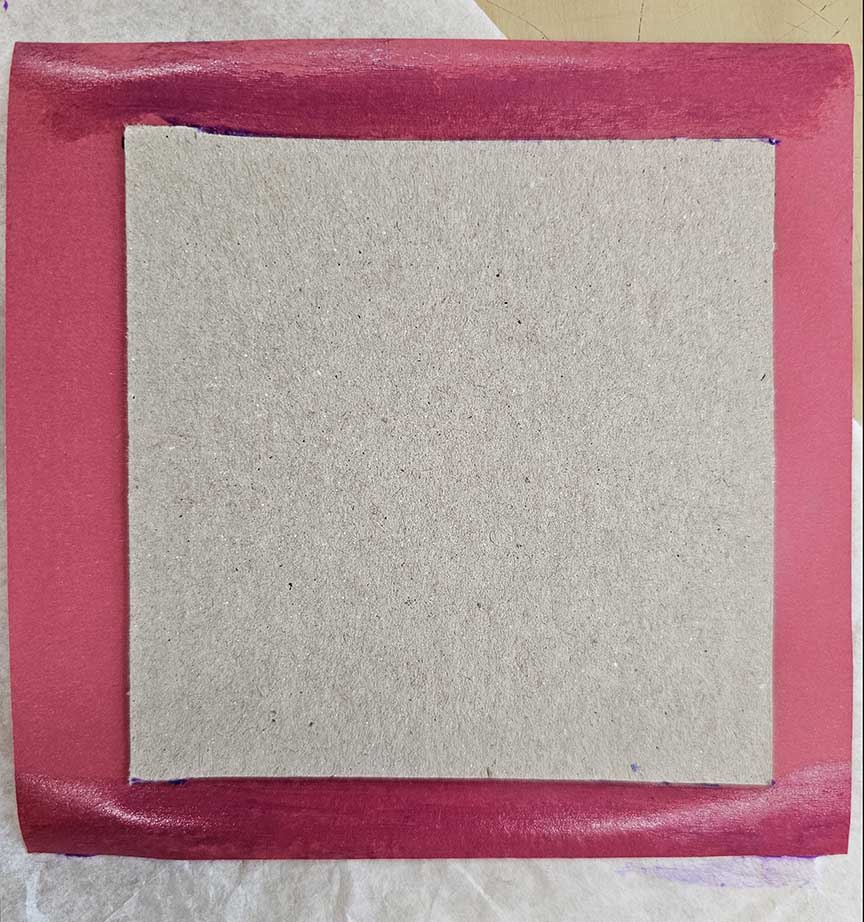
Fig.03: Apply glue to two opposing sides
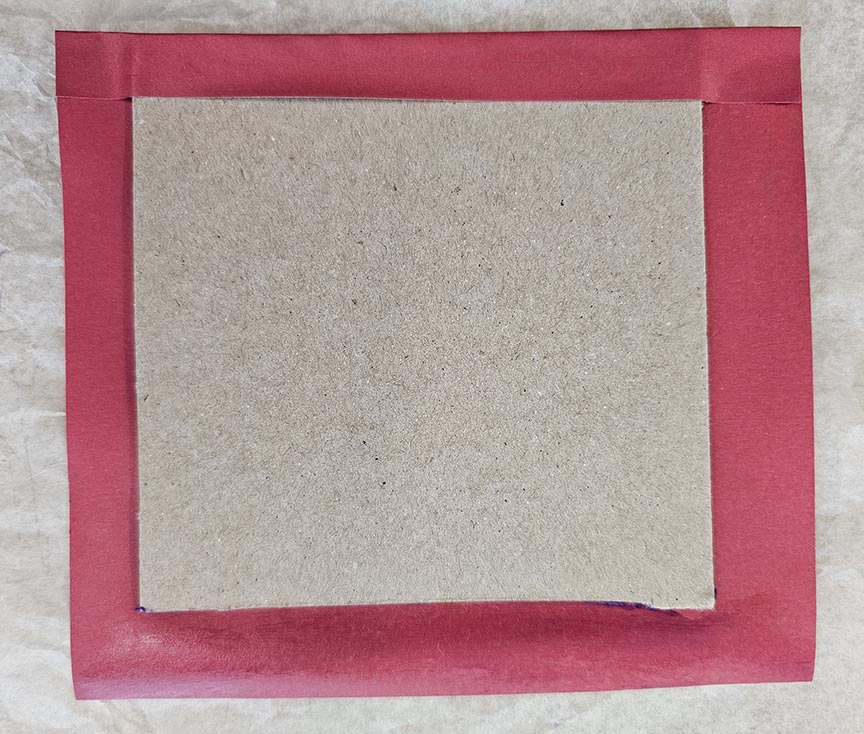
Fig.04: First fold
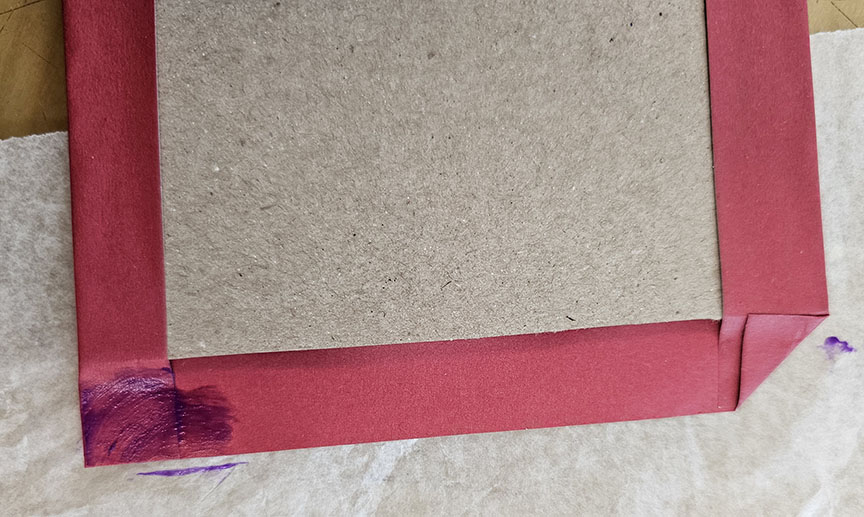
Fig. 05: A corner fold
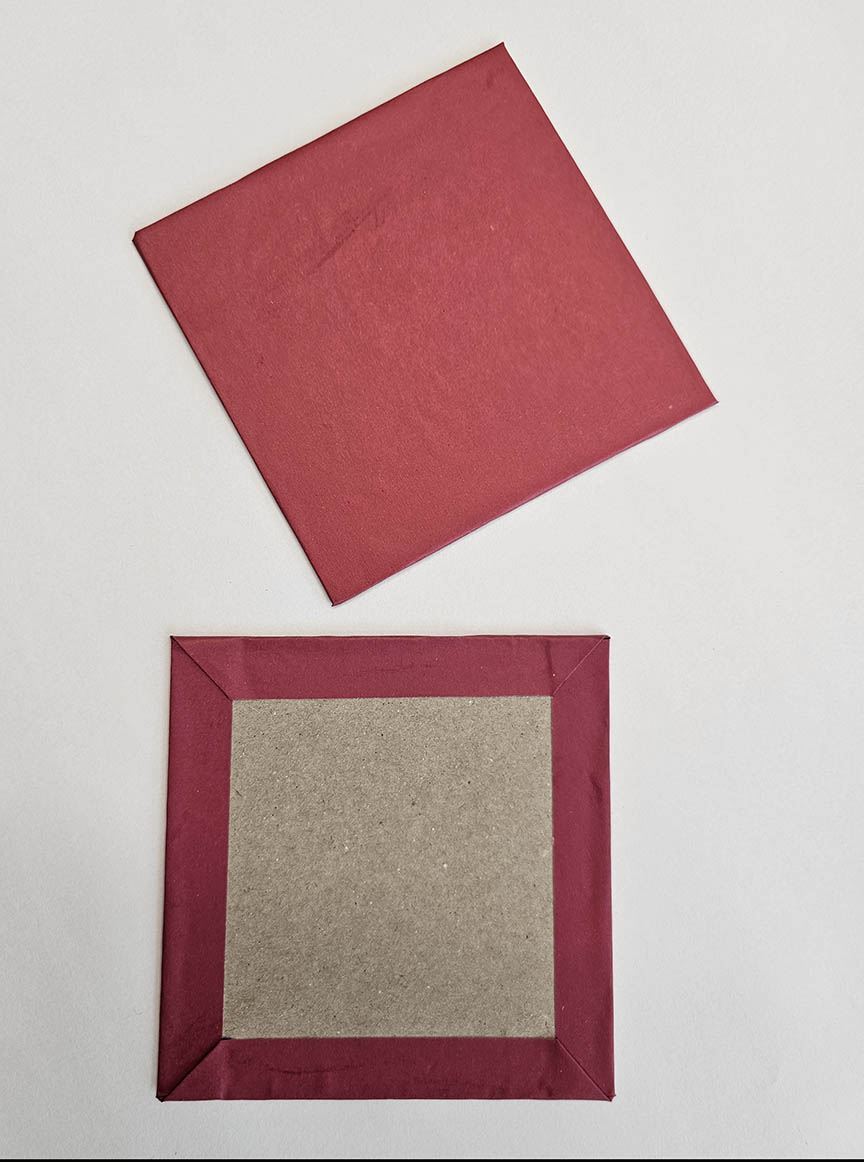
Fig. 06: Covers complete
Fold and Glue the Book Pages (Figures 7-18):
- Start with one page. Fold it in half and crease (Figure 7). The fold should look like a mountain.
- Open the page and fold it in the opposite direction, forming four sections that resemble two mountain ranges (Figure 8).
- Lay the paper in a diamond shape in front of you, with a point facing you. Ensure the fold lines are raised. Fold the bottom point up to meet the top (Figure 9).
- Fold the resulting long edge and crease (Figure 10). If the previous folds are raised like mountains, reverse the fold so they become valleys.
- When done correctly, pressing the center will cause the page will pop upward (Figure 11).
- Repeat this folding process for the other two pages. Align all three folded pages side by side (Figure 12).
- Reverse the middle page (Figure 13) and align the right flap of the first page with the left flap of the middle page (Figure 14).
- Glue the flaps together, aligning carefully. Press firmly and rub the edges and center (Figure 15).
- Repeat by aligning the right flap of the middle page with the left flap of the last page (Figure 16), and glue as before.
- Fold along the creases and compress into a square stack (Figure 18).
Fig.07: 1st fold
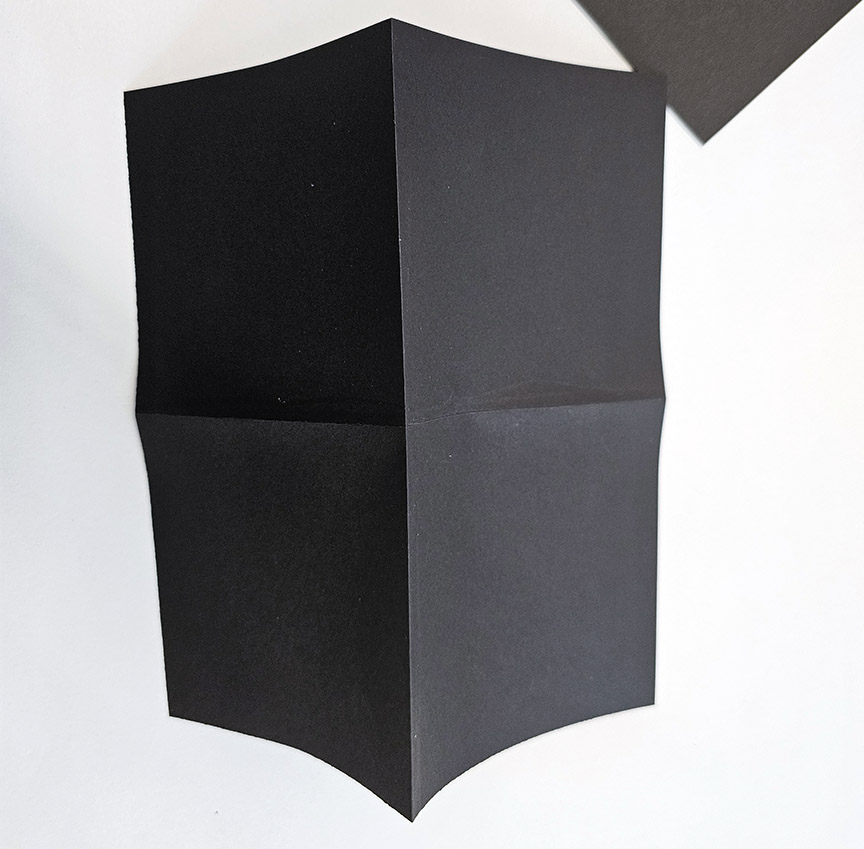
Fig. 08: Tented page
Fig. 09: Align the corners
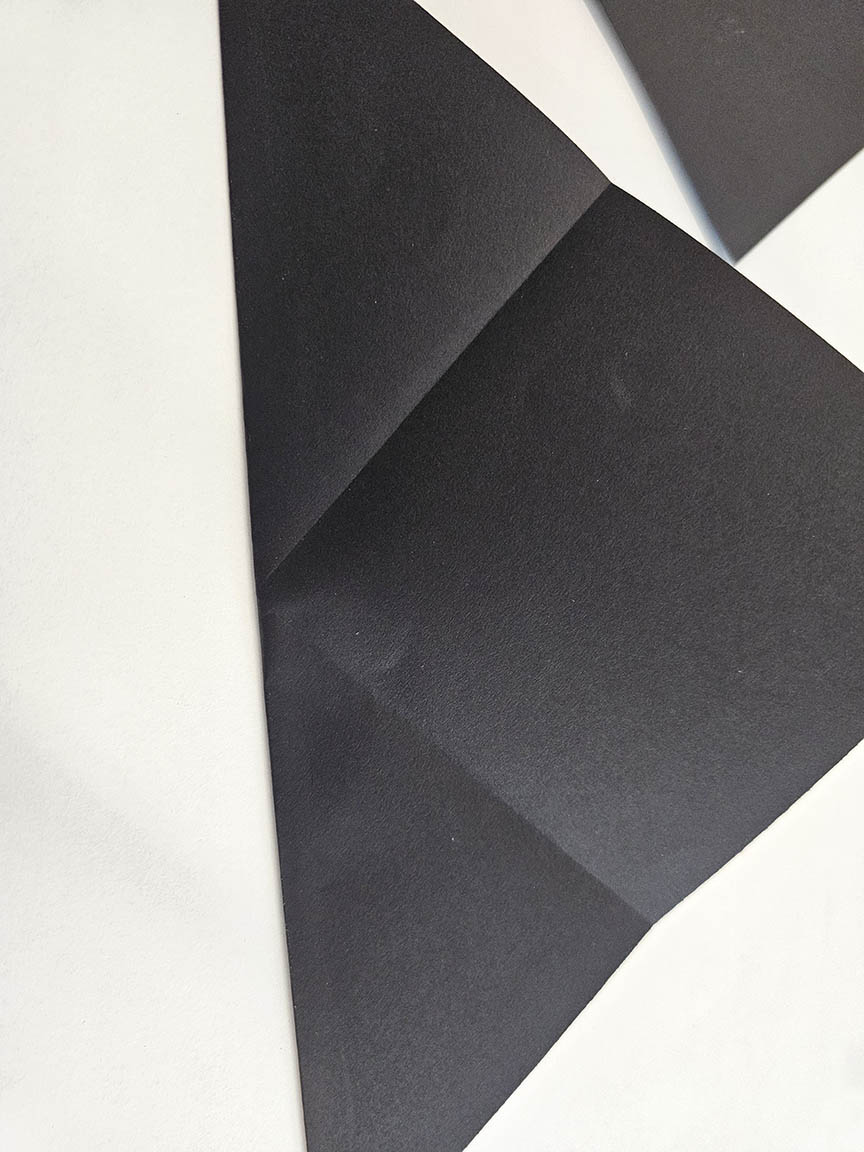
Fig. 10: Fold
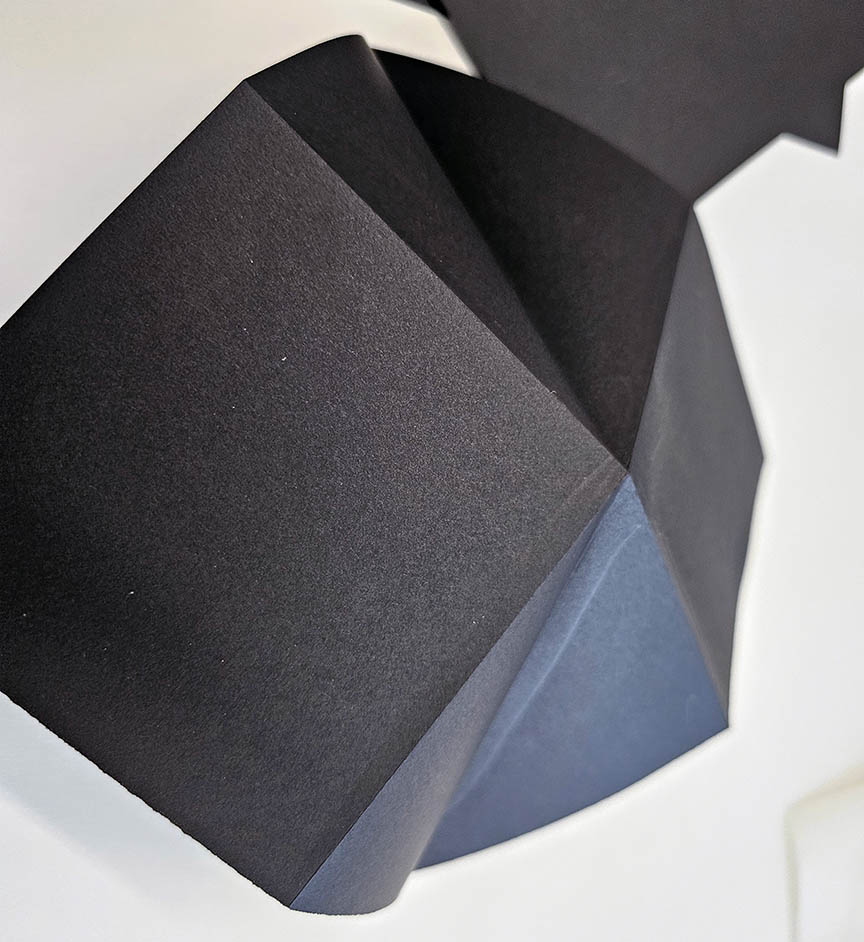
Fig. 11: Popup Page

Fig. 12: Three pages
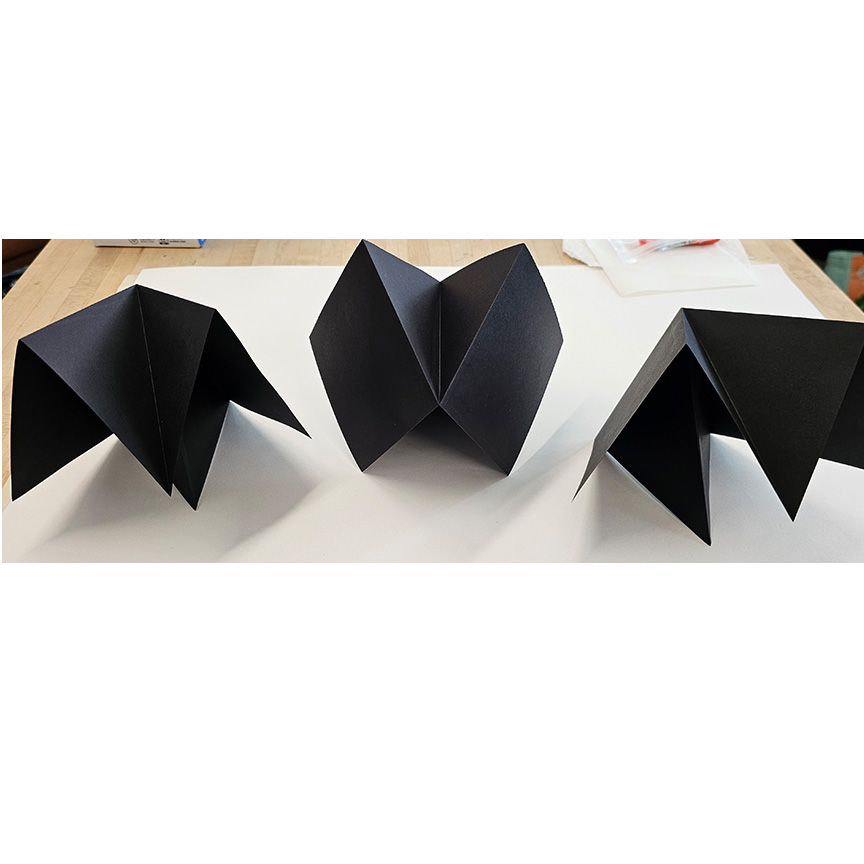
Fig. 13: Reverse the middle page

Fig.14: Overlapping flaps
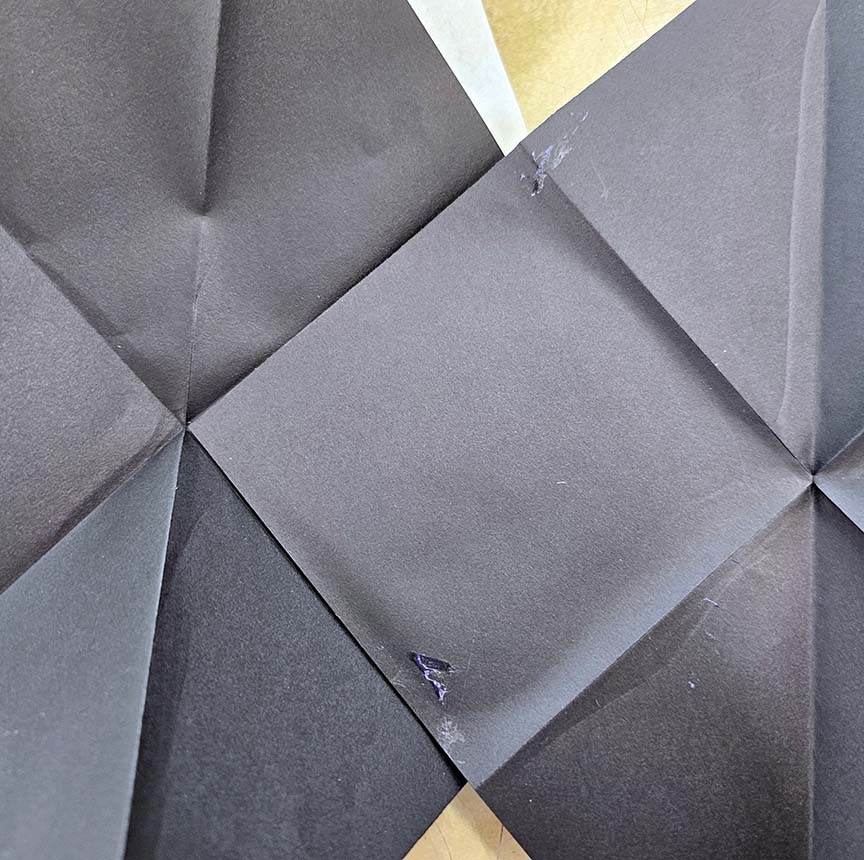
Fig.15: Glue the overlap
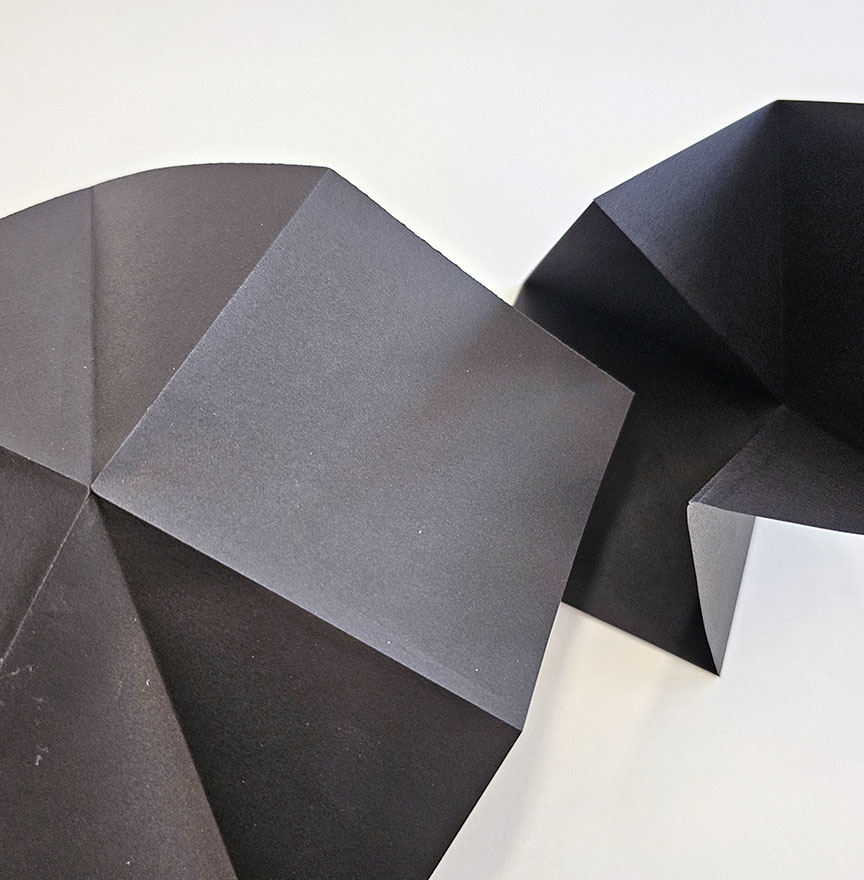
Fig. 16: Align the other side
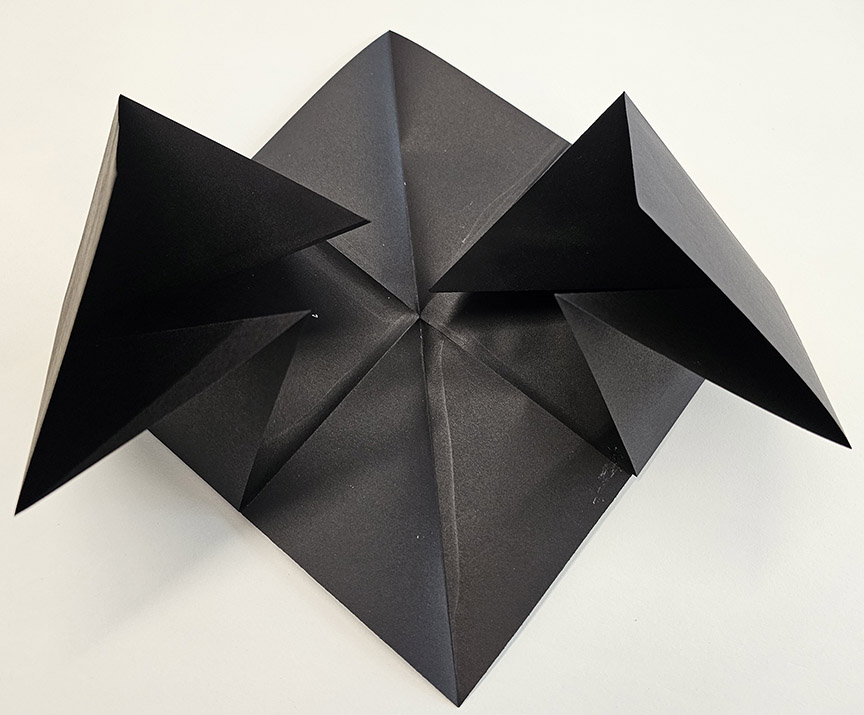
Fig. 17: Three together
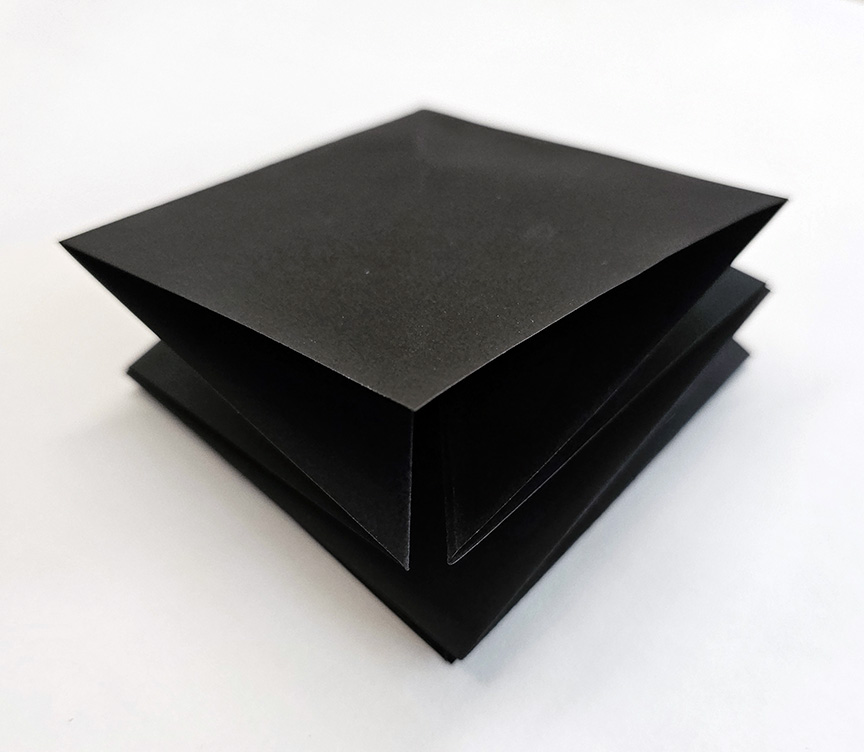
Fig. 18 Squashed flat
Attach Book Pages to Covers, Add Ribbon (Optional) (Figures 19-22):
- Chose the smoothest cover for the front.
- Fold your three pages into a square stack. Apply glue to the top of the stack and align it with the inside of the front cover (Figure 19). Press and rub.
- If adding a ribbon, fold it in half and place it on the inside of the back cover ( Figure 20).
- Use tape (over the ribbon) or glue dots (under the ribbon) to secure it. Don’t let the tape stick to the cover paper. If ribbon is wide, fold or scrunch it (Figure 21).
- Apply glue to the bottom of the paper stack. Align and press onto the inside of the back cover. Before pressing, squeeze the book shut to align the covers. Cover alignment is more important than perfect paper alignment.
- Open the back page gently, press down, and rub all corners and edges firmly.
- Close the book and set it under a heavy object for at least 5 minutes. Carefully pry pages apart, if needed.

Fig. 19: Glue page to front cover
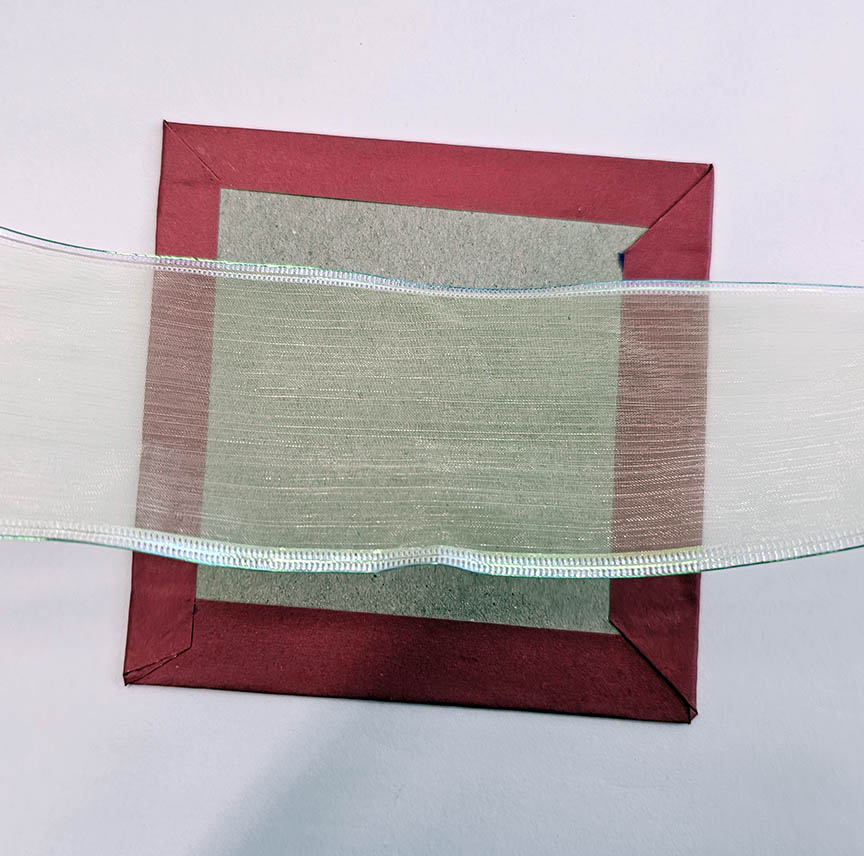
Fig.20: Preparing to glue

Fig. 21: Tape version
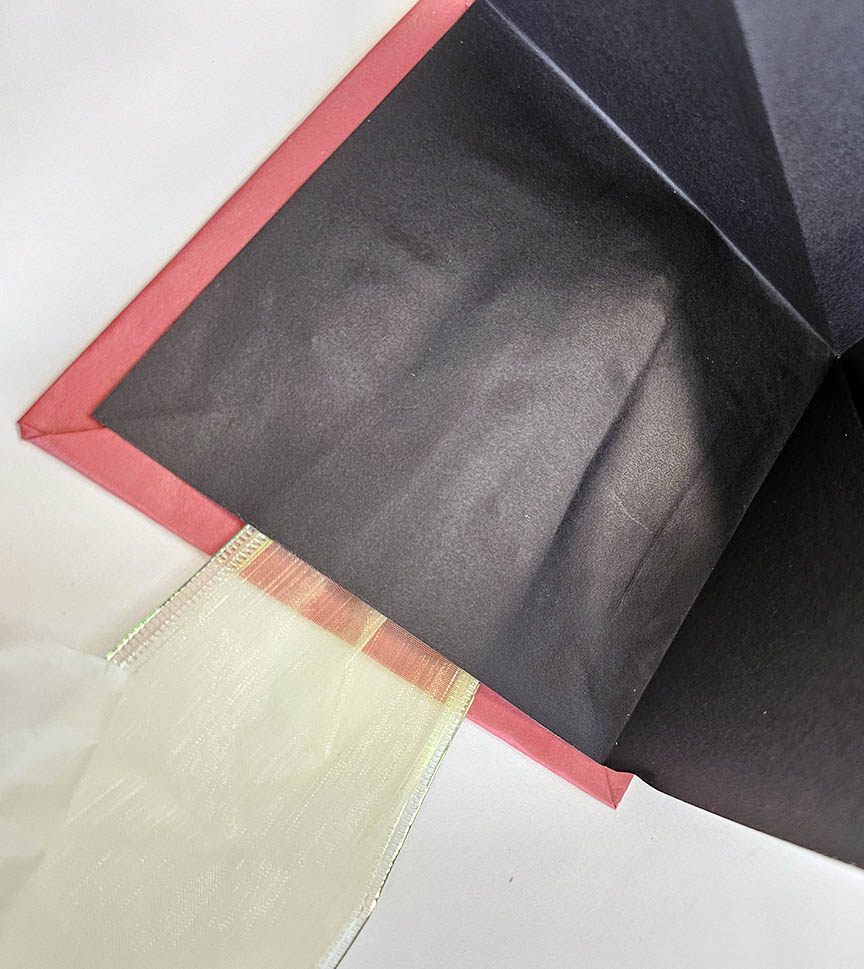
Fig. 22: Glue page to back cover
Adding the Artwork (Figures 23-30):
- Lay out your squares and triangles face-up (Figure 23).
- You need 6 squares: 4 for the inside pages, 1 for the front cover, and 1 (optional) for the back cover. Set aside your favorite square for the front.
- Open your book with the front page to the left and the back page to the right. Arrange 4 squares in the center spaces (Figure 24).
- When happy with your layout, begin at the end and glue the squares into place (Figure 25).
- Arrange the triangles in the remaining 12 spaces. You can mix and match them for visual interest (Figure 26).
- Starting at one end, glue each triangle down. Press all edges firmly. If any edge lifts (Figure 27), apply more glue and press again.
- Open and close your book several times. With the book closed, glue your favorite square onto the front cover, centering it (Figure 28).
- If desired, glue a square to the back cover (Figure 29).
- Your book is complete! Open and close it a few times, then leave it open overnight to ensure it dries fully.
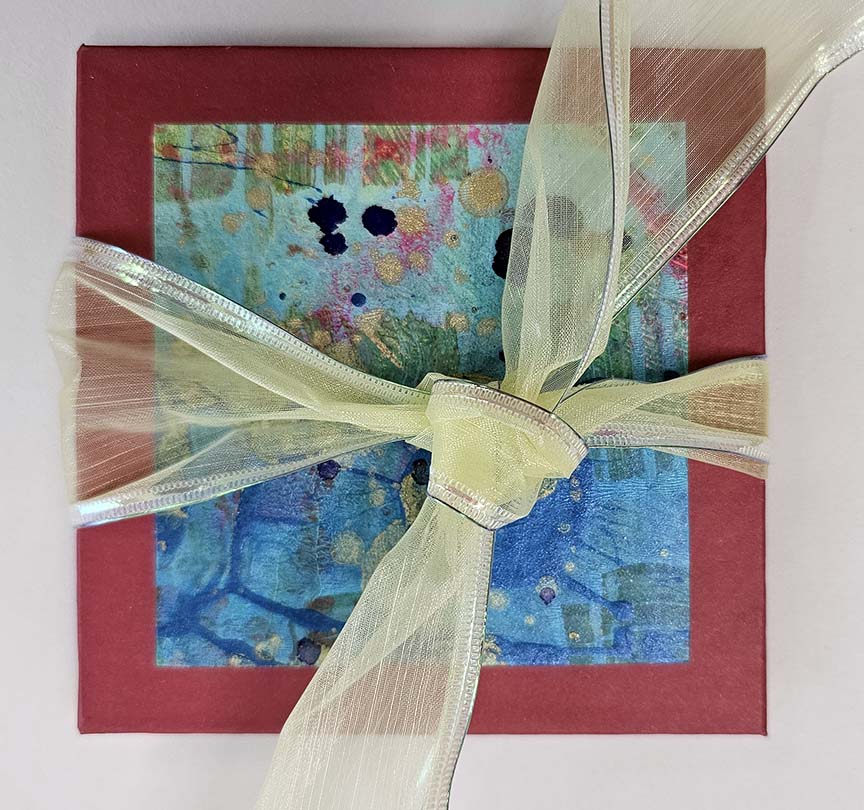
- The next day, close your book and tie a knot or bow on the cover.
- Consider signing and dating the back cover—it’s your handmade original!
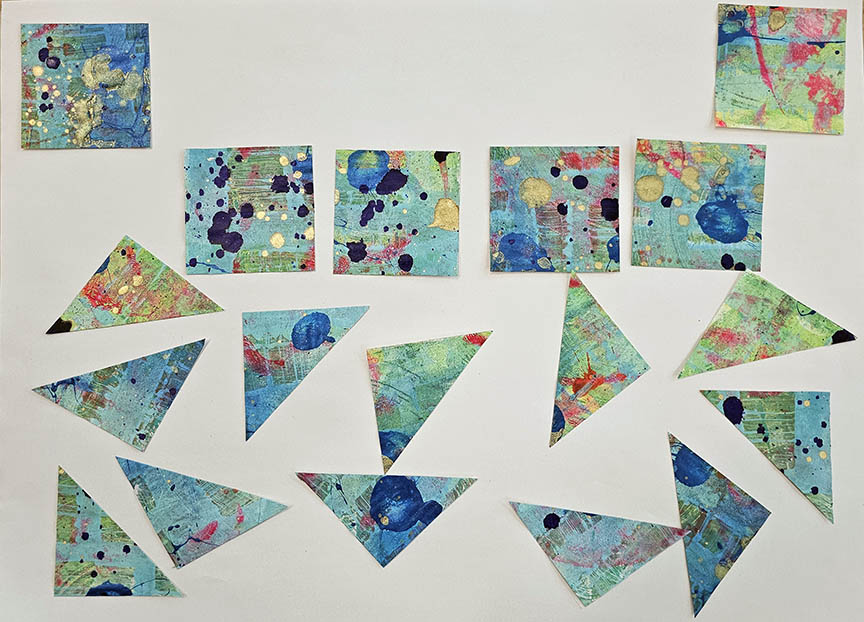
Fig. 23: Squares and triangles
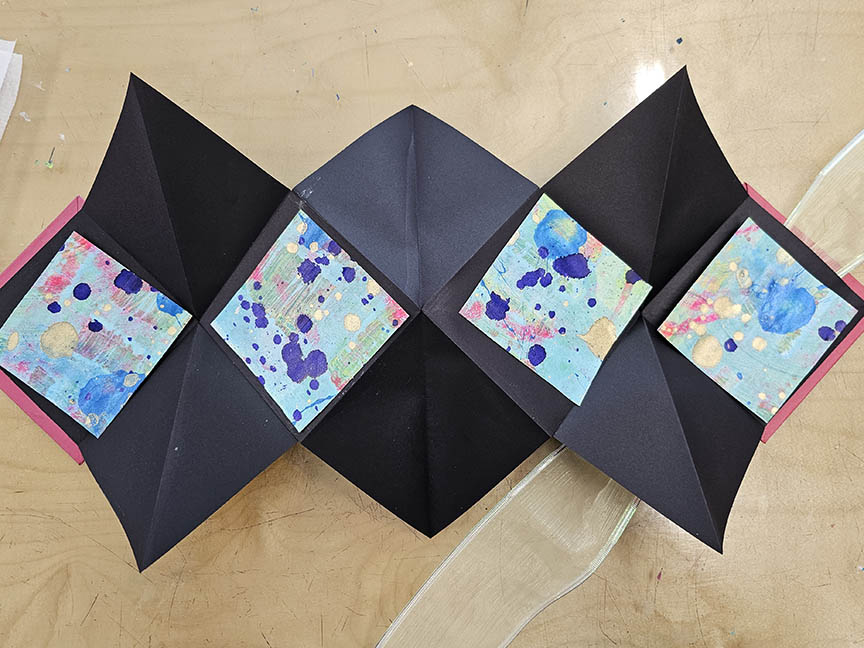
Fig. 24: Lay out squares
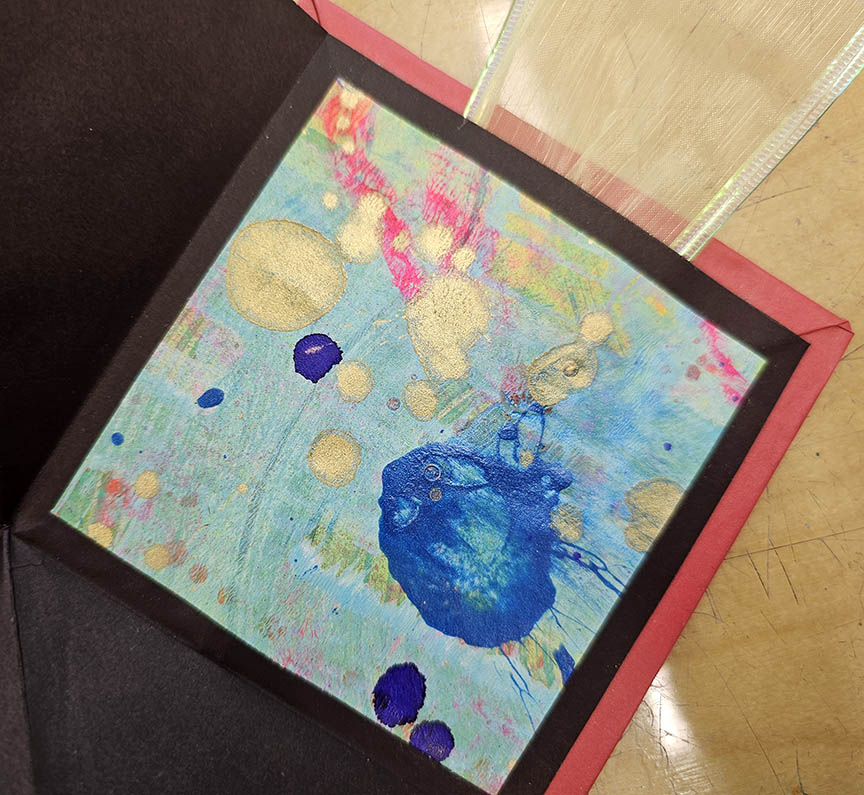
Fig. 25: Space in center of square
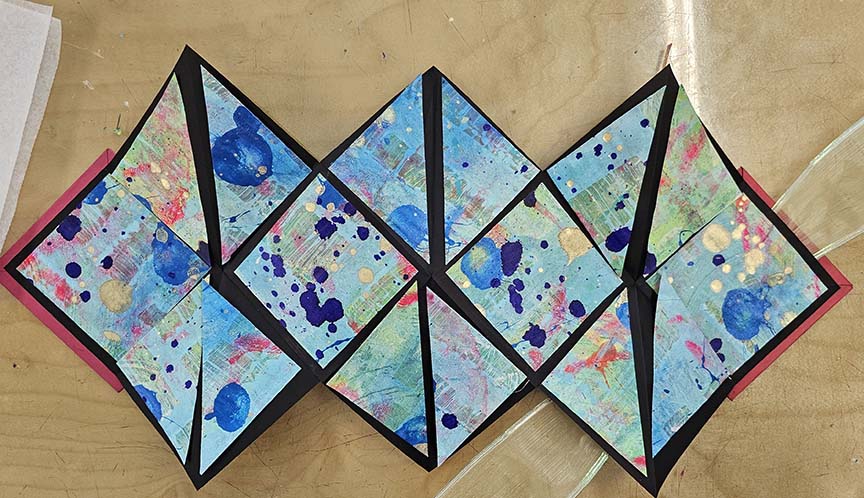
Fig. 26: Position triangles
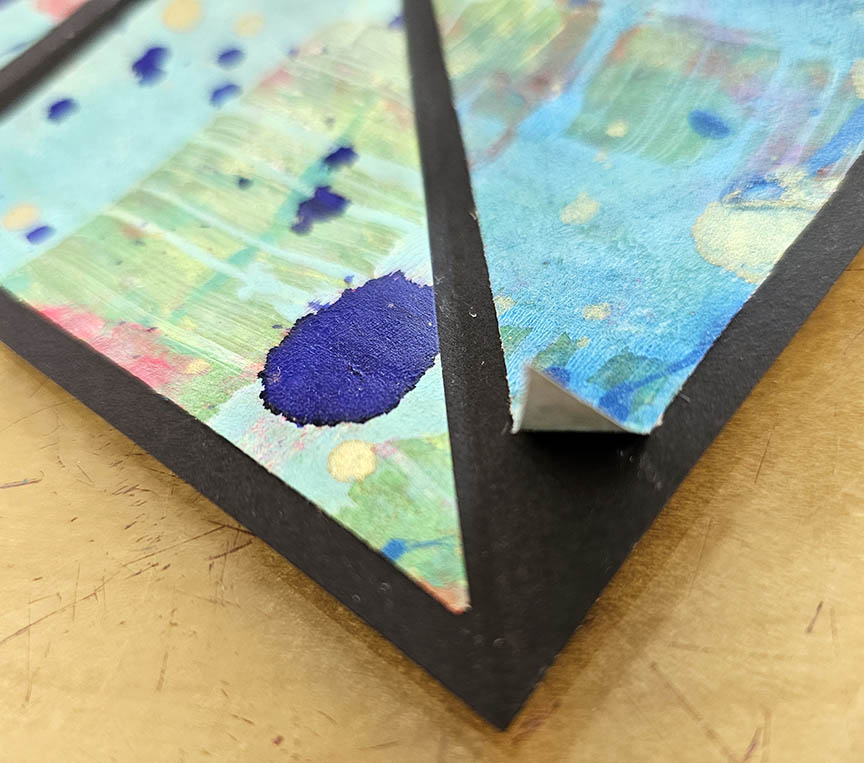
Fig. 27: Check corners
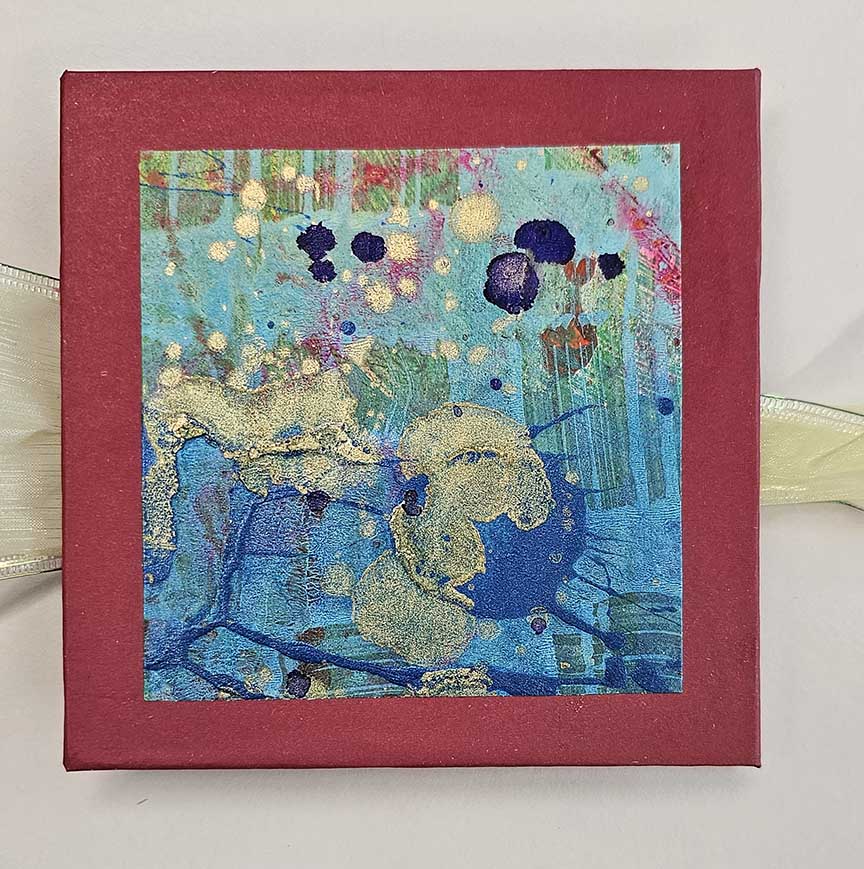
Fig. 28: Glue front cover
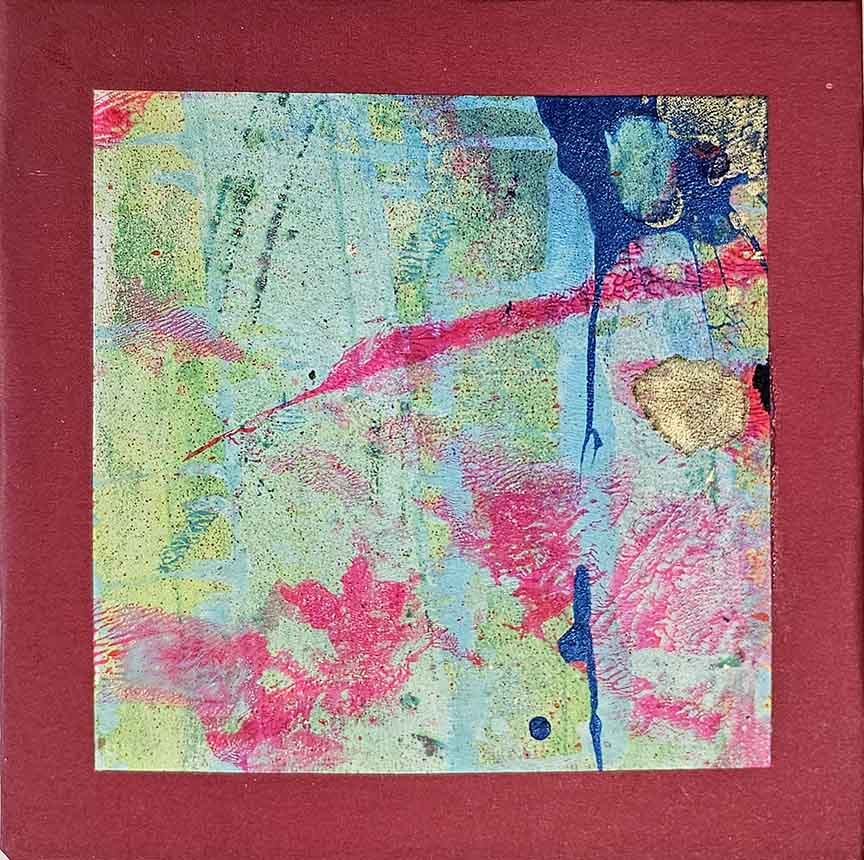
Fig. 29: Glue back cover
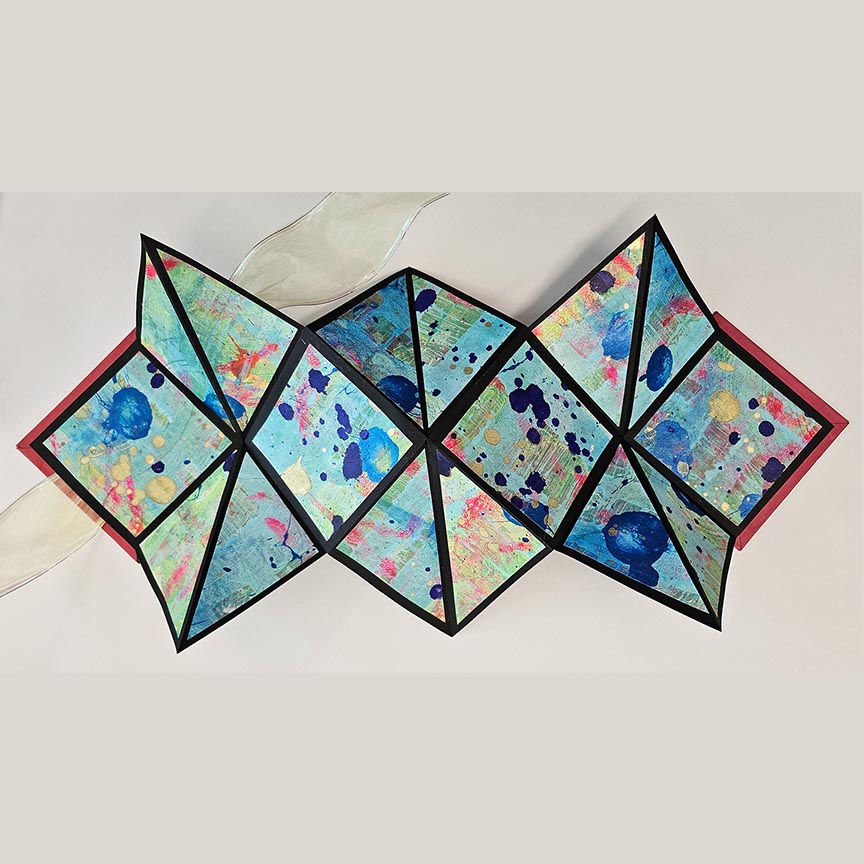
Fig30-Finished Inside